Table of Contents
This is an old revision of the document!

EVO: Oiling & Lubrication
Oil Leaks
Oil Consumption Service Bulletin - August 10, 2005
Article by Krayven Sumhead of the XLFORUM 1)
Diagnosing Oil Consumption
There has been a rise in oil consumption complaints on 2005 – 06 model year vehicles. The intent of this Tech Tip is to help you determine if there is an actual oil consumption issue and more accurately diagnose the root cause.
- First, determine if there is excessive oil consumption by analyzing the customer complaint and vehicle condition.
- Many times fuel delivery related issues cause smoking complaints and may even gas wash cylinders leading customers to believe they have an “oil burner” on their hands.
- Is the vehicle modified and what is its state of tune?
- Does the EFI calibration match the actual components on the vehicle?
- Is there fuel stand off in the air cleaner or manifold?
- What is excessive consumption?
- Customers may not realize that all engines have some normal rate of oil consumption, and air cooled engines are more prone to use some oil in the course of normal operation. It would not be unusual for a Twin Cam engine to use one quart of oil in 1500 miles or a middleweight powertrain to use one quart of oil in 1000 miles.
- Oil consumption is impacted by engine condition, mileage, duty cycle (how the vehicle is operated and in what environmental conditions), and accessories.
- Is the vehicle through its break-in period? Remember rings must seat before they will begin to seal the cylinder to piston clearance.
- After a discussion with the customer on the complaint and a brief inspection of the vehicle you should be able to determine if you a dealing with a rich condition, oil consumption complaint, or customer misperceptions.
- Determine the real rate of consumption.
- To determine the rate of oil consumption bring the oil level to the full line following the “Checking With Warm Engine” procedures outlined in the service manual and tape the filler neck closed.
- Have the customer ride the vehicle and inspect the level at 500-mile intervals to determine the actual rate of consumption. Be careful not to overfill the tank, as that will provide a false indication of consumption.
- If the rate of consumption exceeds the norm, you will need to review duty cycle with the customer and then begin your inspection of the engine's state of-tune accordingly.
- Verify the system before you tear it down.
- Don't overlook the obvious items before disassembly. How are the oil hoses (tight clamps, routings, etc.)?
- Verify breather operation, this might be a carry-over situation. If you blow lightly into the breather snorkels, there should be some resistance if the umbrella valves are closing properly.
- Verify oil pressure and oil return functions. You might be dealing with an oiling system issue and/or a wet-sumped lower end.
- Take a compression reading and perform a leakdown test. Remember to write down the numbers, Technical Service is sure to ask for them.
- If leak down exceeds 10% determine where it is leaking by. Into the lower end, out the exhaust or intake port, or through a head gasket?
- Now begin your disassembly based on your findings, and keep both eyes open as you take things apart for clues to the root cause.
- If the leakage was primarily into the crankcase, then you are chasing a piston to cylinder sealing issues. To rule out a barreled or tapered cylinder re check leak down in three places (top - middle - bottom) in the stroke once the rocker arm support plate is removed.
* By the way how did those umbrellas look, and was the rocker box fairly well scavenged? No clogged return passages right? No signs of leakage at the head gasket oil returns? Good gasket surfaces?
* Check the piston crown for carbon build up. Washed areas on the edges of the piston crown are a good indication of an “oil pumper” (bad rings or piston to cylinder fit). Solid carbon build up across the piston crown generally indicated it is coming from above.
* With the cylinders off you will be able to more closely examine (and take note of) ring end gap locations. Do they match the service manual recommendations or are they lined up? Also, check the second compression ring, also called the middle or scraper ring, installation. The “dot” should face up, but even more important the outer bevel slants toward the piston and it has a slight chamfer on the ID that goes to the bottom to allow it to function properly. It is rare but sometimes the “dot” is up and ring's taper face is wrong.
* While you are looking at the rings check their wear patterns. A ring that is over spread or twisted during installation will not seal properly. - Leak down past the valves and into the ports requires you inspect them for bad seats and bent stems, or you may find carbon built up to the point they just were not able to seal the combustion chamber.
* Heavily carbon’ed valves and oil in the intake or exhaust ports are indications of leaking valve seals.
* It also pays to look for the unusual, like leakage between the valve guide and the cylinder head. Are the guides loose? Was the head's guide bore scored or damaged during guide installation? This can sometimes be indicated by unusually clean or unusually golden patches in specific spots around the guide. The same is true if there is actual porosity in the head.
Valve Seal Updates - August 10, 2005
- 2005 models and early production 2006 vehicles use a one-piece valve seal and lower spring seat design (p/n 18094-02) that can cause oil leakage between the guide and the seal when side loaded or miss-installed. These can be identified by the silver seal ring and black rubber material.
- A new version one-piece valve seal and lower spring seat design (p/n 18094-02A) is being implemented into service parts to improve sealing properties and minimize installation issues.
- The first batch of this new seal can be identified by a green seal ring as shown below. Towards the end of the month 18094-02A seal kits will change to an orange colored rubber material to improve visual identification of the new parts.
- Twin Cam 88/88B production will be moving to this design in the near future with middle-weight powertrain and service parts to follow shortly thereafter.
- Please utilize this new design during any future top end services.
- Warranty and Service Procedures
- Any individual 18094-02 valve seals in your inventory may be used on Middle-Weight Powertrain repairs.
- Current engine gasket kits may be used on 2004 - 2006 Sportster and 2003 - 2006 Buell engines.
- Current gasket kits (top end p/n 17052-99B and engine p/n 17053-99A) may also be used on 2004 and earlier Twin Cam 88/88B engines without any special steps.
- When using current gasket kits (top end p/n 17052-99B and engine p/n 17053-99A) on 2005 and 2006 Twin Cam 88/88B models discard the 18094-02 valve seals included and use part number 18094-02A in their place, and the included seal protector during installation.
- For warranty repairs that involve the use of these engine gasket kits (p/n 17052-99B & 17053-99A), you may also claim 1 valve seal kit p/n 18094-02A as part of the repair.
- These additional parts will only be allowed on MC warranty claims filed against your existing inventory of gasket kits used to repair 2005-2006 Big Twins.
- Future kits will have the new valve seals included so additional parts should not be listed on warranty claims. 18094-02A Valve Seal Identification
Diagnosing Oil Leaks
Visual Inspection
Degrease the bike until there's no oil remaining.
Then take some Soft n Dri (women's antiperspirant spray) and spray it around the rocker gaskets (or other suspected leaking area). 2)
It will go on clear but when it gets heated will turn to a white powder. Just a light film is all it takes.
Whenever it starts leaking it'll show up exactly where the leak is.
| Rocker boxes sprayed with powder antiperspirant to detected oil leaks. 3) | |
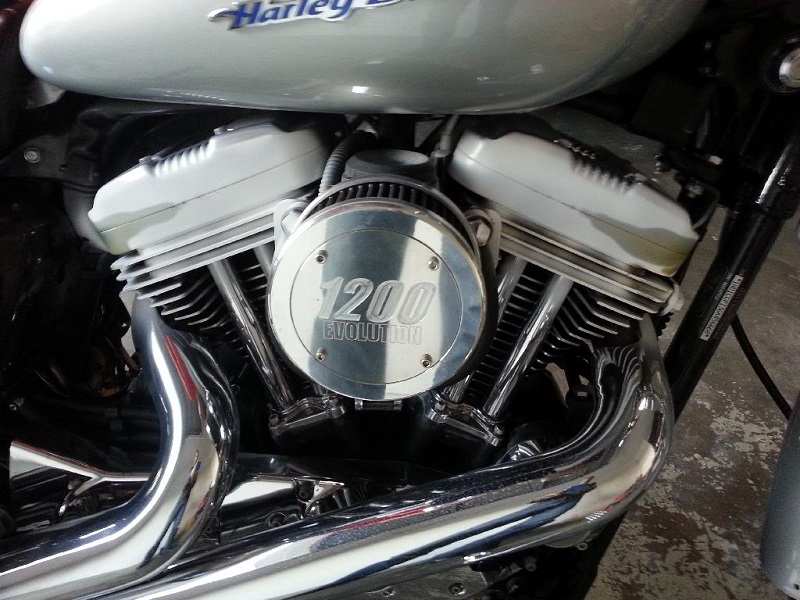 | 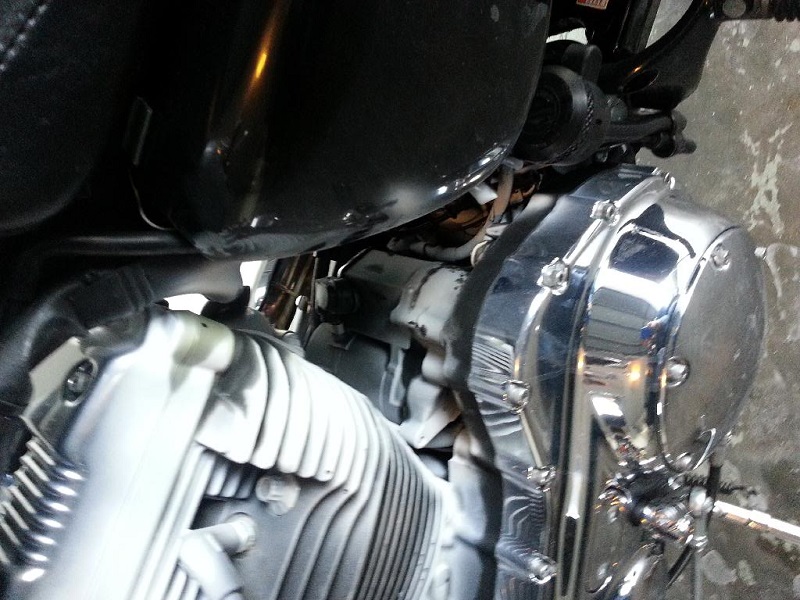 |
Internal Inspection
Check your spark plugs for oil fouling.
 4)
4) 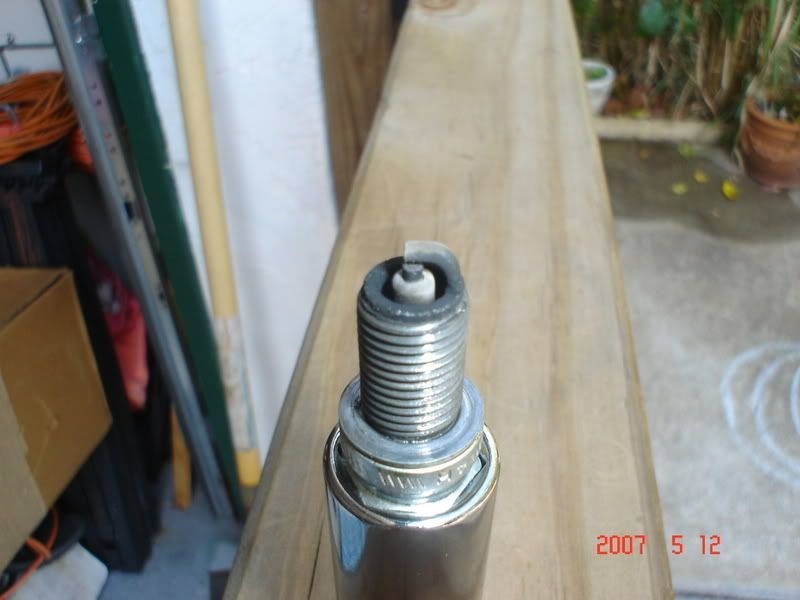 5)
5)
You can pull your exhaust pipes and intake manifold and look at the valves to see if the oil is leaking past the valve stem seals. 6)