This is an old revision of the document!

REF: Engine Mechanicals - Sub-02A
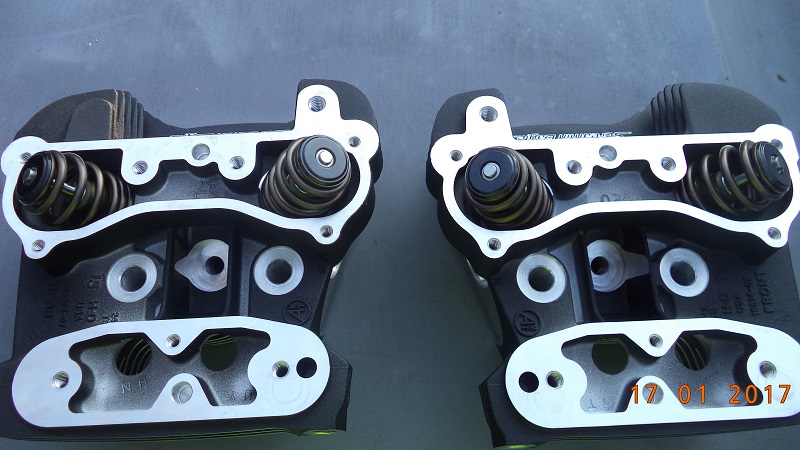
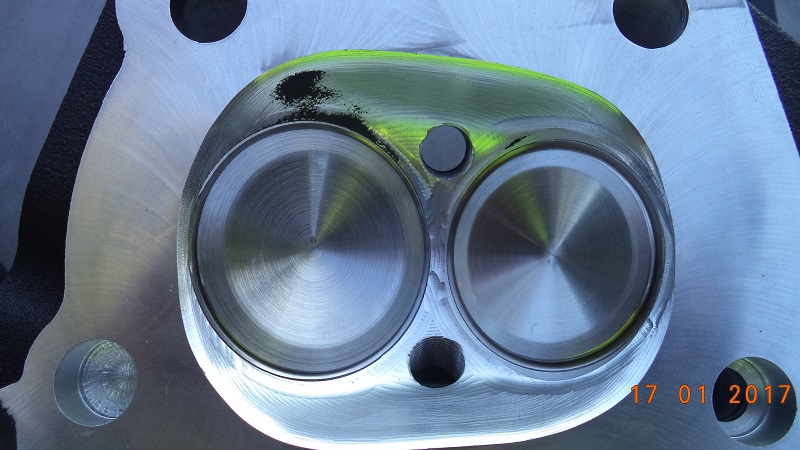
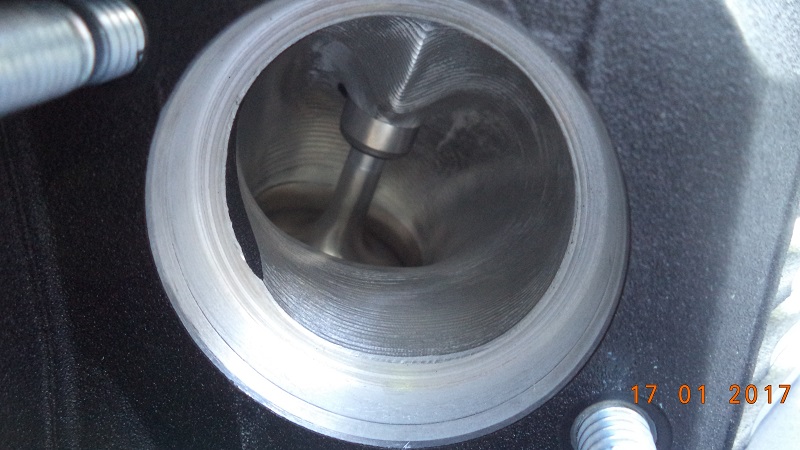
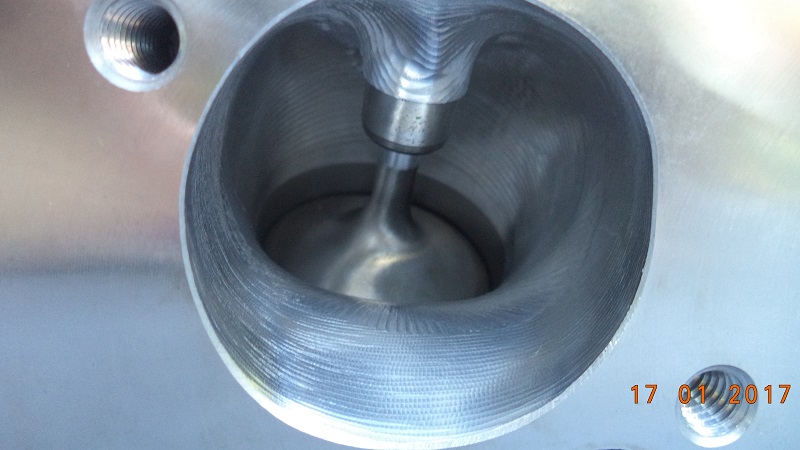
Screaming Eagle Pro CNC Ported Heads
Intended for High Performance or Racing applications only. Not legal for sale or use on pollution controlled motorcycles. 1)
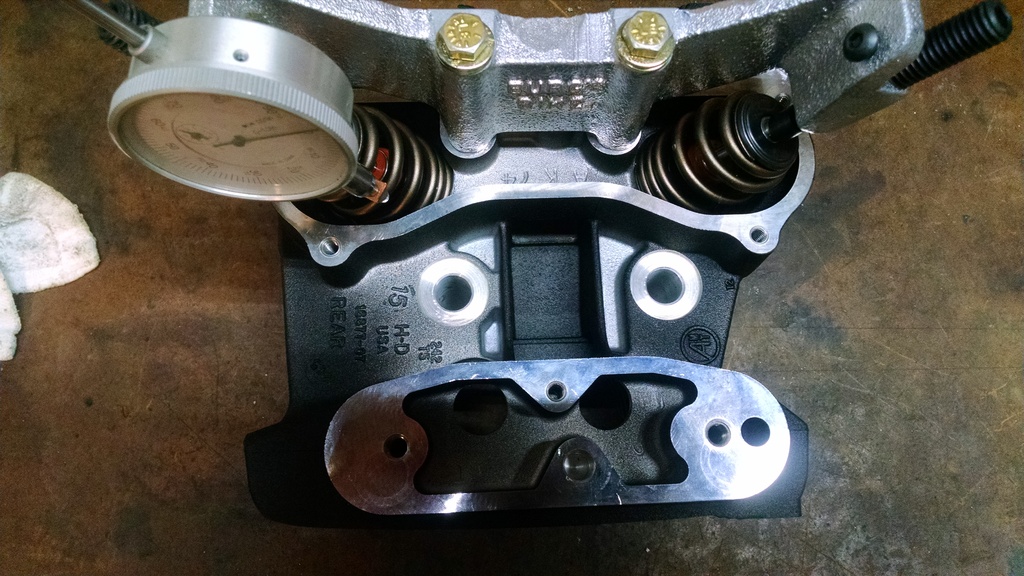
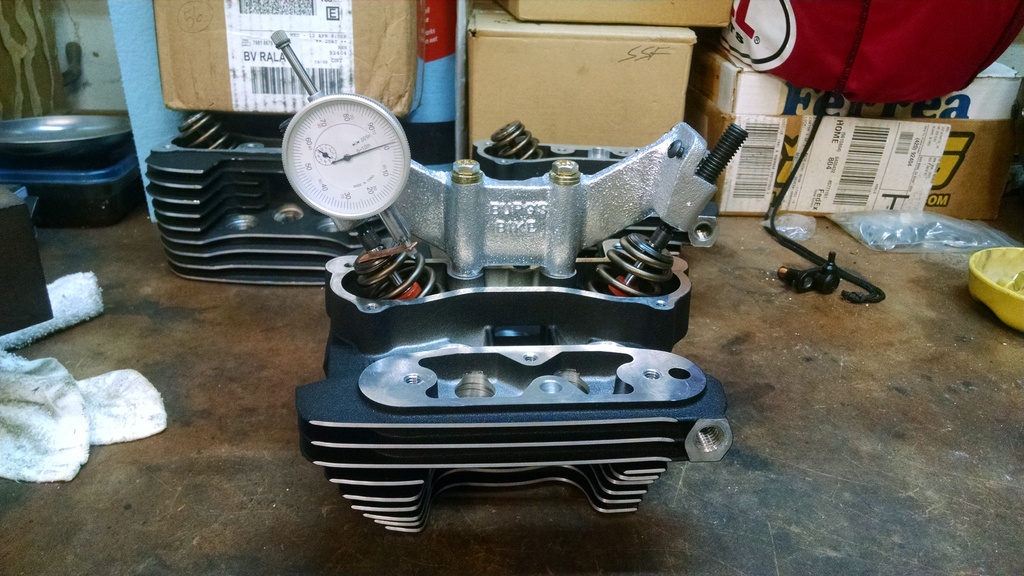
When adjusting spring seat pressure, maintain a minimum 0.070 in. travel to coil bind. All springs must each be of equal heights if adjustment is required.
| Every 0.015 in. reduction of spring length increases seat pressure by 3.8 lbs, | ||||
|---|---|---|---|---|
| Standard spring height | Seat pressure | Desired seat height | Seat Pressure | |
| Intake: 2.059 in. | 200 lbs. | 0.015 in. shim (18224-98) under lower spring seat | 3.8 lbs. of added seat pressure | |
| Exhaust: 2.064 in. | 200 lbs. | 0.030 in. shim (18225-98) under lower spring seat | 7.6 lbs. of added seat pressure | |
| To reduce seat pressure, every 0.015 in. machined out of lower spring collar area is 3.8 lbs. of seat pressure reduction | ||||
- Head kit # 16500165 2)
- HD recommends using: 3)
- Exhaust flange 65328-83 to aid in header pipe installation
- SE "Perfect Fit Pushrods" for Single Plug SE Pro Heads - (16677-05) 1992-2006 (one size only for XLs with these heads)
- Top End gasket kit # 17049-04
- Installing these heads and other assemblies per the FSM
- 91 Octane fuel or better
- The included pamphlet with this kit suggests assembling per the FSM using the recommended gaskets from HD. If steel gaskets are used in place of the factory composite gaskets, look carefully at the position of the rivets. Any rivet that may get sandwiched between the head and cylinder will need to be removed. They're very easy to remove using a bench grinder or a Dremel tool with the metal cutting blade attached. Just grind away the entire tab that contains the rivet with the grinder or you can grind down just the rivet with the Dremil. Make sure to de-burr the ends if needed. 4) 5)
- Also note that multi-layer steel gaskets do not use o-rings around the alignment dowels the way the factory gaskets used to do. If you install o-rings on the dowels with a multi-layer steel gasket, you guarantee yourself a leak. 6)
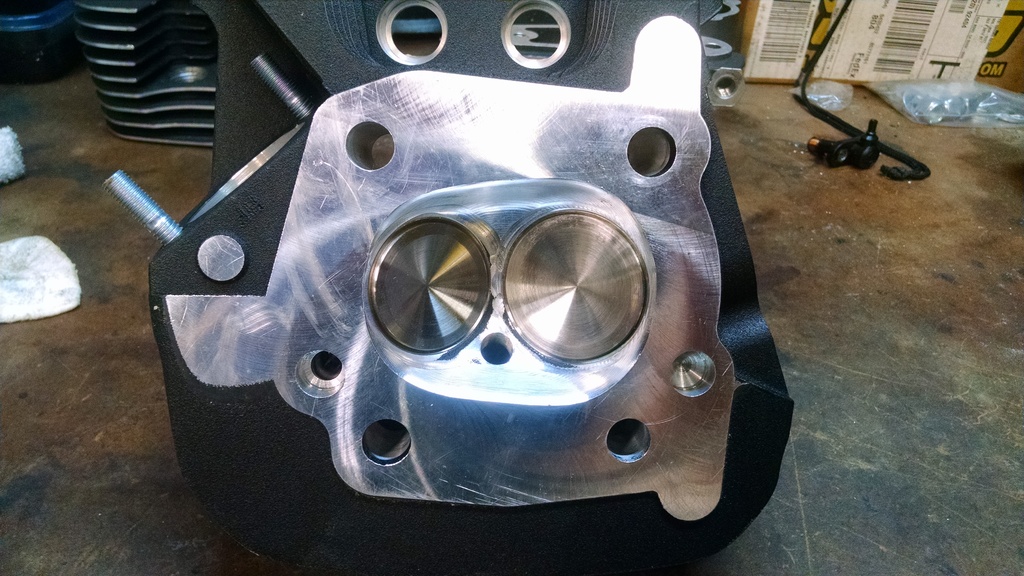
- Very carefully place the head over onto the cylinder and gasket, taking care not to scratch the deck. 7)
- Lightly lube the threads, shanks, and undersides of the heads on the head bolts and install finger tight. Torque in the order shown in your FSM. For multi-layer steel gaskets (mls), torque all head bolts in five pulls starting at 9, 14, 22, 35, and final torque at 42 ft-lbs. For composition type gaskets, follow the procedure described in the FSM. 8)
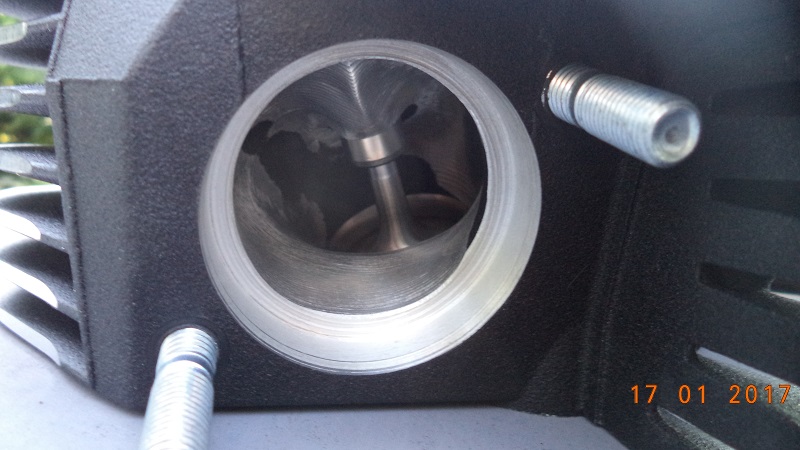
Click on a pic to enlarge:
 |  |  |
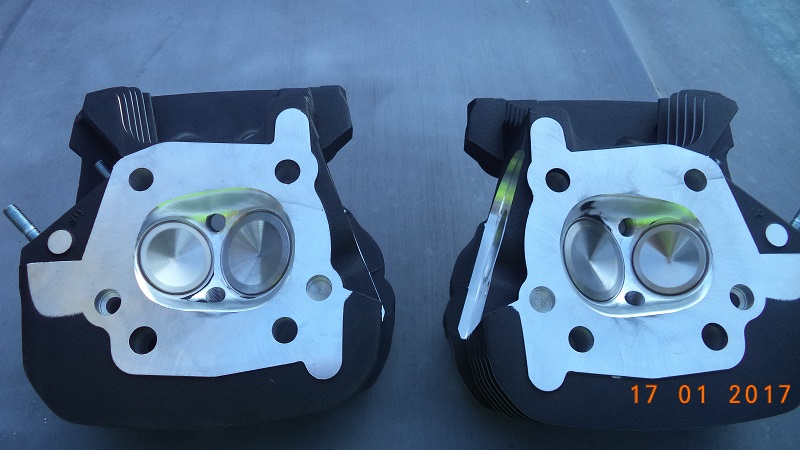
| Standard Screaming Eagle Pro CNC Heads 9) | ||
 |  |  |
| Standard Screaming Eagle Pro heads machined for 2nd plug for S models 10) | ||
 |  |  |
| SE Pro heads (cookie cutter machining in ports) 11) | ||
| Kit # 165000164 12) | ||
|---|---|---|
| Part No. | Description | Quantity |
| 165000163 | Front Head (bare) | 1 |
| 165000162 | Rear Head (bare) | 1 |
| Not sold separately | Head (complete assembly) | 2 |
| 18015-03B Sold as part of the SE valve spring kit | Upper valve spring collar | 4 |
| 18016-03 Sold as part of the SE valve spring kit | Lower valve spring & valve guide seal | 4 |
| 16715-83 | Exhaust port stud | 4 |
| 18010-05 | Intake valve | 2 |
| 180028-05 | Exhaust valve | 2 |
| 18260-02 Sold as part of the SE valve spring kit | Valve collar retainer | 8 |
| Not sold separately Sold as part of the SE valve spring kit | Valve spring | 4 |
| 18013-03A Also sold separately | SE valve spring kit | 1 |
| 18020-07 Also sold separately | Intake valve seat | 1 |
| 18011-86 Also sold separately | Exhaust valve seat | 1 |
| 16461-02 Also sold separately | Intake and exhaust valve guide | 1 |
4)
Hippysmack
9)
photos by rocketmangb http://xlforum.net/forums/showthread.php?t=2010619