Table of Contents

REF: Tools - 112
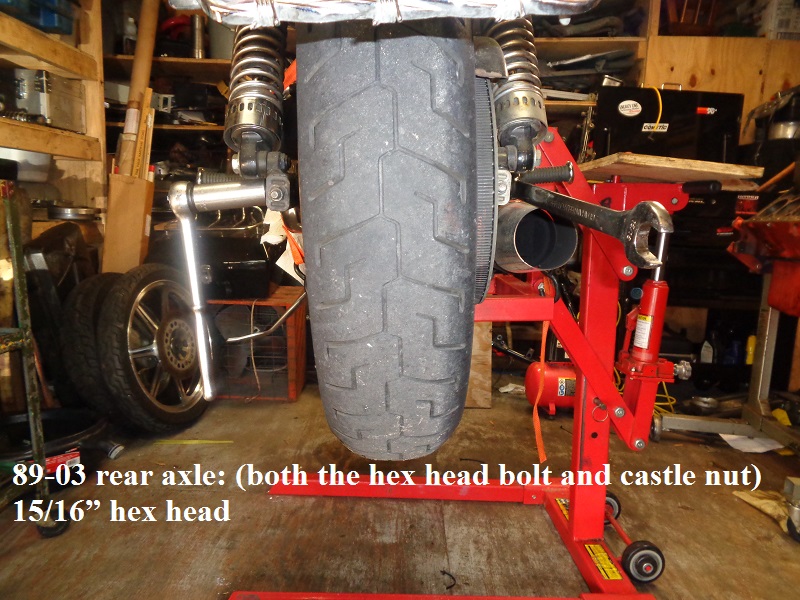
Axle
The hex wrench size for 89-03 to remove the axle is 3/4“ for the axle bolt and castle nut.
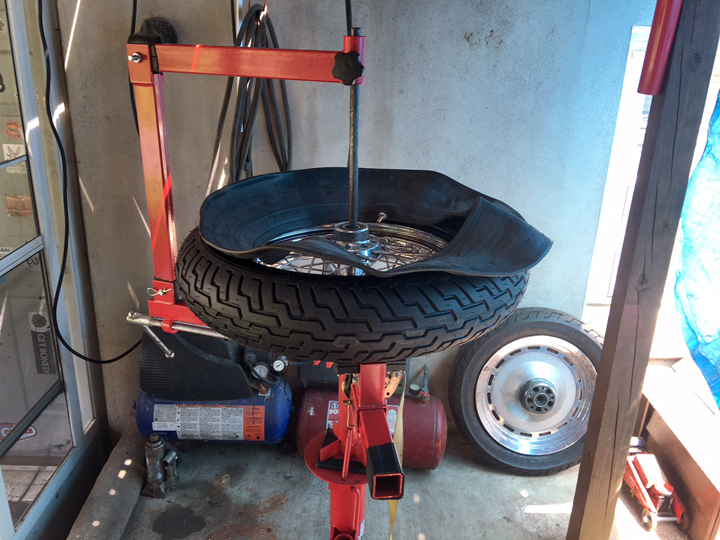
Portable Tire Changer Mods
- Got a portable tire changer that is flimsy and awkward to use and scratching your rim? Give it an upgrade with this modification designed by flskevin.
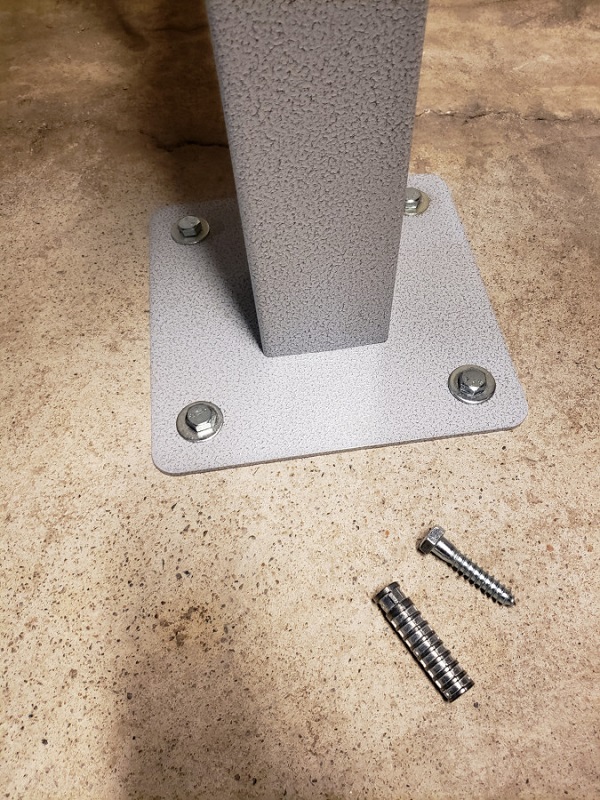
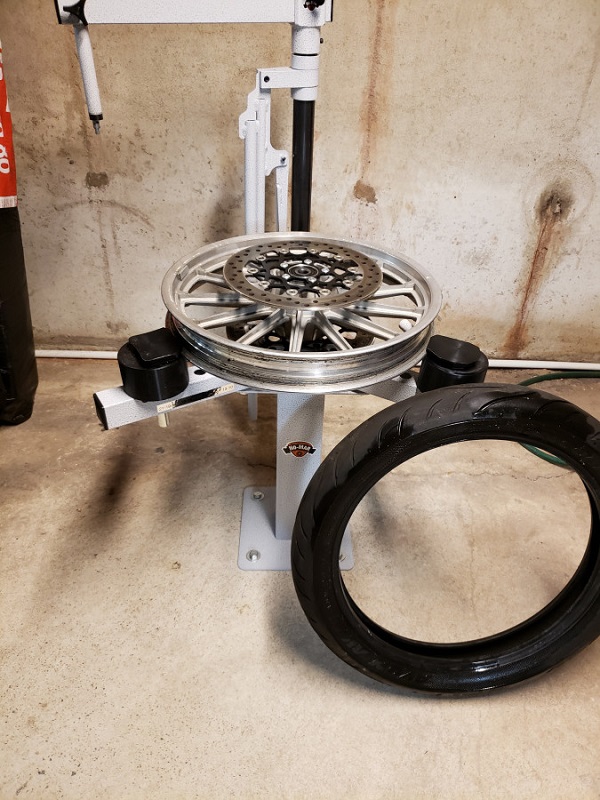
- Basically your going to add 2 Posi-Clamp® Spools from NoMar 2) on a home made riser block (this one is made with aluminum on bottom & steel on top) that is then bolted to each leg slider of the tire changer. It doesn't have to be two pieces but it just needs to be strong enough to hold the wheel assembly safely and tall enough to clear the bottom with your disc and sprocket installed. Measure between (center side of each) the inside 'v' of the spools and the inside edge of the original back plate on the leg slider (in this case, 1/2”). Since the spools change the dimension from the original back plate to center of the machine, drill a new hole in each leg slider (1/2“) toward the center to set the leg sliders back to center of the machine. Cut some pieces of an old inner tube, take apart the beam connections and install the inner tubes between the connections to tighten up the joints when beams are re-installed. Then install a smaller diameter center tube (from any hardware store) so it won't bind up in the bearings.
- YouTube video of the mods in action: https://www.youtube.com/watch?v=62WApQLAb5E
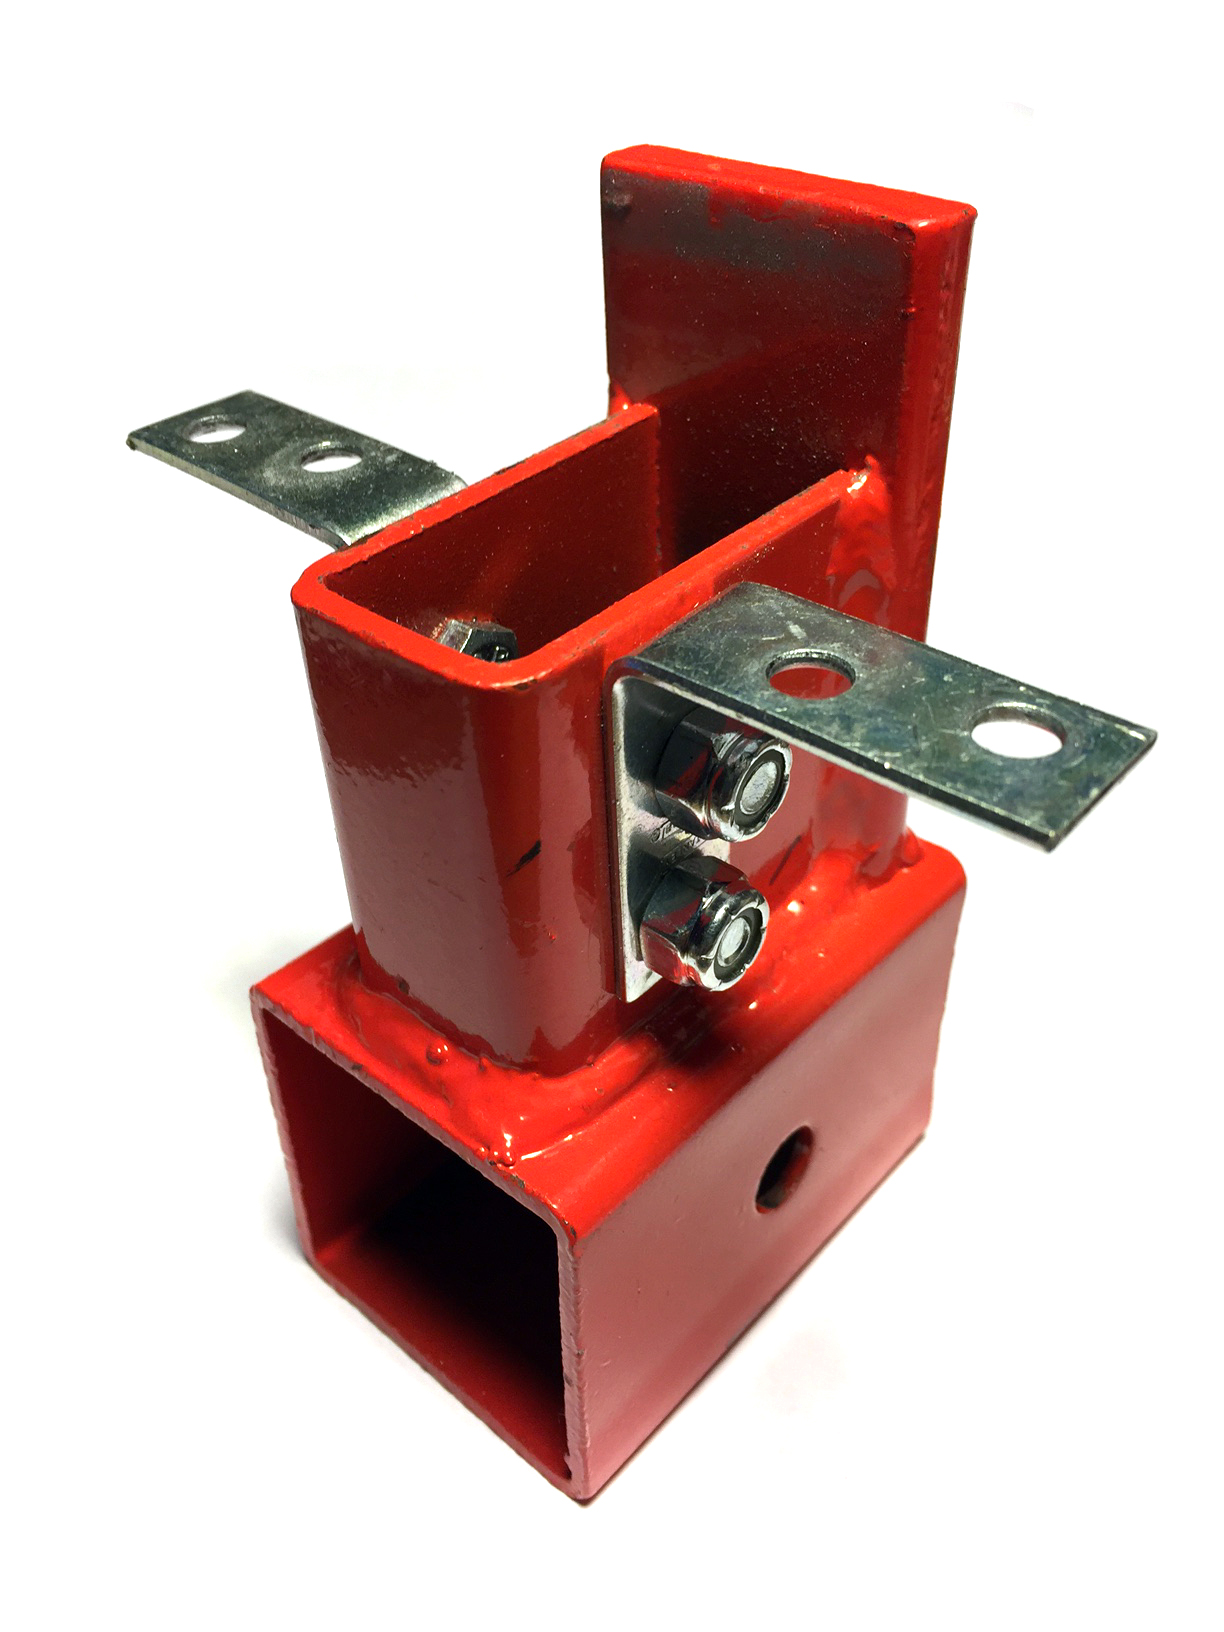 | 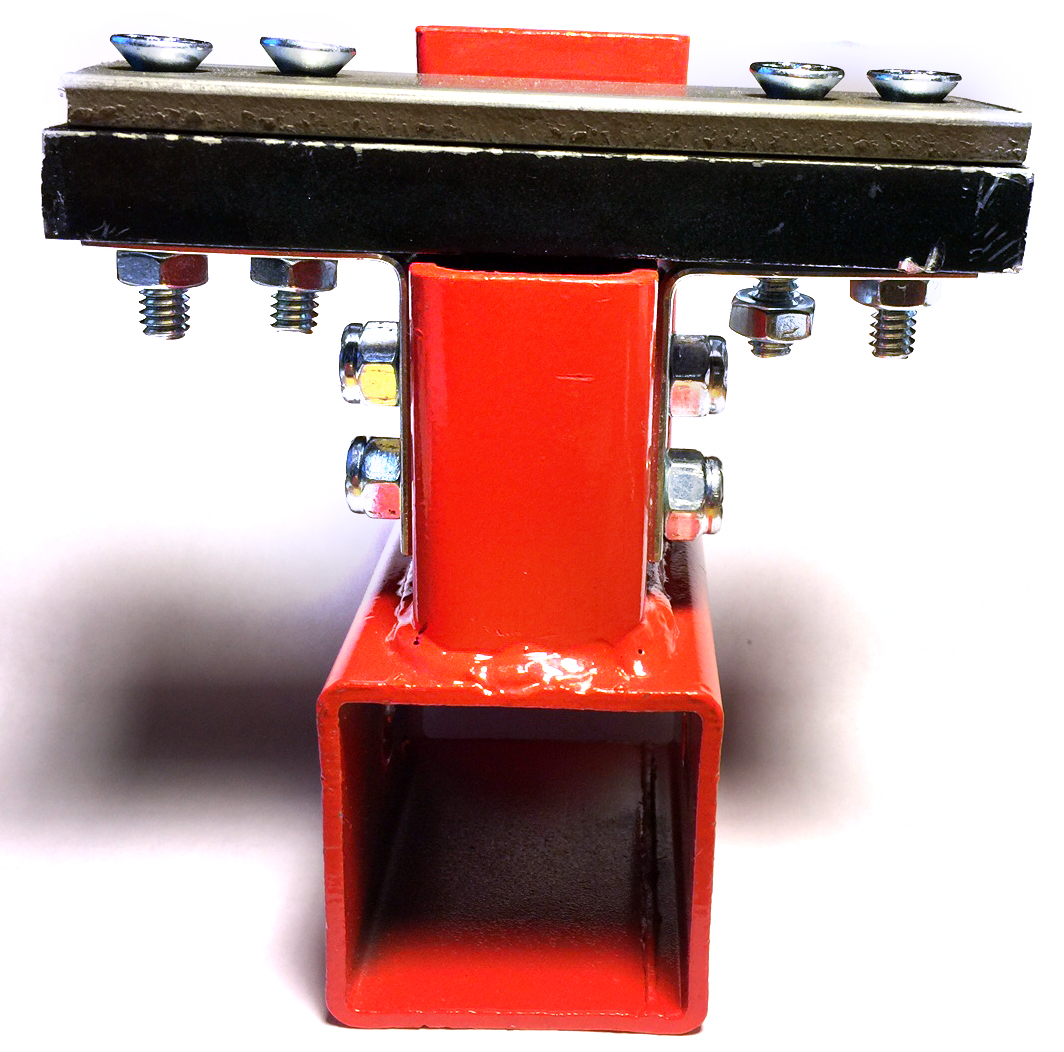 | 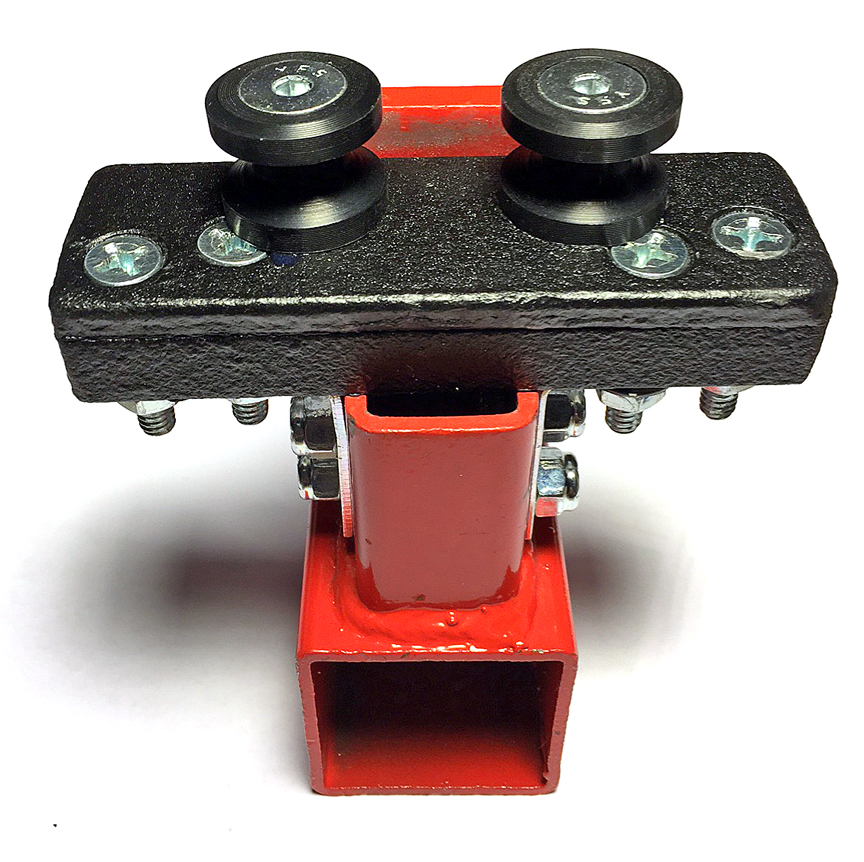 |
| Install angle brackets on all three wheel blocks3) | Assemble riser blocks on each leg4) | Install spools on top of the blocks5) |
 |  | |
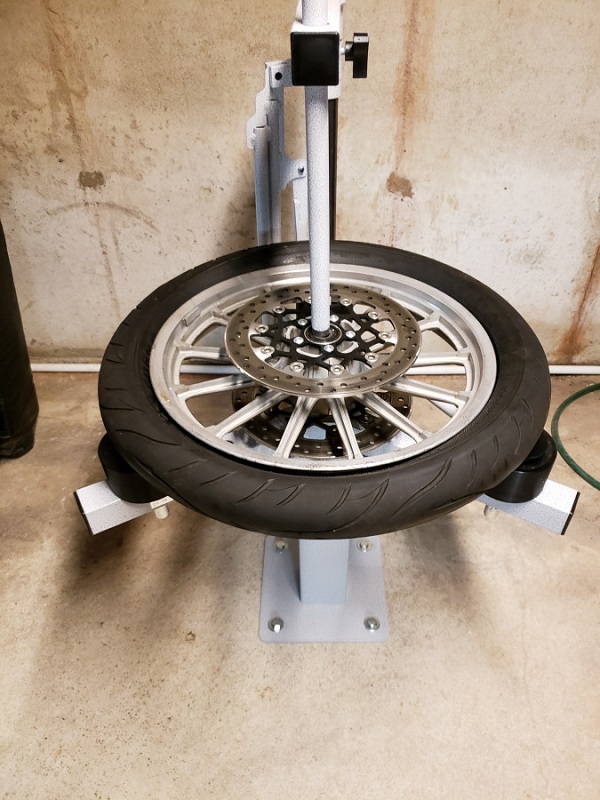
| Wheel slips into grooves in spools6) | Install smaller dia. center bar in machine for Harley rims. Cut inner tube sleeves. Install between all beam mounting points to tighten up machine.7) | |
No-Mar Tire Changer
Price: $899.00-$1,038.00 depending on options purchased. Theor tire balancer is also pictured below.
Click her for the website.
Dimensions: 47” H x 30“ W x 36” D
Weight: 77lbs in standard configuration
Clamping Range in inches 11.625-22.625“
Clamping Range in Wheel Size 10” to 21“
Tire OD (Outside Diameter) Clearance 34”
Max. Pulley Clearance 2.5“ (4” w/ Posi-Clamps®)
Bead Breaker Height Clearance 10.5“
Working Floor Space 5' Diameter Circle from frame center
Minimum Wall Clearance 12” From Back Post
Review from Screw Loose dan of the XLForum: 8)
The main issue I experienced was the “demount” bar that they include would not, could not, get under the lip of the tire.
No way, no how. I used a typical tire iron to hook the lip of the tire and make space for their demount bar.
The other thing I struggled with was the “Locking Cam and Dog Blocks” that clamp the wheel in place.
I got them to work, just took a bit of fiddling. Might be something I get the hang of or I may opt to try the optional ($$) “Posi-Clamps”.
No-Mar indicates the Posi-Clamps are suggested for “Heavy Cruisers like Harley's”.
I have no doubt that there is also a bit of skill/technique that will come with experience and repeated use.
Everything gets easier the more you do it.
I will also say, breaking the beads was quite easy (which was the major stumbling block I had when I had tried previously to remove a tire).
And, once I got the demount tip under the lip of the tire, there were no major issues removing the tire.
Next I remounted the tire I had just taken off, just for practice. (you'll have to trust me that this picture was taken after the previous one!)
Again, it didn't go quite like the videos, but in the end the tire got on the wheel. I didn't need to resort to any prying and using their mounting bar worked.
I would feel pretty safe doing this on the CF wheels (which can't withstand the prying of typical tire irons).
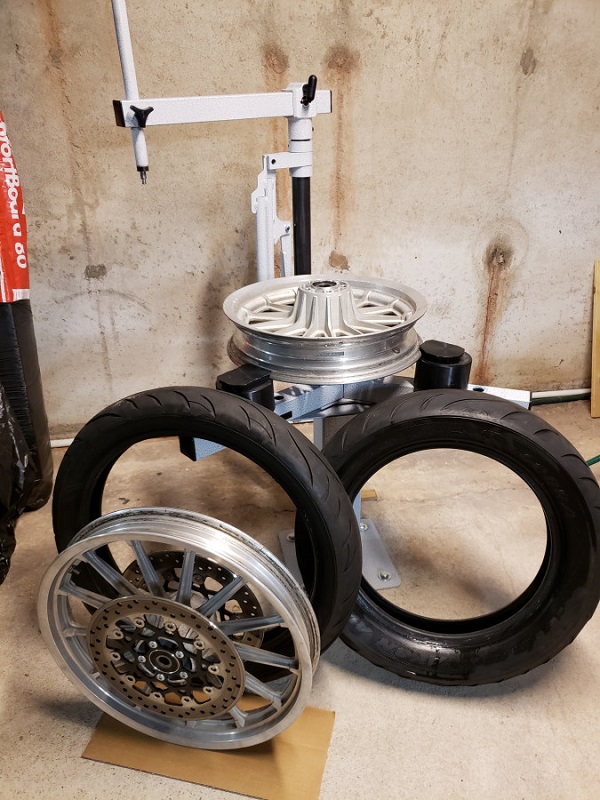
I ended up removing that tire again and also removing the tire from the rear wheel.
I didn't attempt to remount the rear, it was late and I was worn out. But, the system works.
Overall I've been very happy with the No-Mar tire changer.
It's a bit pricey, especially compared to low cost/Chinese competitors. But, this is American made and seems very well thought out.
Seems like it will be worth it and in the long run I might even break even compared to paying others to mount tires for me.
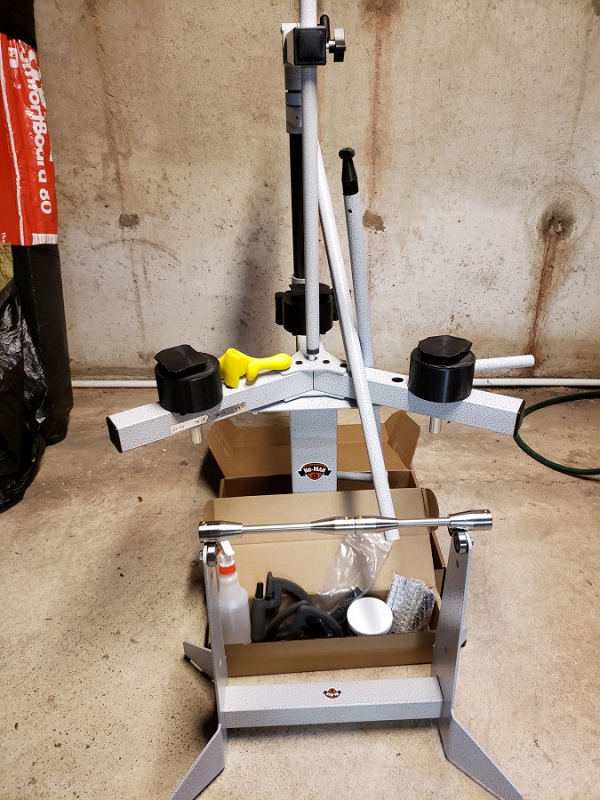
Unboxed:
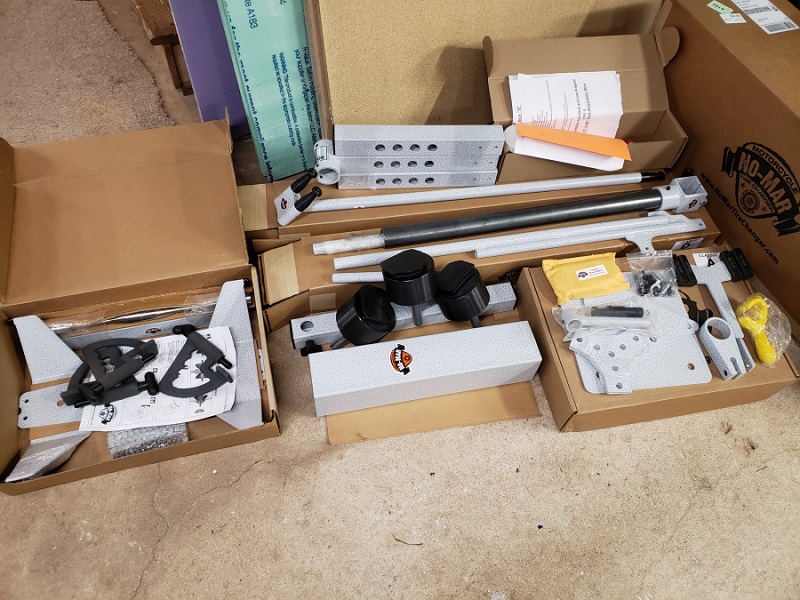 9)
9)
Bead Breaker
| 2×4 bead breaker 15) |
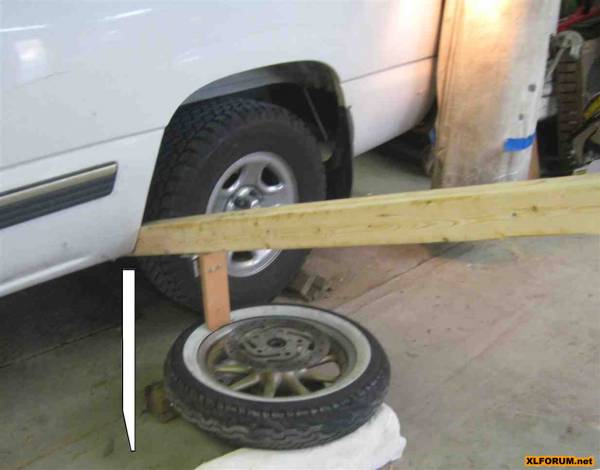 |
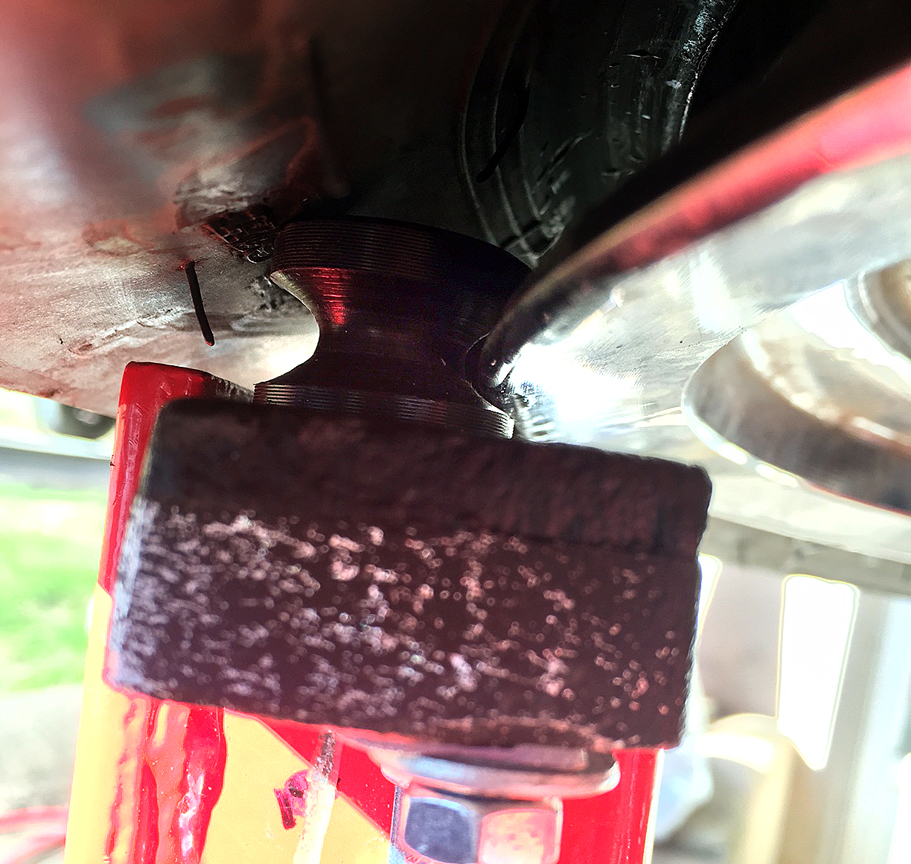
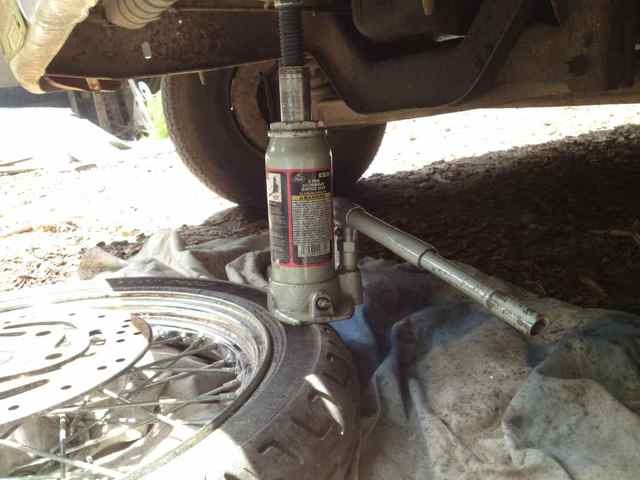
Here is another idea using a bottle jack under a truck frame and only takes a few minutes. 16)
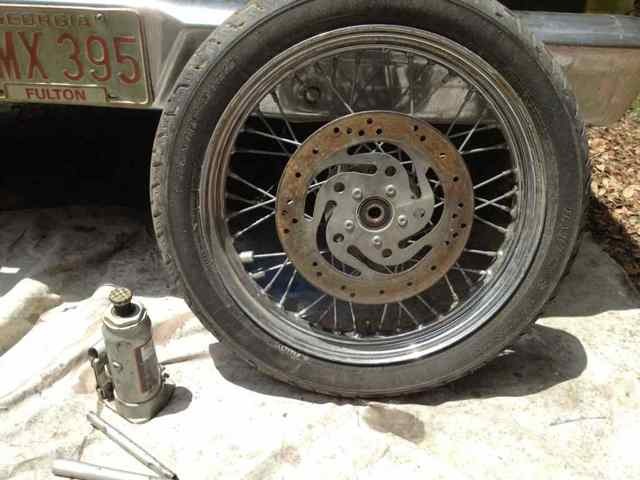
Lay the tire under the frame of your vehicle. (Use a board or ground).
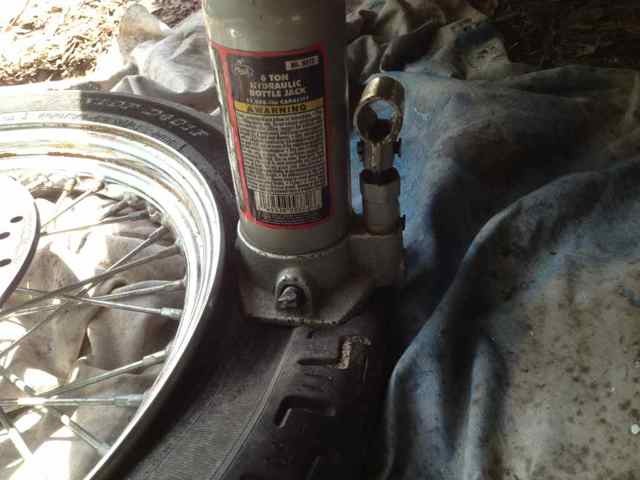
Place the bottle jack on the tire just off the edge of the rim (don't let it touch the rim on either side).
Align the top of the bottle jack with vehicle frame. Start pumping - break bead - flip over and do the other side.
| Bottle jack bead breaker 17) | ||
 |  |  |