Table of Contents
This is an old revision of the document!

REF: Tools - 148
Cylinder Leak-Down and Compression Testers
Leak Down Tester
See also Performing a Cylinder Leak-Down Test in the REF section of the Sportsterpedia.
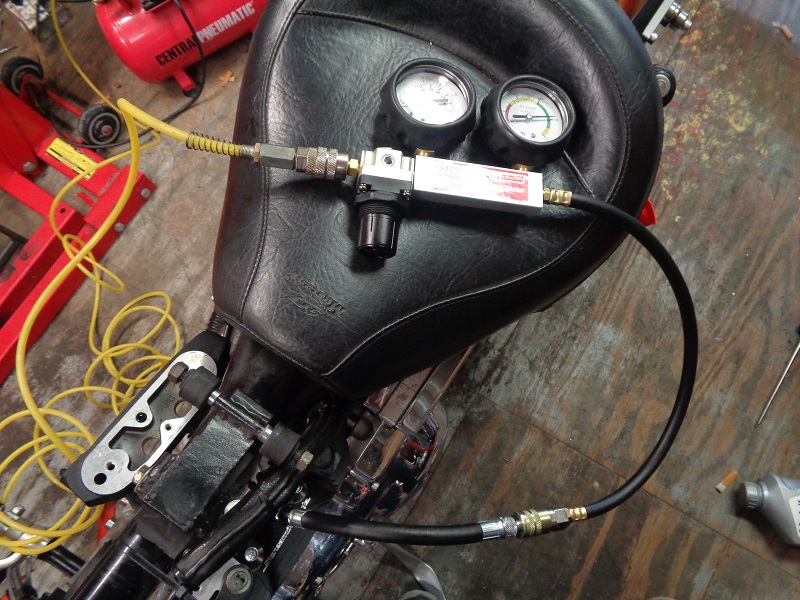
This is basically a flow meter showing the differential pressure between the two gauges.
Simply put, the left gauge measures incoming pressure from the air tank and the right gauge measures the pressure lost thru leakage in the cylinder.
Some have dual psi gauges for which you can induce a dedicated 100 psi of air into the system which makes deducing percentage easy.
Others will have a percentage based gauge on the right (with a lighter calibration) using a pre-determined amount of air via the regulator.
- When using the differential pressure gauge set, 1)
- The first gauge shows the regulated pressure.
- Then, the air passes thru an orifice (a smaller hole inline between the two gauges to restrict the flow between them) to the second gauge.
- The air then leaves the second gauge to the cylinder via the spark plug adapter.
- This pressure (end to end) would ideally be the same if there is no cylinder, valve or head gasket leakage.
This test will also tell you what to look for at the top end of a tear down: worn exhaust valves, worn intake valves, leaky head gaskets, or worn rings. 2)
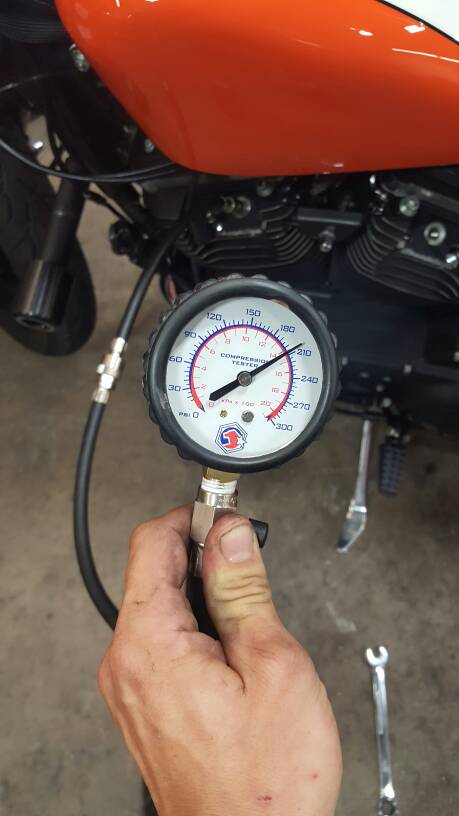
- Turn on the compressor, connect the gauge to the air pressure, and adjust the gauge.
- Thread the adapter into the spark plug hole and attach to the gauge.
- The gauge now shows the amount of leakage.
- Interpreting the readings
- Hunt down the source of leaks
 |  |
| Commercially available leak down tester (from Harbor Freight) 3) | |
|---|---|
 |
| Homemade Leak-Down Tester 4) |
|---|
Compression Tester

Spark Plug Hole Adapters for an Air Hose
These are used in place of the spark plug to hook up diagnostic tools (compression tester, leak-down tester etc.).
They can also be used to adapt a 14mm TDC whistle or piston stop to a Sporty engine.
Commercially available
- 14mm fittings are most commonly found at auto parts stores.
- 12mm adapters are usually supplied along with compression and leak down kits.
They are also available at some auto parts stores and online tool companies. - If you, by chance, have bought a 'kit' in the past only to find your gauges no longer work properly, keep the fittings that came with it before tossing out the defective parts.
These may prove to be invaluable when they are needed.
| A few adapters including a tall one (which is great for some V-8's). Add the small 14mm-12mm adapter on the long one and it'll work for 12mm plug holes. |
|
 |  |
| Spark Plug Hole Thread Adapters 7) | |
|---|---|
Homemade
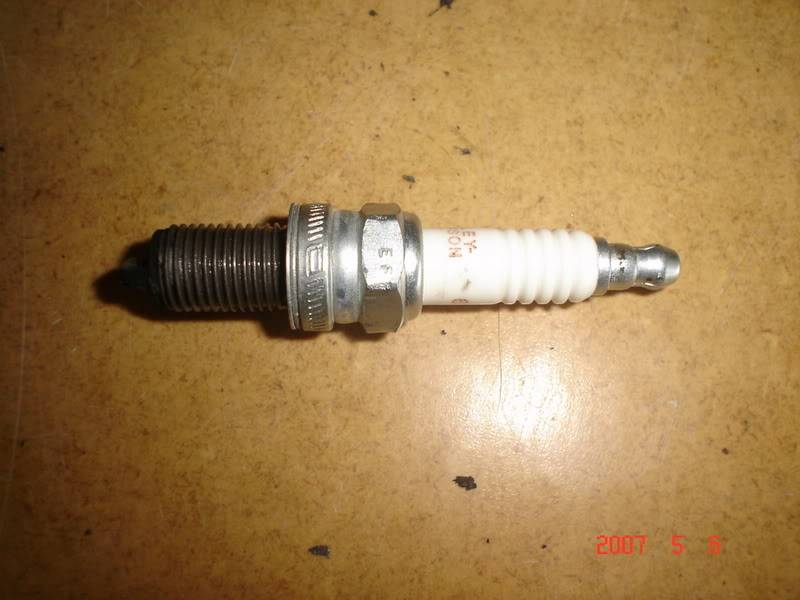
An old spark plug with the ceramic removed can be used to make an adapter for air hose fittings.
Ceramic is too hard to drill and it's easier to just break it off flush with the metal and cut the compression lip off the plug.
With the plug hollowed out, an air hose nipple can then be welded brazed, threaded or epoxied in the hole to connect a regulated air supply.
Welded:
 |
| Homemade air nipple welded into the plug. 8) |
|---|
Brazed:
This adapter was made using the same concept of removing the ceramic and brazing a male hose coupling to the end of a spark plug.
 |
| Homemade Hose Coupling 9) |
|---|
Threaded:
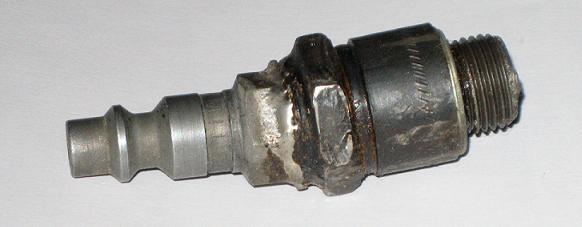
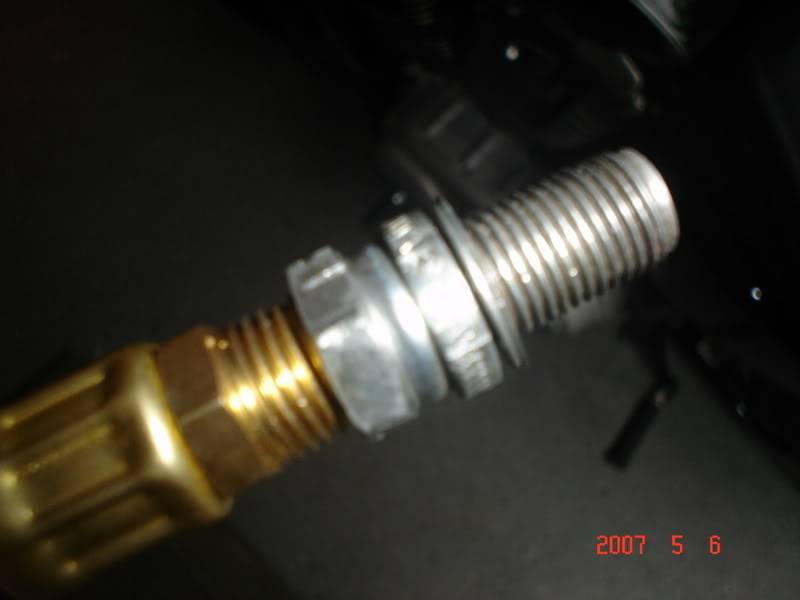
This is a homemade adapter (1/4“ NPT to 12mm) that's relatively simple to make if you are having trouble finding the adapter you need.
| A used spark plug is already threaded for the plug hole. You can grind the electrode off and remove the insulator. Then thread the internal hole for the threads you'll be needing from your hose / apparatus 10) |
|
 | 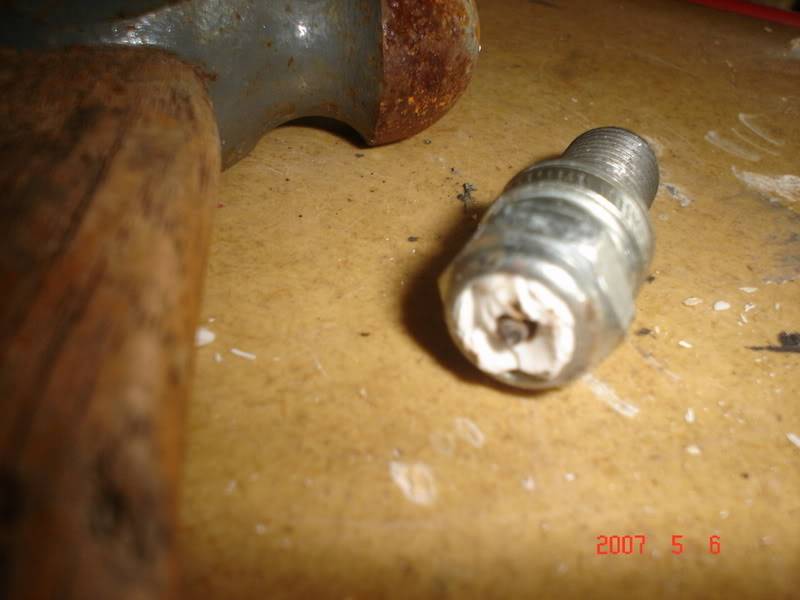 |
You'll need to tap threads into the gutted out portion of the plug. In order to get good threads in the plug body you need a bottoming tap (no taper).
Or, you will have to grind down a 1/4” NPT tapered tap and make it shorter until it is able to go deep enough into the plug body to cut threads in the sides.
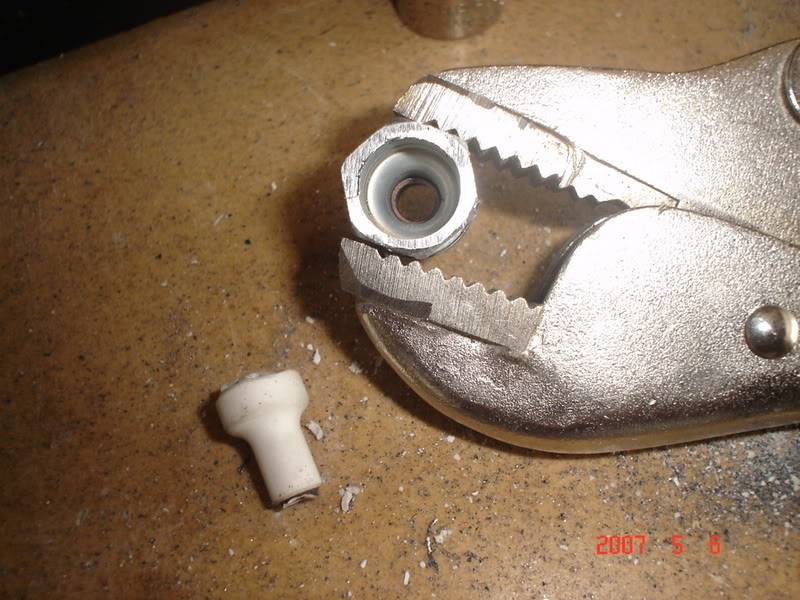
| Break the porcelain off with a hammer (eye protection required). Take a small screwdriver and break up the porcelain under the crimp (portion that holds the porcelain in the plug body ), this will let you grind the crimp only and the job will go faster as the porcelain is harder to grind. Then pull the rest of it out. You now have to tap threads in the gutted area for 1/4“ NPT (national pipe thread)in the plug body and you are ready to go. 11) |
||
 |  |  |
| Homemade 1/4” NPT to 12mm Spark Plug Hole Adapter | ||
|---|---|---|