Table of Contents

REF: Wheels, Brakes & Tires - Sub-06A
An Exercise in Bleeding the Brake System
The test subject is a brake lever and master cylinder from a 95 Kawasaki but the process is the same for a Sportster.
Clean All Old Brake Fluid Out of the M/C
Before replacing fluid or bleeding the air from your M/C, make sure the master cylinder has new and clean brake fluid in it.
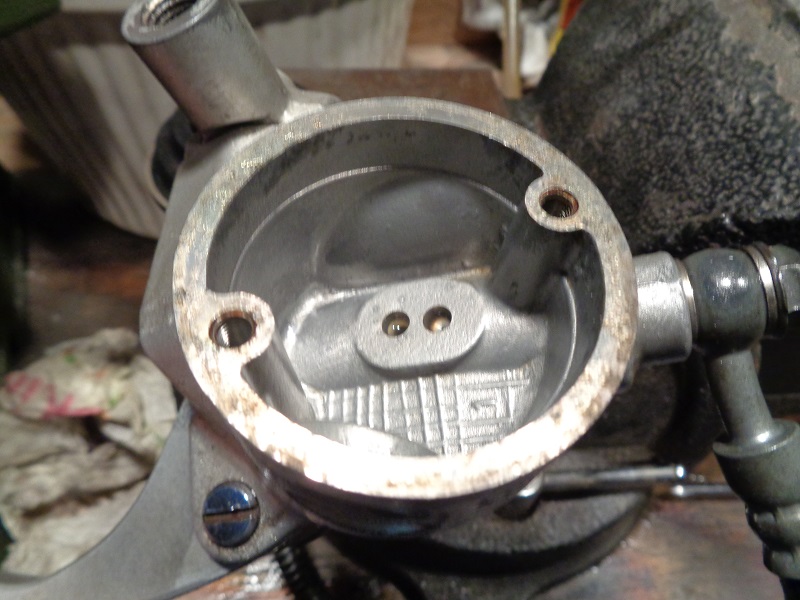
Remove (soak up) any old fluid with a rag or paper towel and wipe down the inside of the M/C.
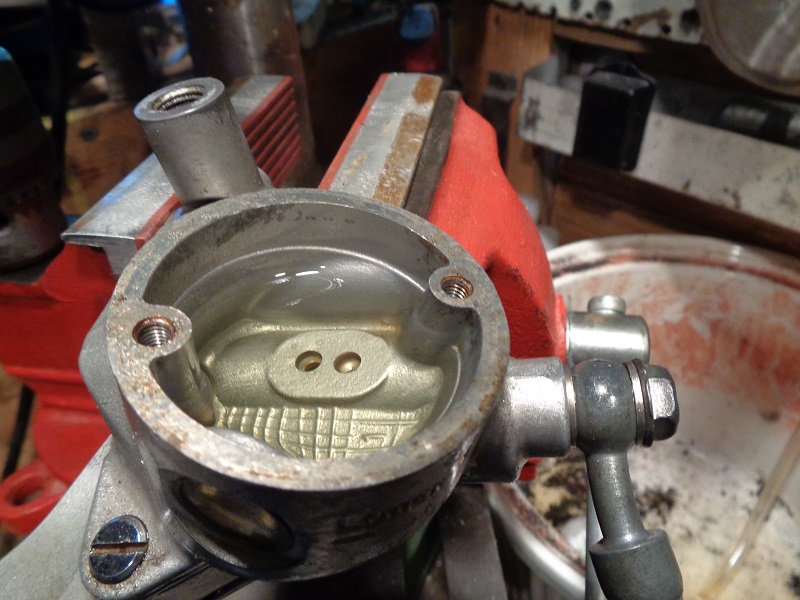
Then add the proper fluid to the fill line.
If in doubt about what type fluid to use, refer to your FSM and it's also stamped on the cover.
See more information here about Brake Fluid in the REF section of the Sportsterpedia.
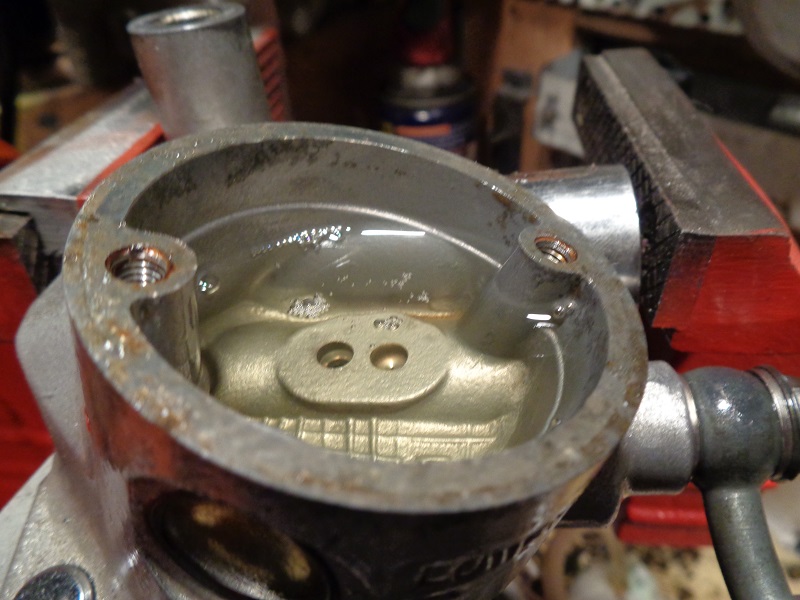
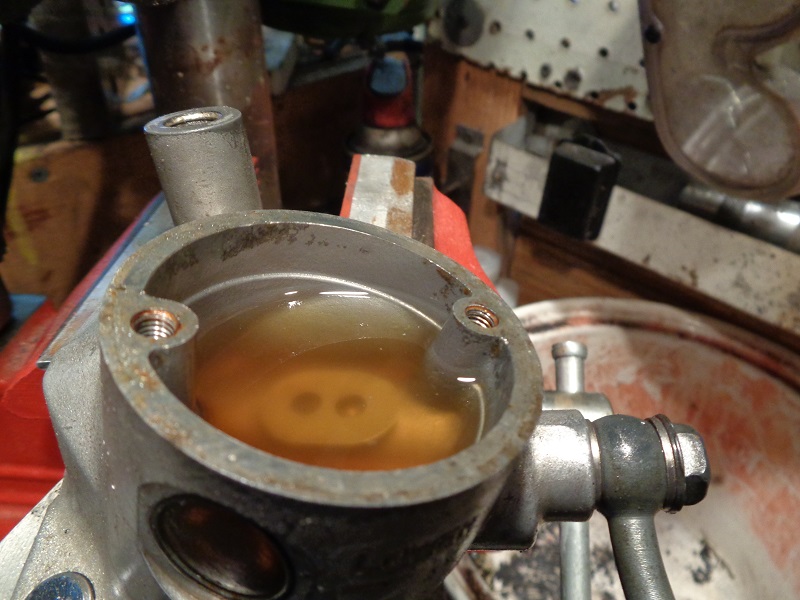
You can see the difference in the color of the old and new brake fluid in the reservoir.
You don't want to send more old brake fluid in the system while you are working.
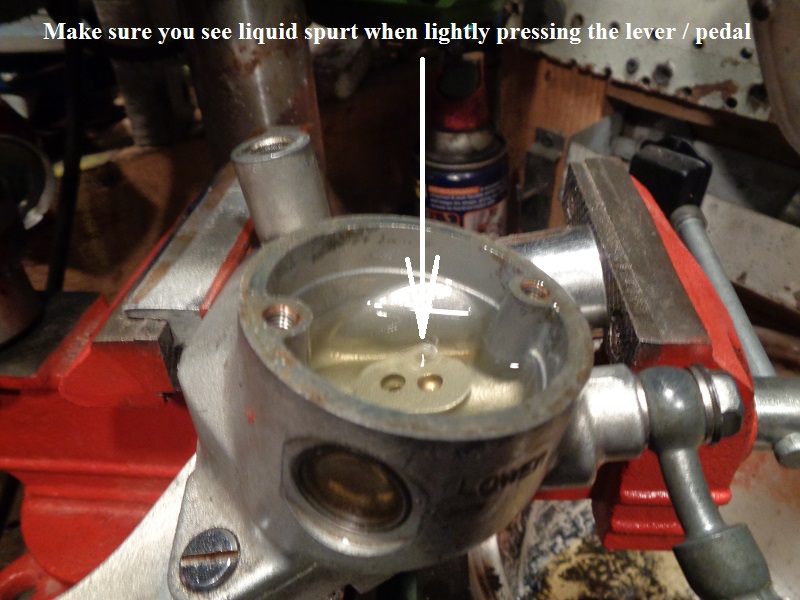
Test the M/C
For a pressure squirt:
With new fluid in the M/C, before attempting to move fluid or bleed the air, lightly squeeze the lever or pedal.
Watch for a spurt of fluid from the hole in the bottom.
This shows the seals are operating properly.
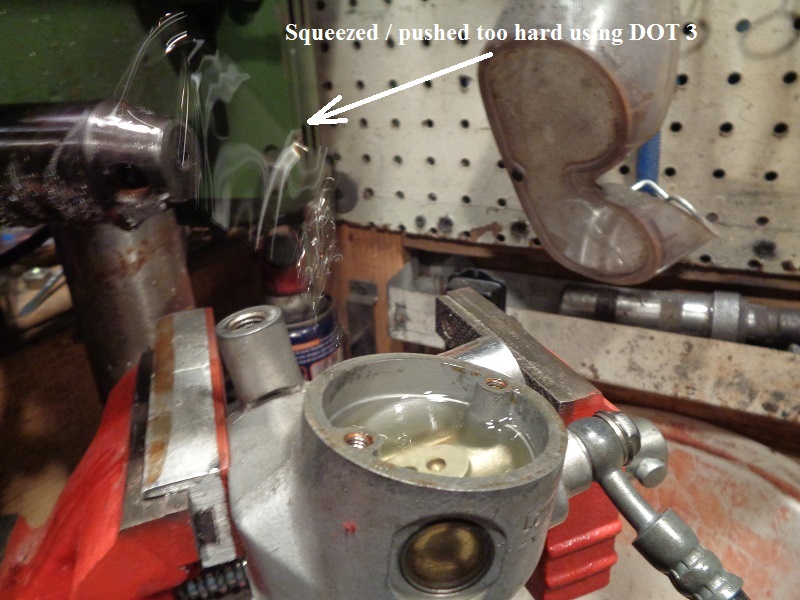
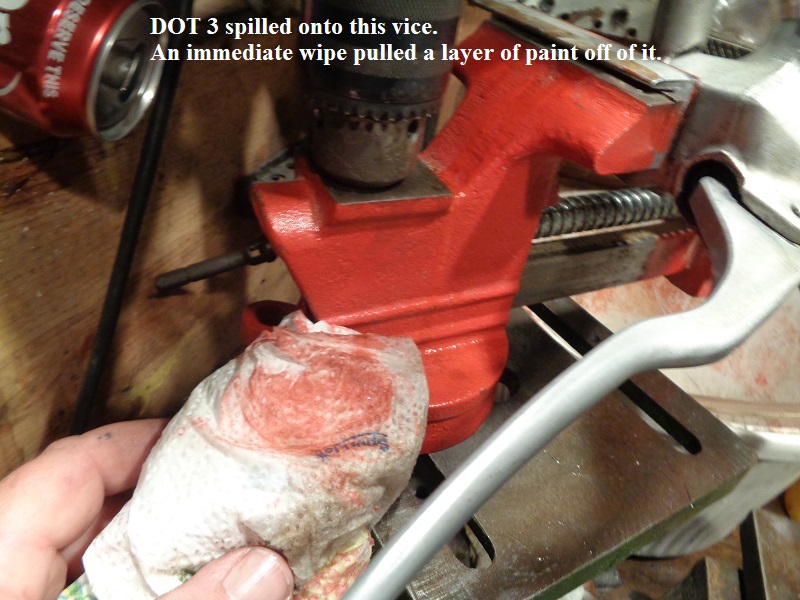
If you squeeze / push too hard with the cap off, the spurt will be higher and may come out of the M/C onto the bike parts.
If using DOT 5 fluid, this is a simple matter of cleanup with a rag.
If using DOT3,4 or 5.1 then it needs to be hosed off with water immediately as these type fluids will eat your paint.
For air bubbles:
With the cap off, tickle the lever / pedal and check for air bubbles to come up inside the M/C.
If you see any bubbles, before sending these down the brake line, continue to tickle until they are no longer created.