Table of Contents

REF: Engine Mechanicals - Sub-03A
Ignition Cover Mods and Aftermarket Covers
See also:
Custom / Homemade Covers
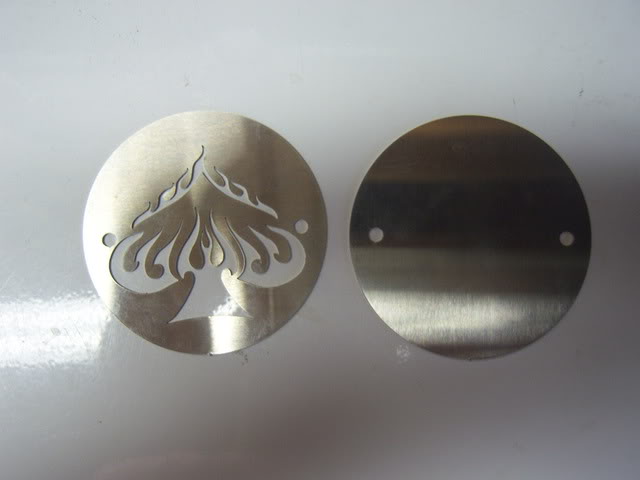
Make Your Own Ignition Cover
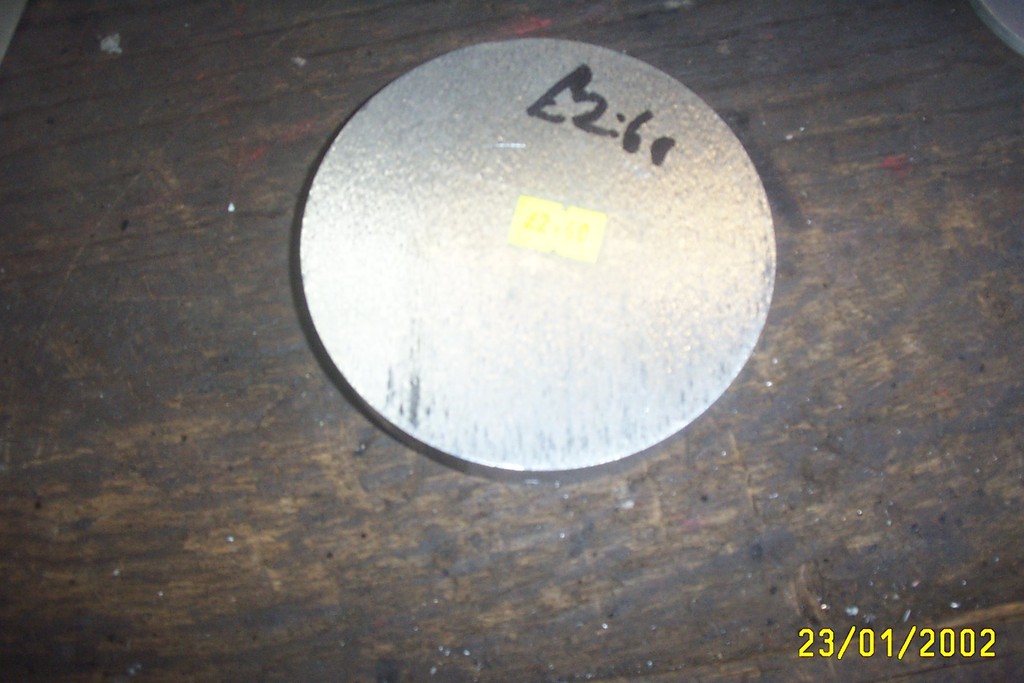
| Trace your existing cover out onto the material of your choice (aluminum used here). 1) | ||
 |  |  |
| Rough cut the round disc. 2) | ||
 |  |  |
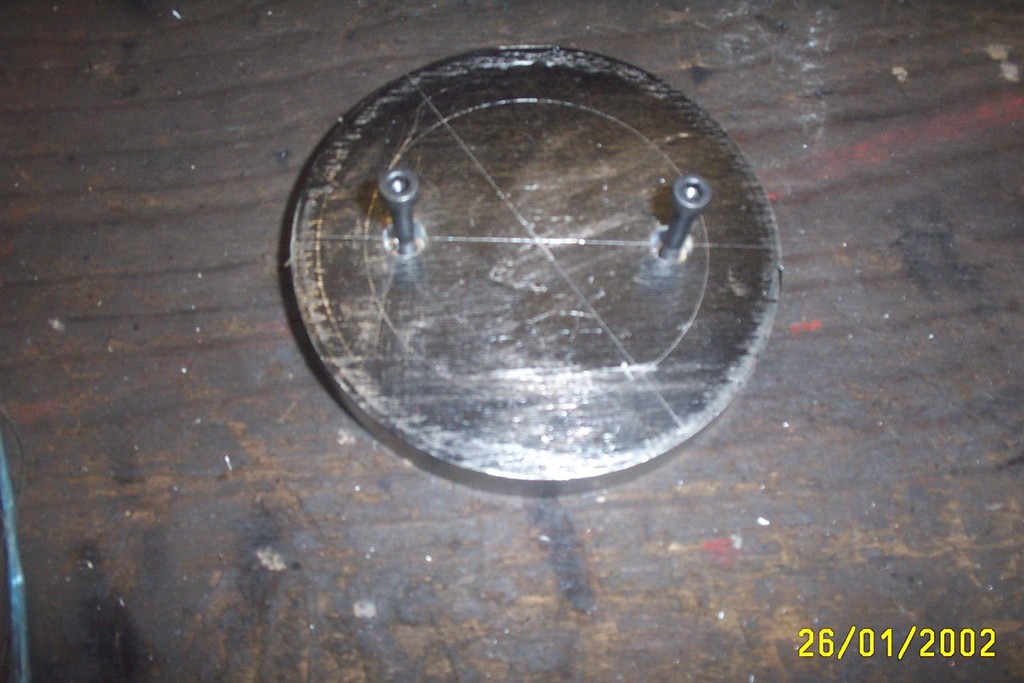
| Drill the mounting holes. Then make a jig to hold the disc into a lathe or drill press. Turn or file the edges to the target diameter and with the finish of your choice. 3) |
||
 |  |  |
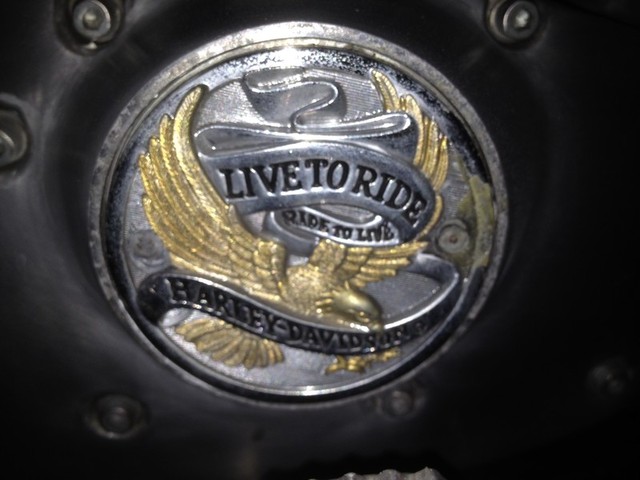
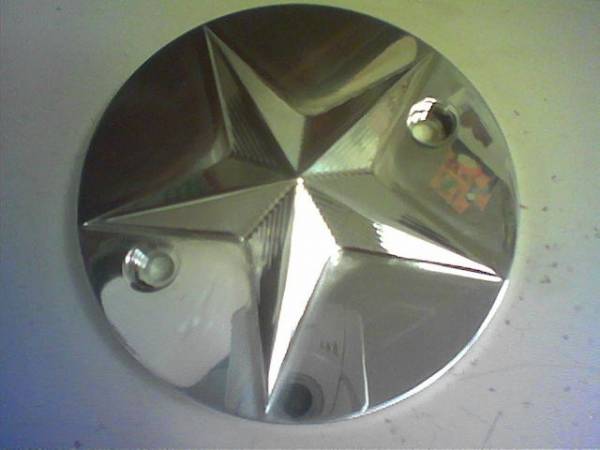
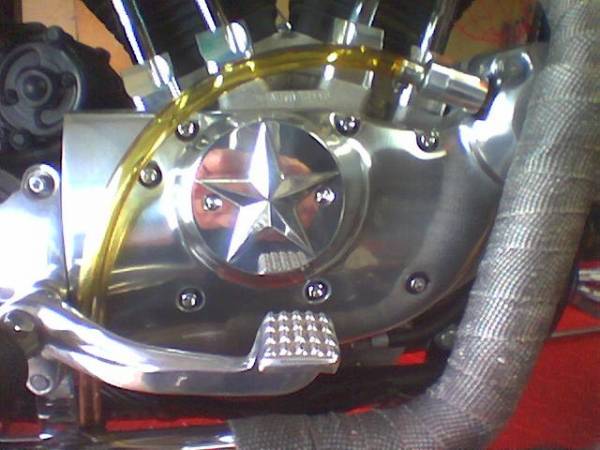
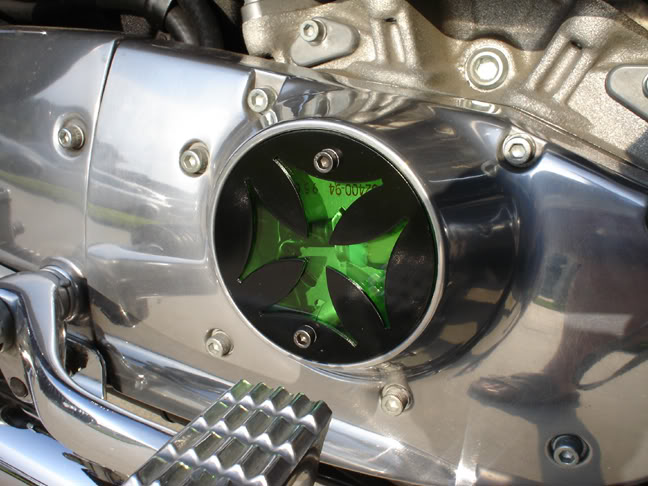
Commercial Iron Cross with Green Backdrop
- Parts:
- 1 green acrylic plate from any dime or thrift store.
- Aftermarket ignition cover with the iron cross emblem.
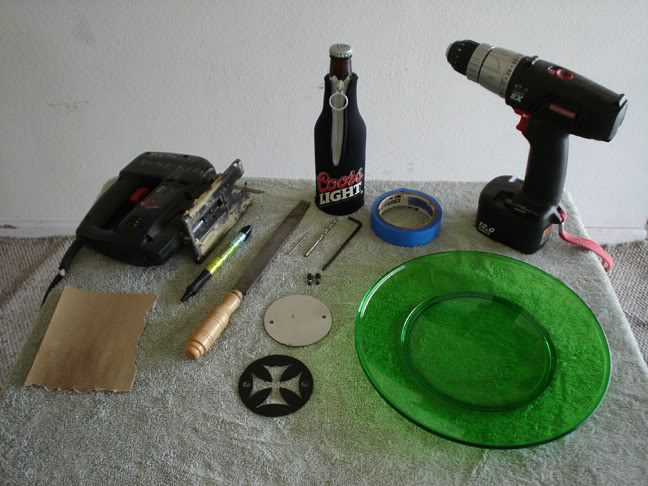
- Tools:
- Jig saw with the wider teeth cutting bit.
(the fine bit teeth will melt the plastic before cutting it) - A file to smooth out the edges.
- A drill to make the mounting holes.
- Painter's tape to protect the acrylic.
- A marker to outline the material.
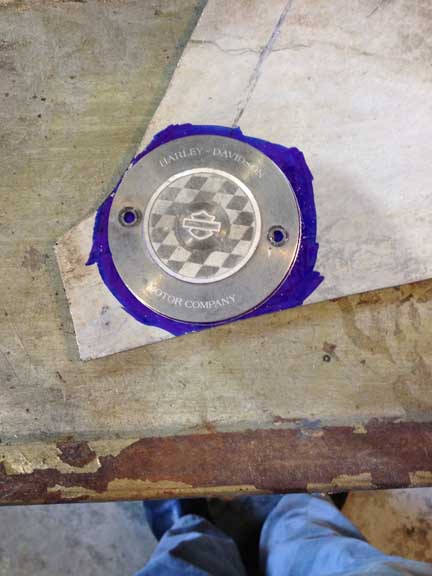
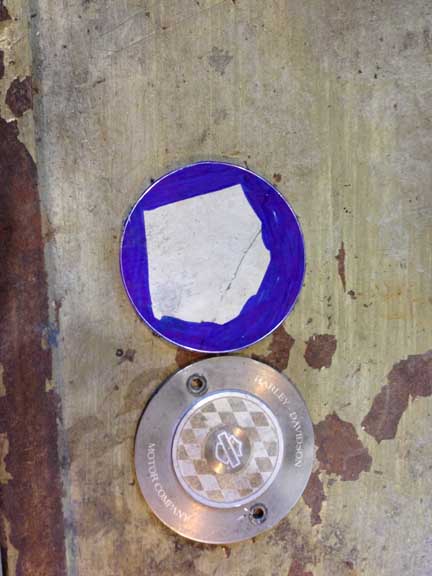
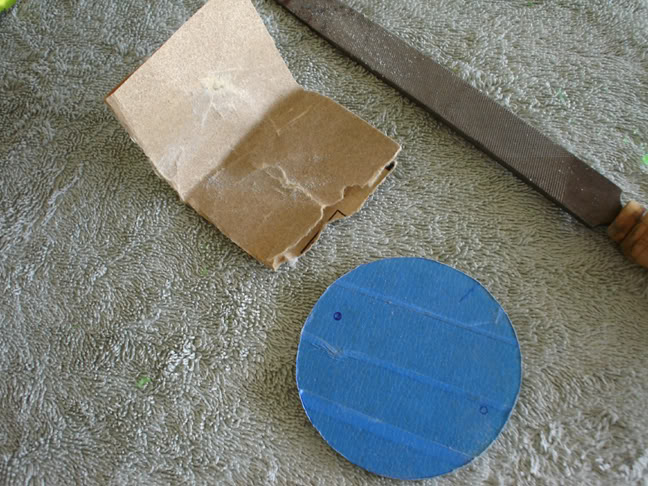
| Acrylic is hard to work with. If you go too fast it melts back together. If you go too slow it cracks. The steel iron cross overlay will hide imperfections on the edges of the acrylic. 4) |
|
 |  |
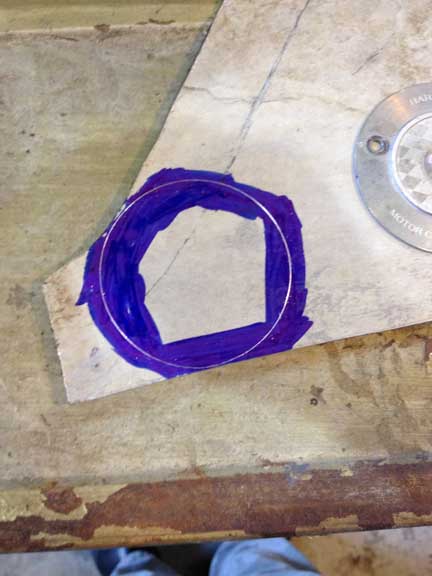
| The backdrop is made from a cheap acrylic plate. Trace the cover onto a taped section of the plate and cut it out with the jigsaw. 5) |
||
 |  |  |
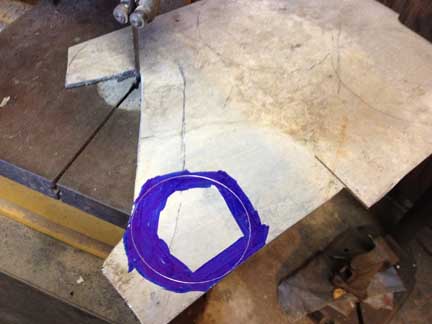
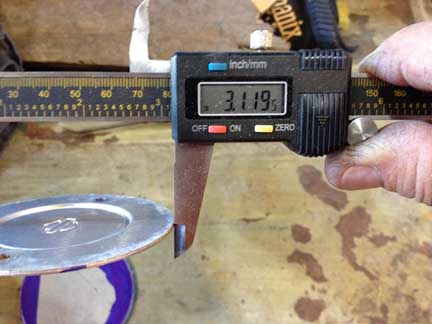
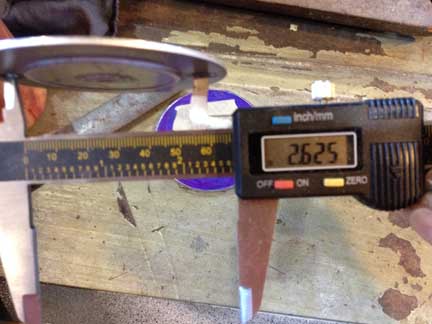
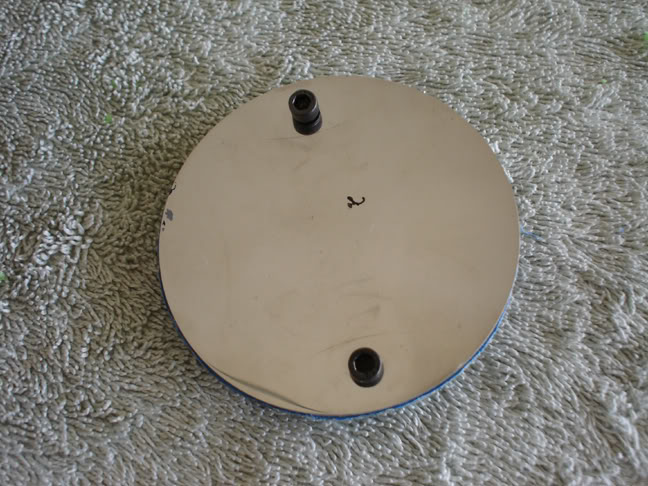
| Drill the mounting holes. Then bolt it to the original cover to act as a guide for filing the edges smooth. The blue overhang below is the material that had to be removed. 6) |
||
 |  |  |
Homemade Finned Ignition Cover
| Start with some aluminum stock 7) | Drill the mounting holes 8) | Make a backing plate as above to fit in a lathe. 9) |
 |  |  |
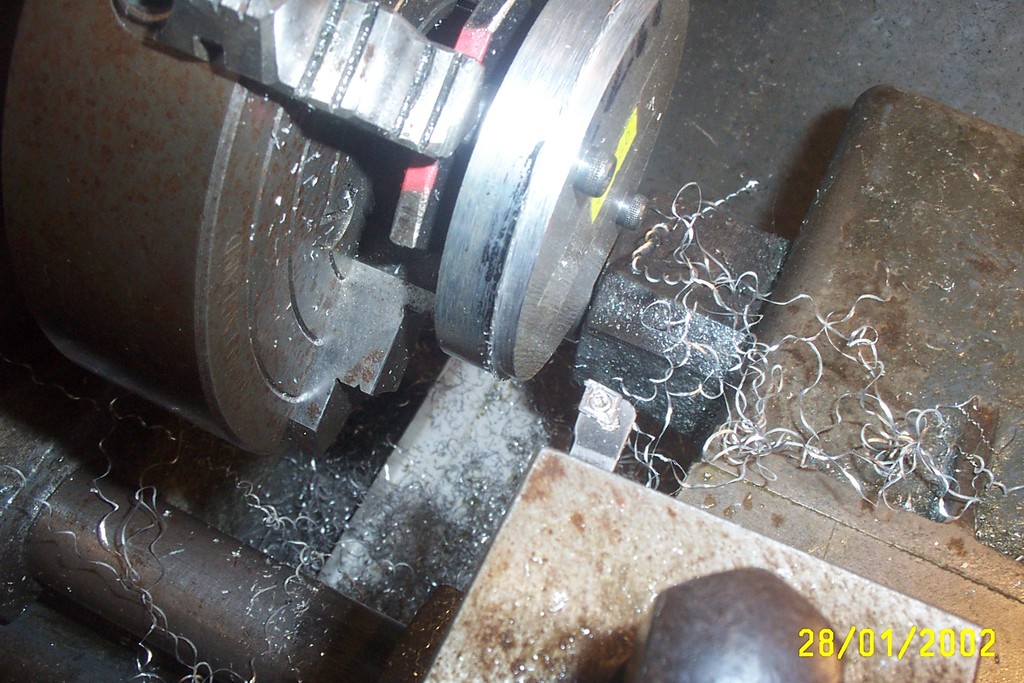
| Bolt the backing plate to the disc, chuck the plate up into a lathe and cut it down to right diameter. 10) | The back of this one was chamfered. 11) | |
 |  |  |
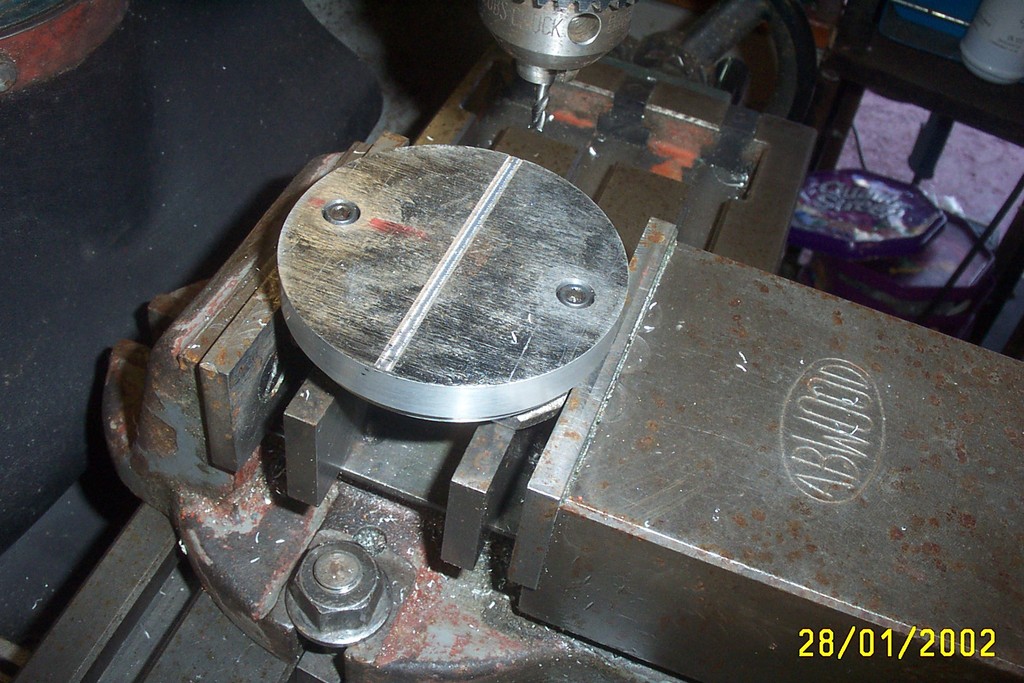
| Next, put the disc on a milling machine to cut the fins. 12) | ||
 |  | 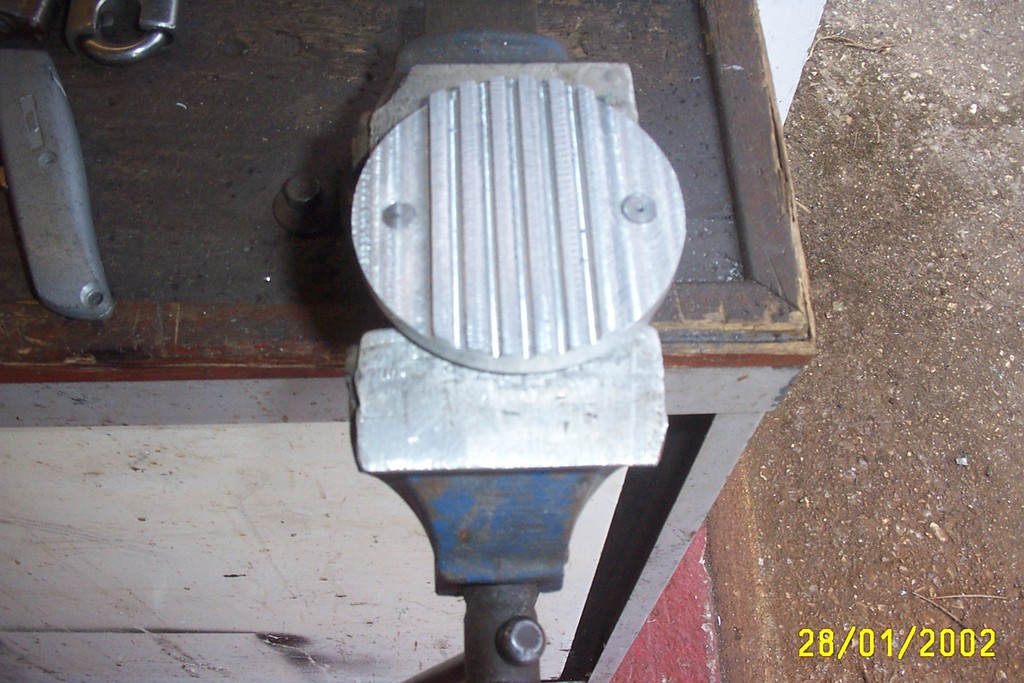 |
| Polish out the machining marks and install. 13) | |
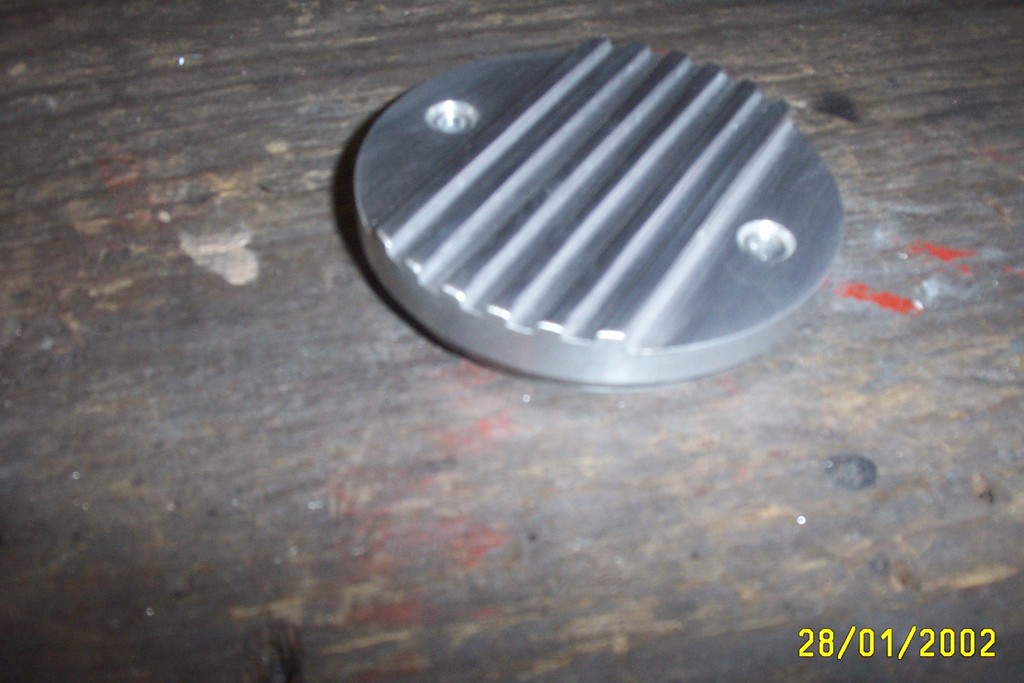 | 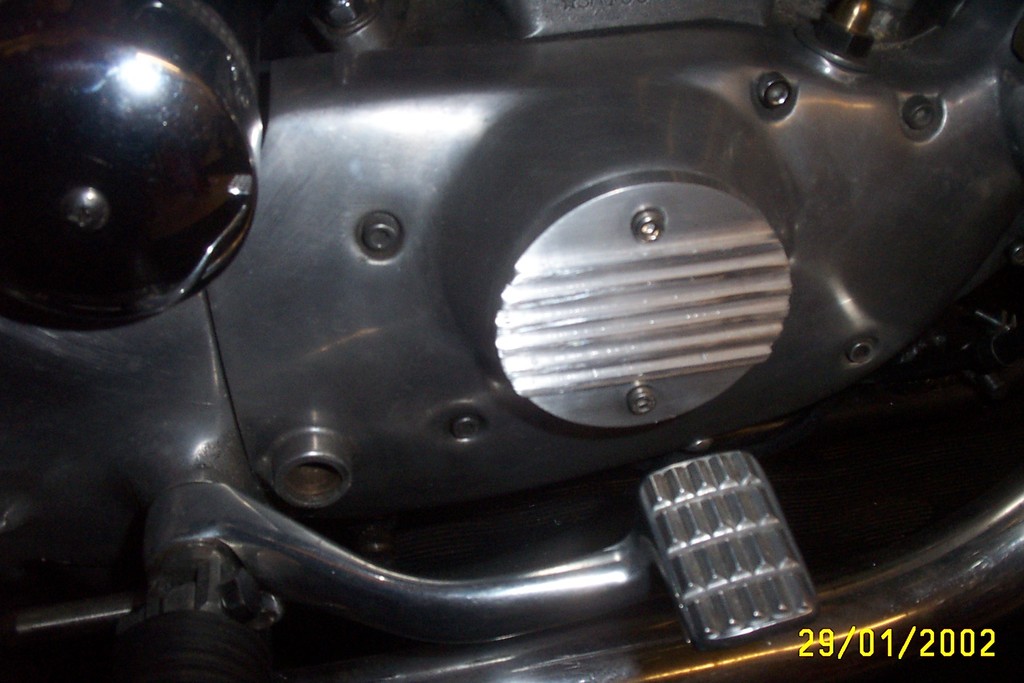 |
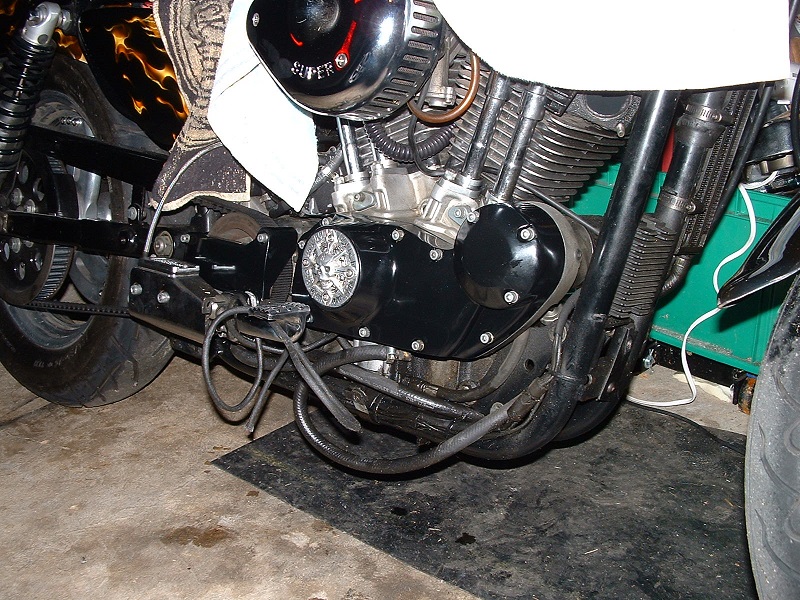
Pics of Homemade Covers
| Ignition cover made from a recycled burnt out .010 over piston 14) |
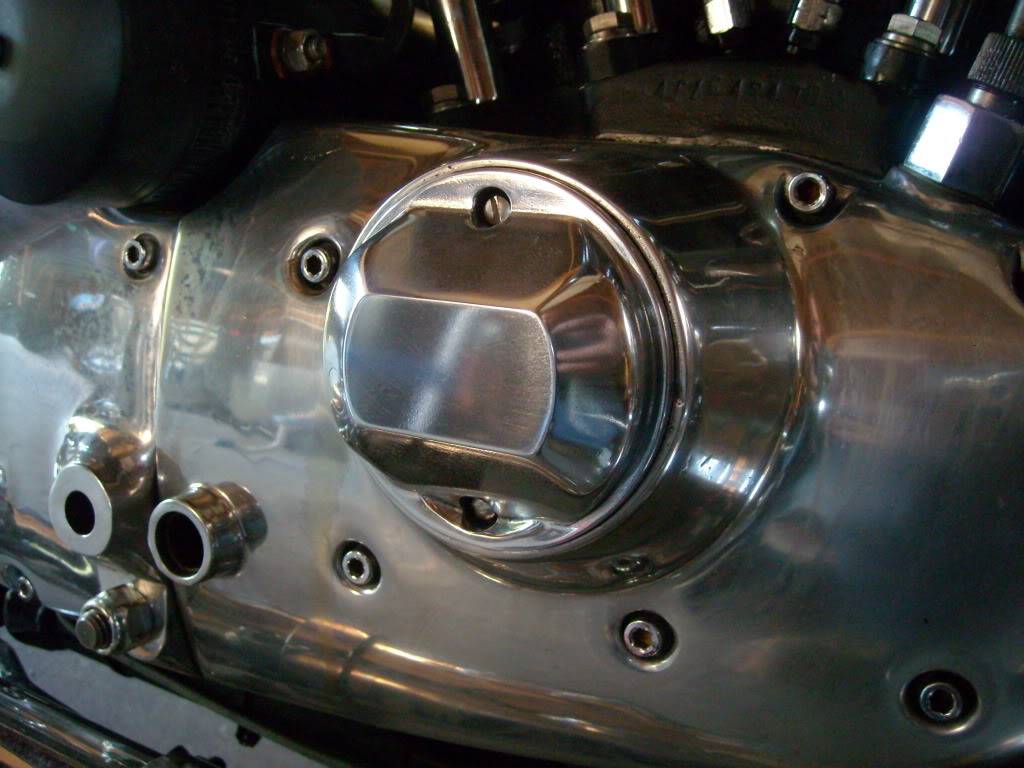 |