EVO: Electrical System - Sub-02A
86-90 Stator Replacement
This is not intended to replace the service manual but rather to explain more in depth with pics.
- In simplified form:
- Remove the shift lever.
- Drain the primary oil.
- Take out the primary cover (don't forget to loose the chain tension adjuster).
- Break lose the engine sprocket nut (use a break bar). You can use a chain locking tool, stick a towel in there or use a wrench to lock it.
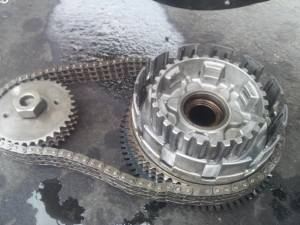
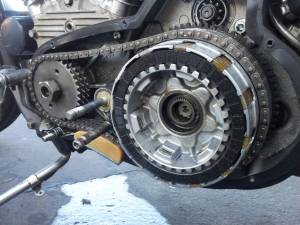
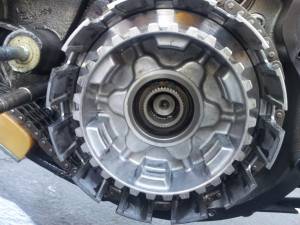
The clutch was disassembled in the pics below. - Take out the clutch shell. In order to do this, you'll have to remove two snap rings.
- Take the first one out and the adjusting screw assembly.
- Take the second one out (behind the adjusting screw assembly).
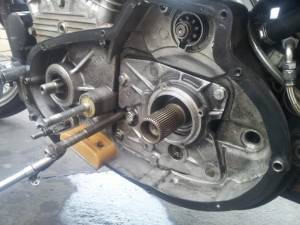
- Take out the clutch shell and the engine sprocket together.
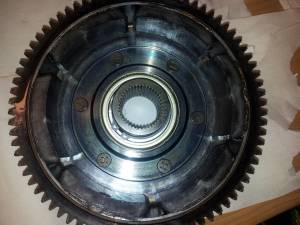
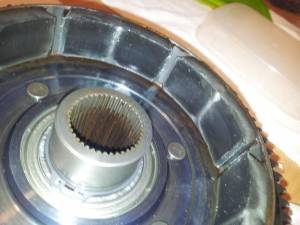
You will face some resistance in the clutch shell due to the rotor magnets. That's normal.
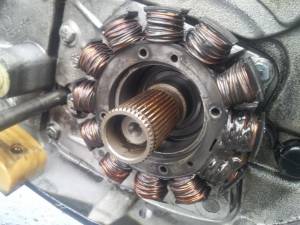
- Break lose the four allen screws and replace the stator. Check the screw heads and threads for damage or warp-age and replace if necessary. Clean any screws that may be re-used including any residual Loctite.
- It might be a little tricky to get the stator plug under the bike (in the place it was originally in) and it may be best to get under the bike, or better yet, put the bike on a lift.
- You can make an alternator/rectifier extension cord with some basic soldering latter, if the cord can't reach the stator's plug, if necessary.
- To put everything together again, just repeat the procedures in reverse order (6 - 1). Make sure to use some blue loctite in the stators screws and some red on the engine sprocket nut (use a torch wrench with the correct torque value as stated in the FSM.
- Here are some photos that might help:
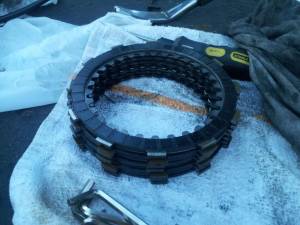
| Clutch disassembled. You can also see the groove inside the pressure plate, where the flat snap ring that holds the clutch together should fit in to. 1) | Clutch Plates 2) | |
 |  |  |
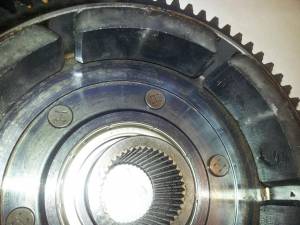
| Rotor and magnets. This is why you should not use a hammer to loosen the rotor. 6) | ||
 |  |  |

