Table of Contents
This is an old revision of the document!

REF: Service Procedures 16
Hydraulic Lifter - Disassembly / Inspection / Assembly
Disassembly
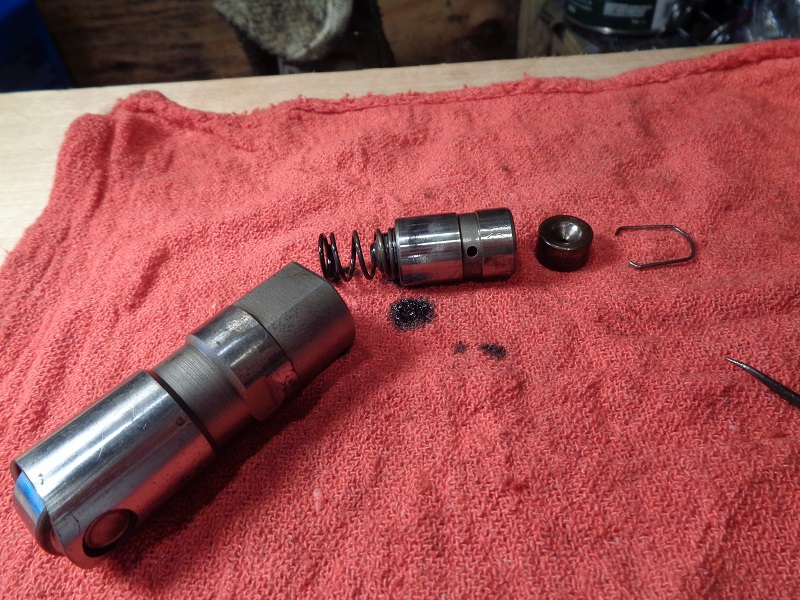
Disassembling a lifter is not very difficult.
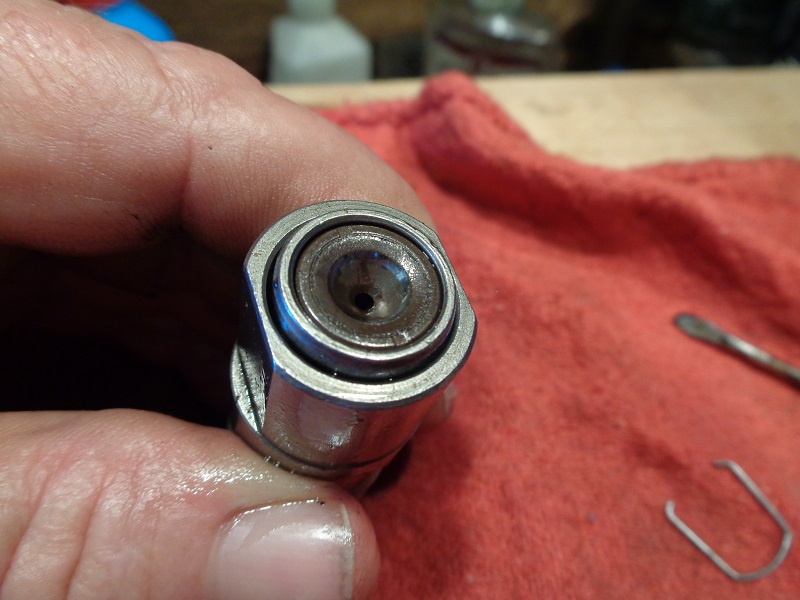
The plunger is under slight spring load from the retaining ring when the oil is bled off of the lifter.
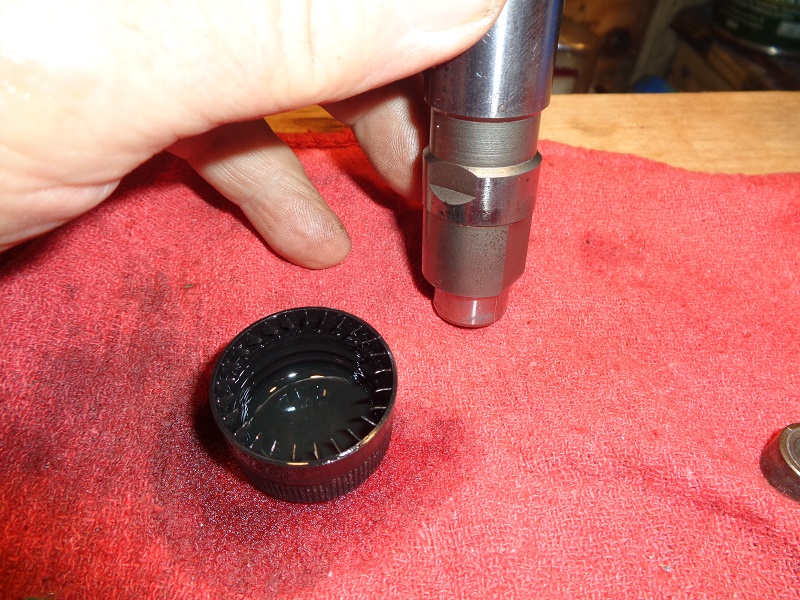
A pumped up lifter can be bled by removing the check valve on the bottom and pressing a pushrod in the lifter hole.
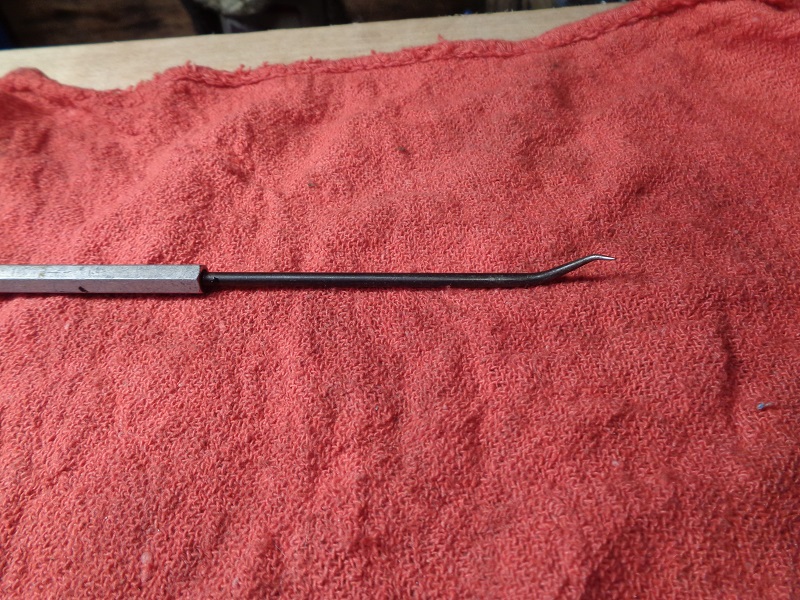
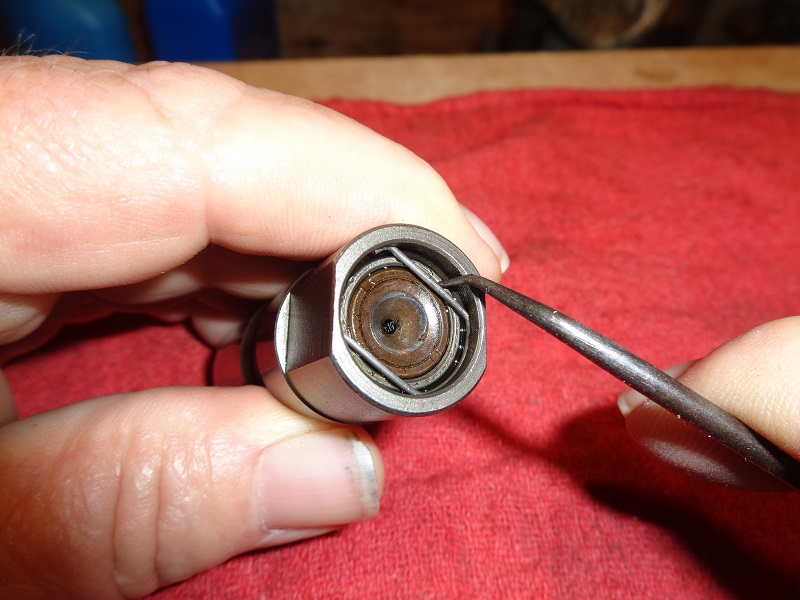
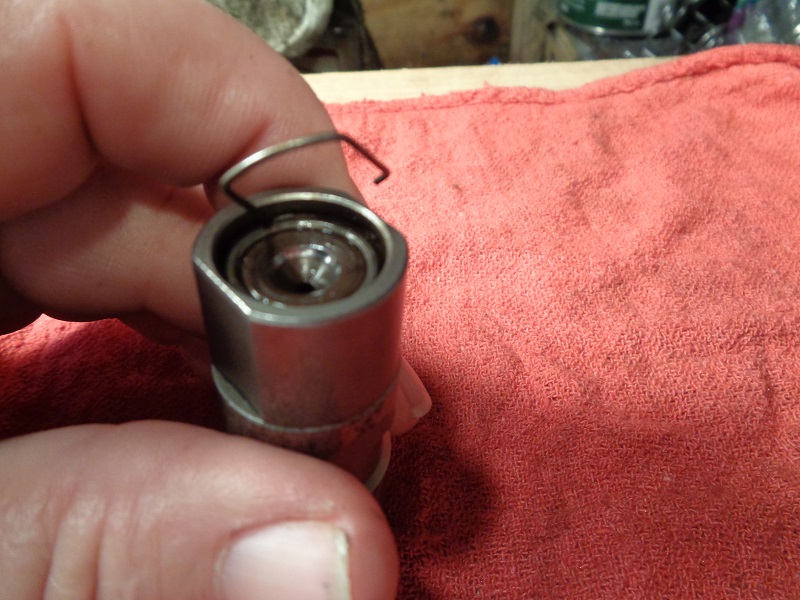
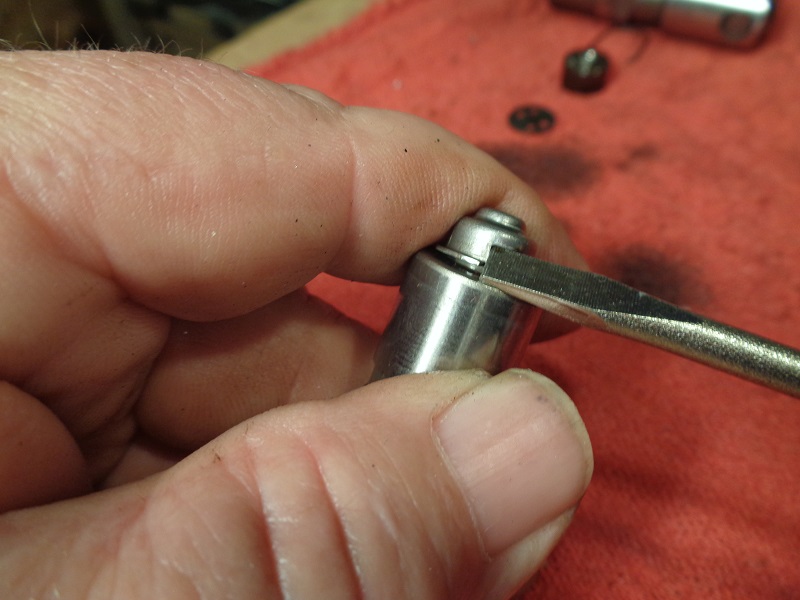
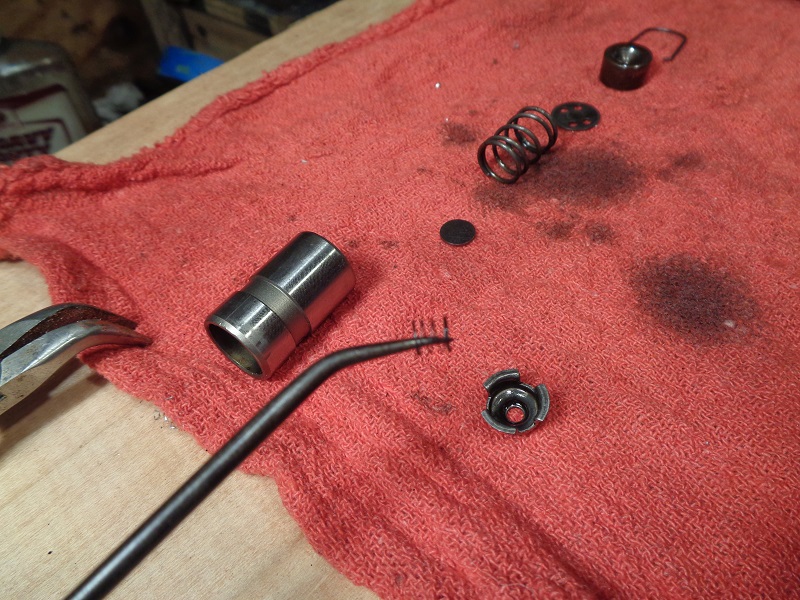
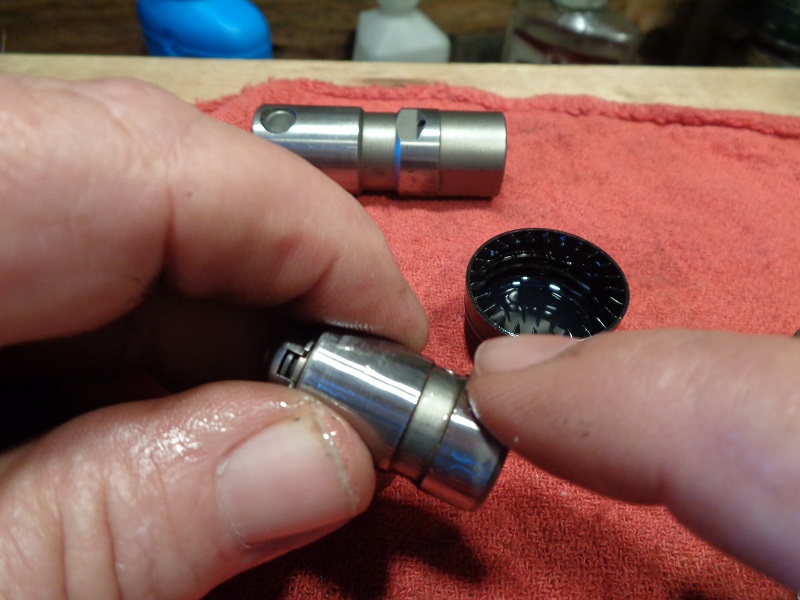
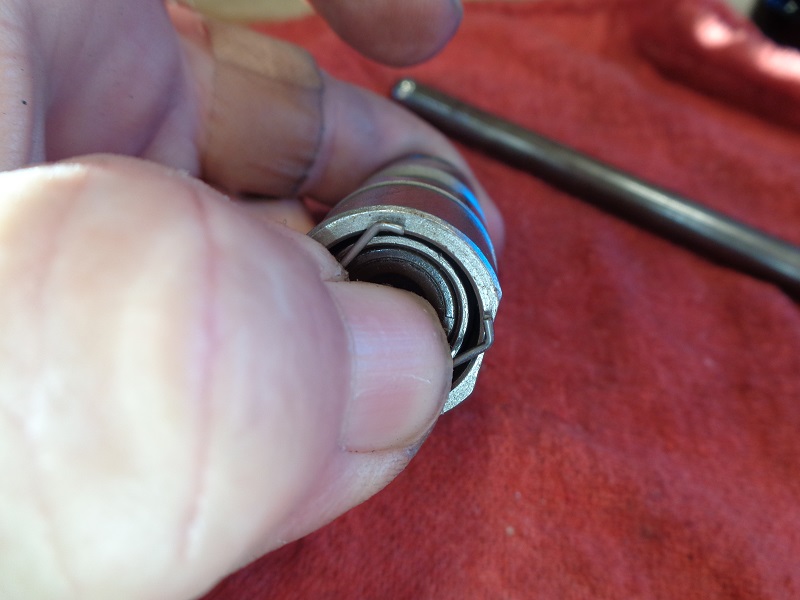
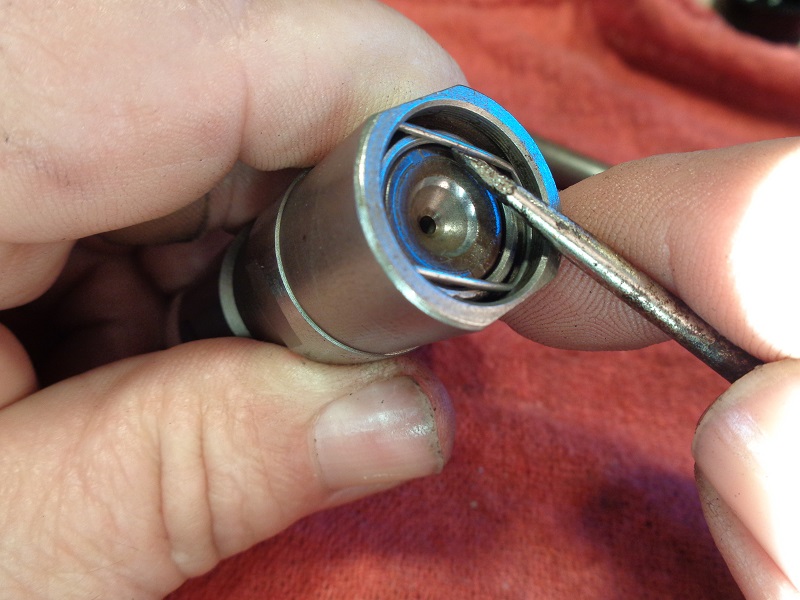
| A doglegged pick works good for removing the retainer clip and removing the internals. 1) | This is not a good idea as the clip may fly off once removed and you can lose it. 2) | Push slightly on the plunger to remove pressure on the clip and use the pic to pull the clip away from the groove in the top. 3) |
 |  | 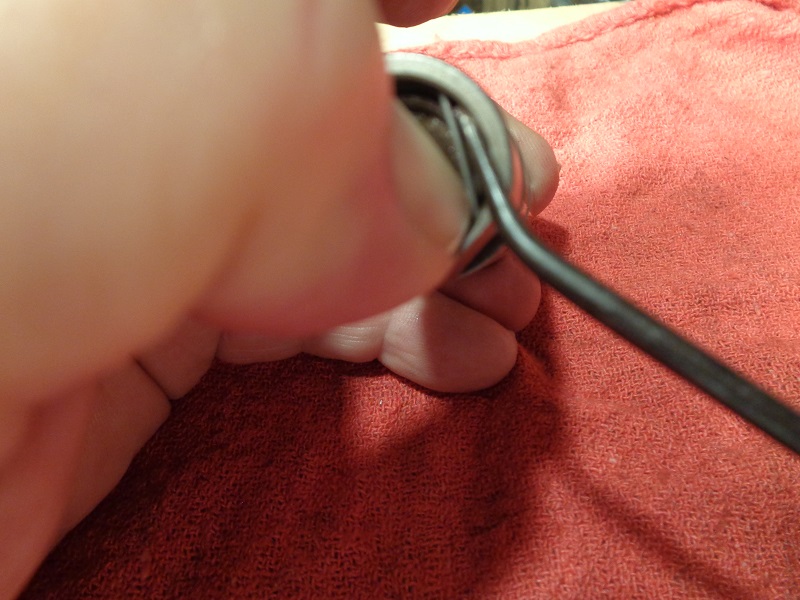 |
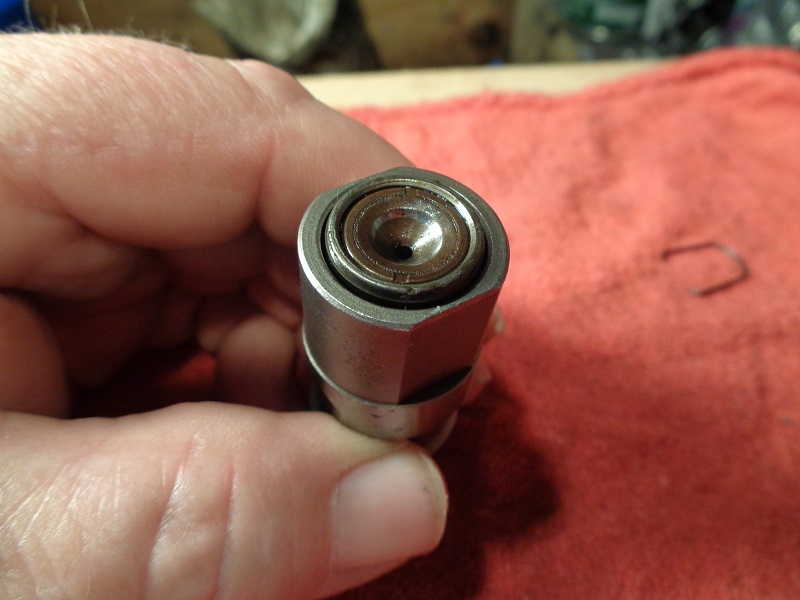
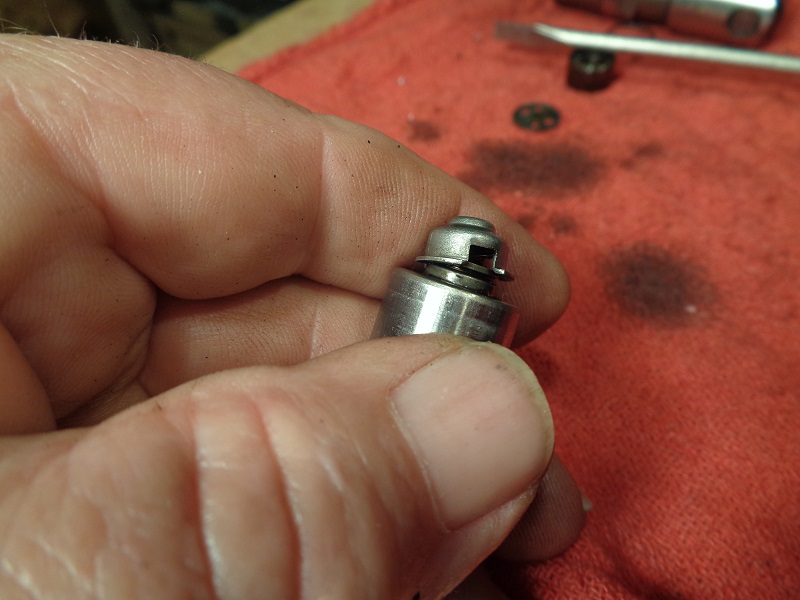
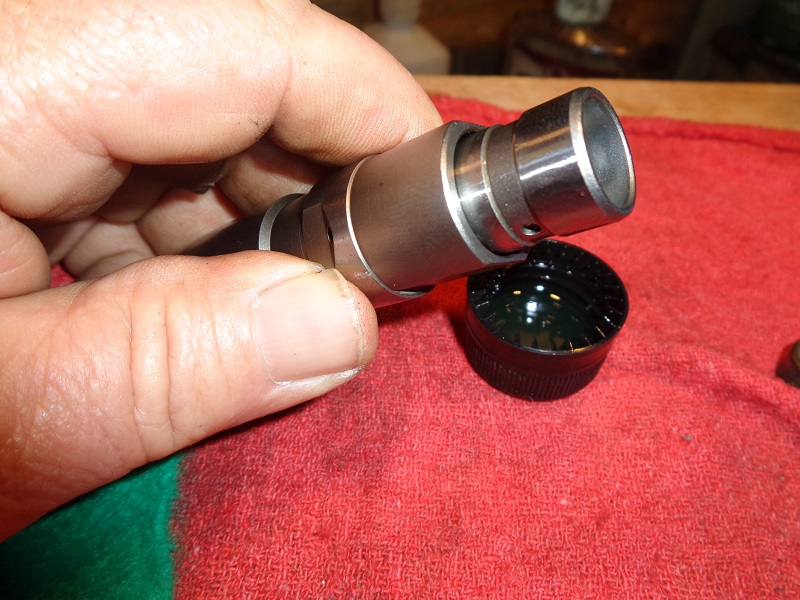
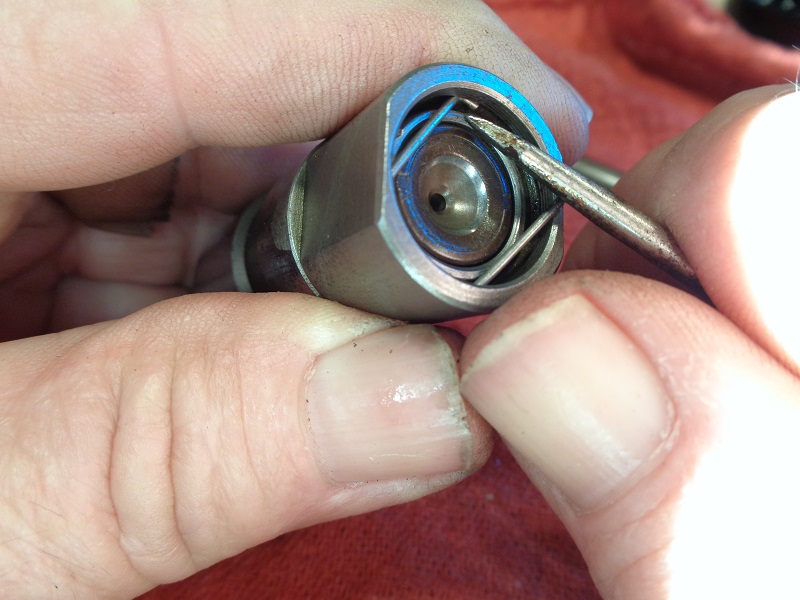
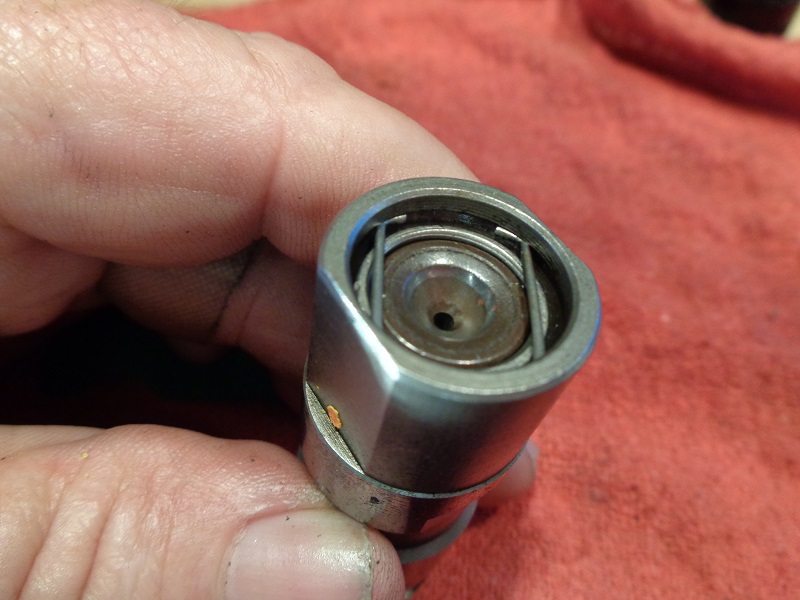
| Now you can remove the clip. You can dump the lifter into a rag to keep from losing parts and the guts may fall out when turned upside down. Notice the springs natural positioning of the top of the cup. 4) |
||
 |  |  |
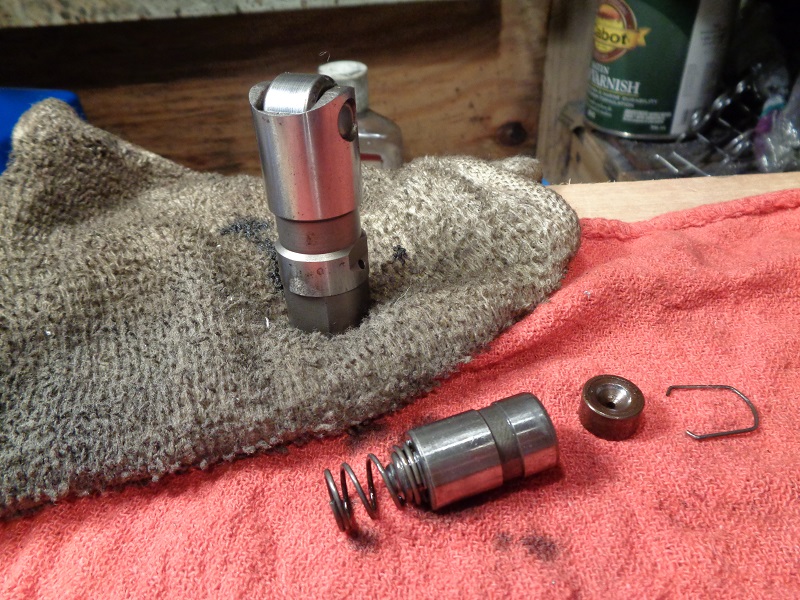
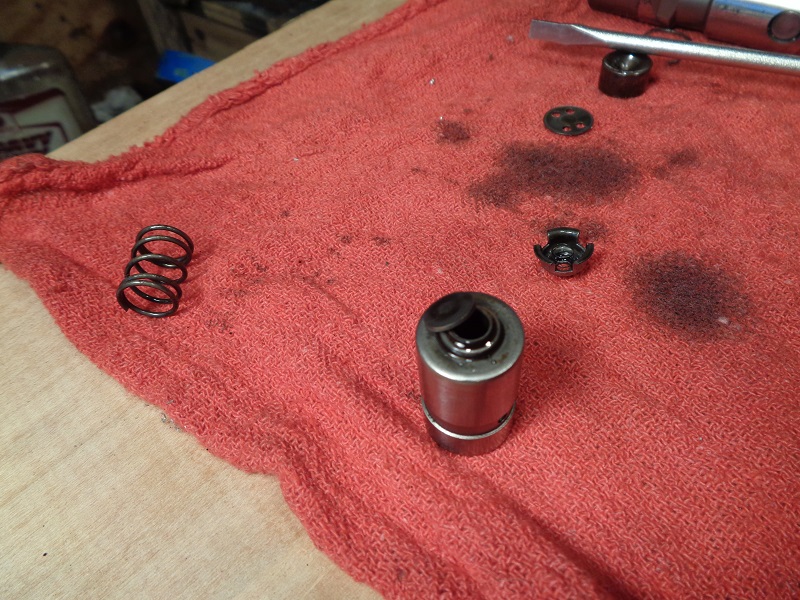
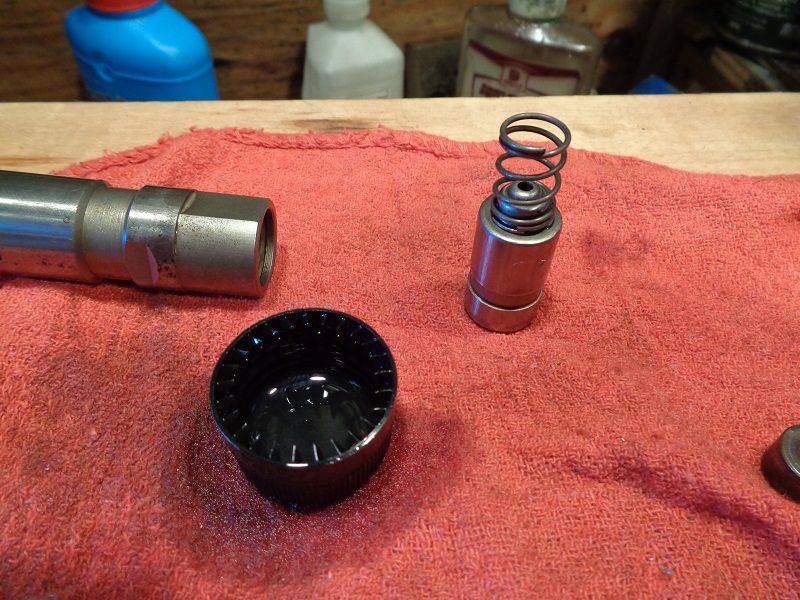
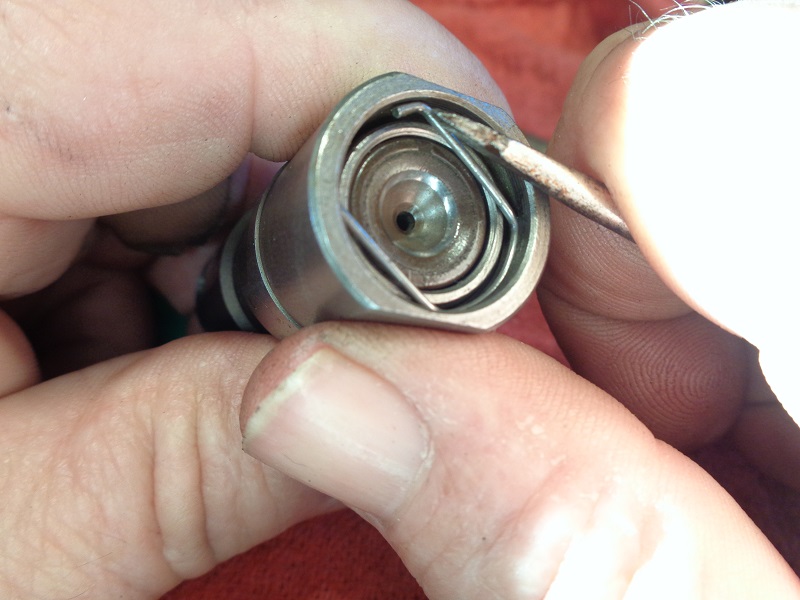
| Or, you can use the pick to hook and pull them out. 5) | Remove the pushrod cup | You may can just can pull the plunger from the body with your fingers. If not, remove the plate in the plunger and use the pick. 6) |
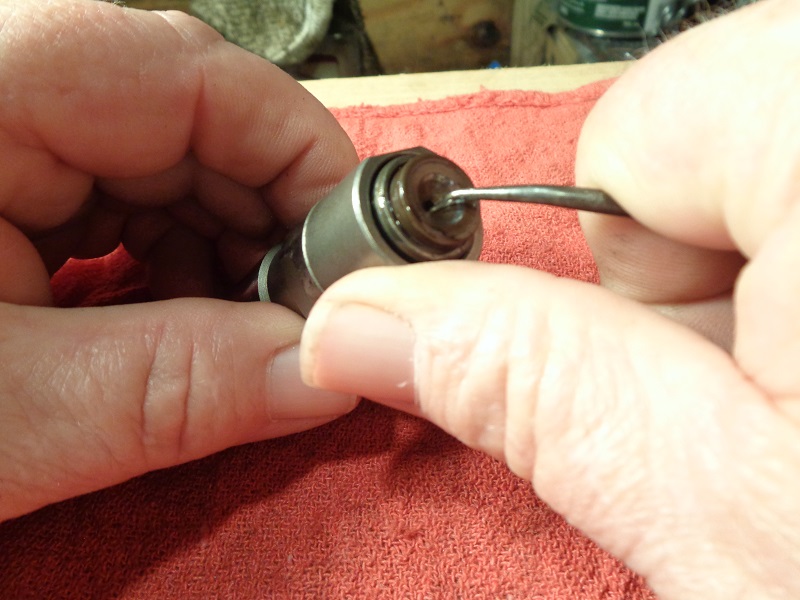 |  |  |
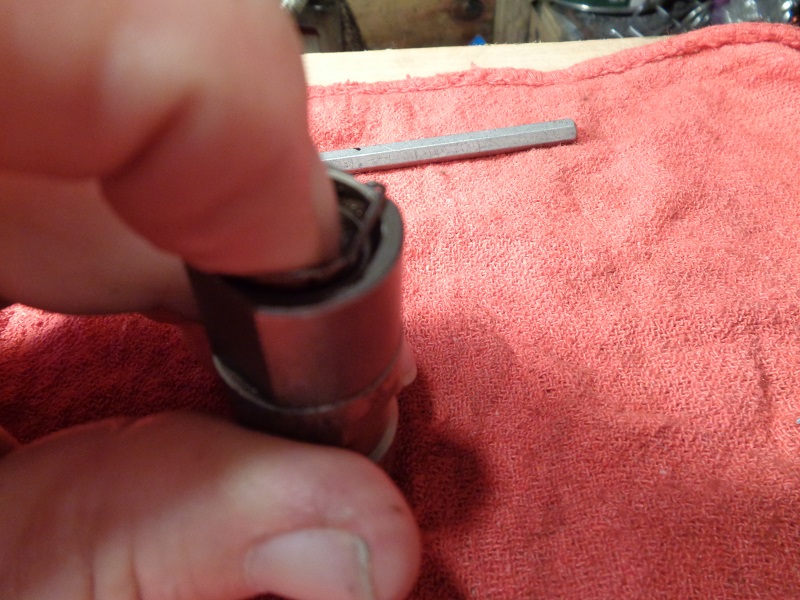
| Once the plunger is out, turn the body upside down and let it drain. Pull the plate out if you haven't already. 7) | ||
 |  | 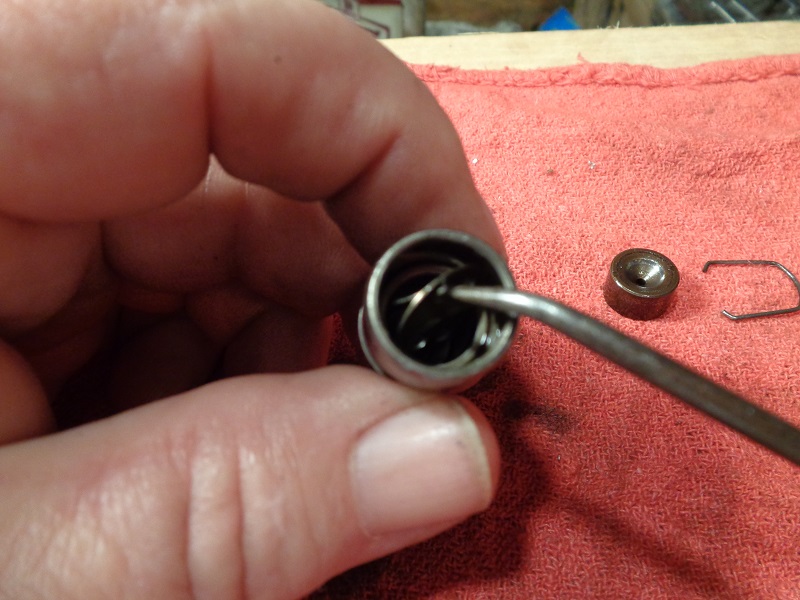 |
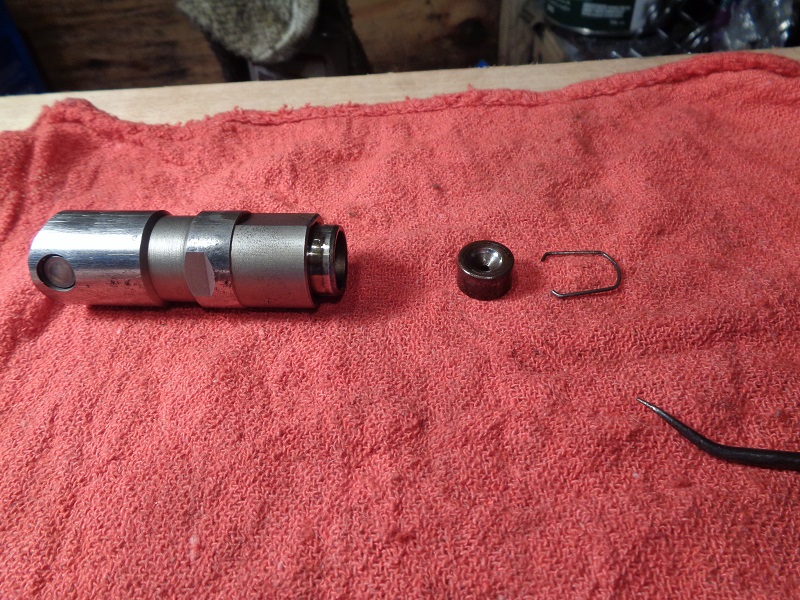
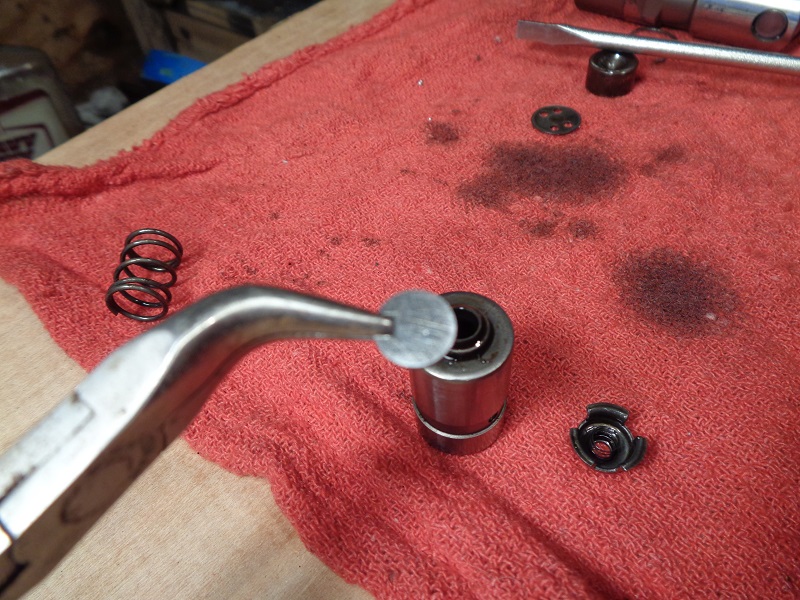
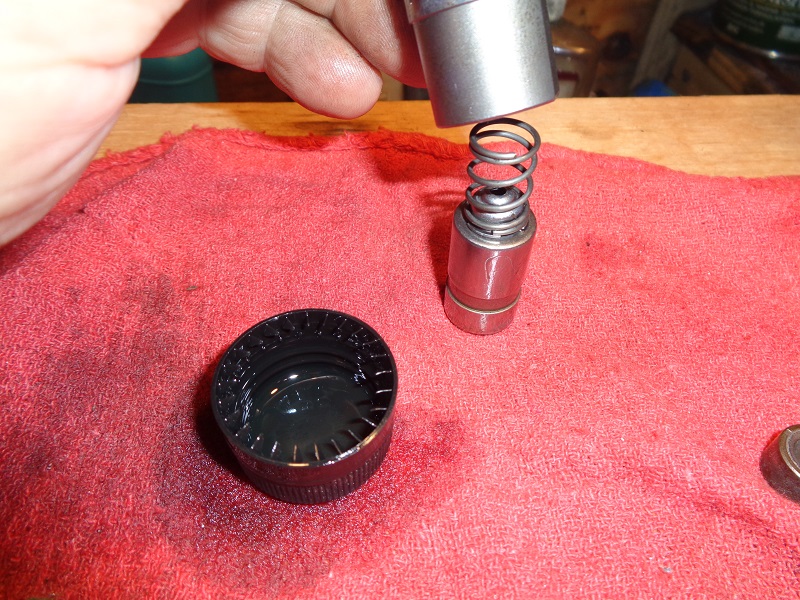
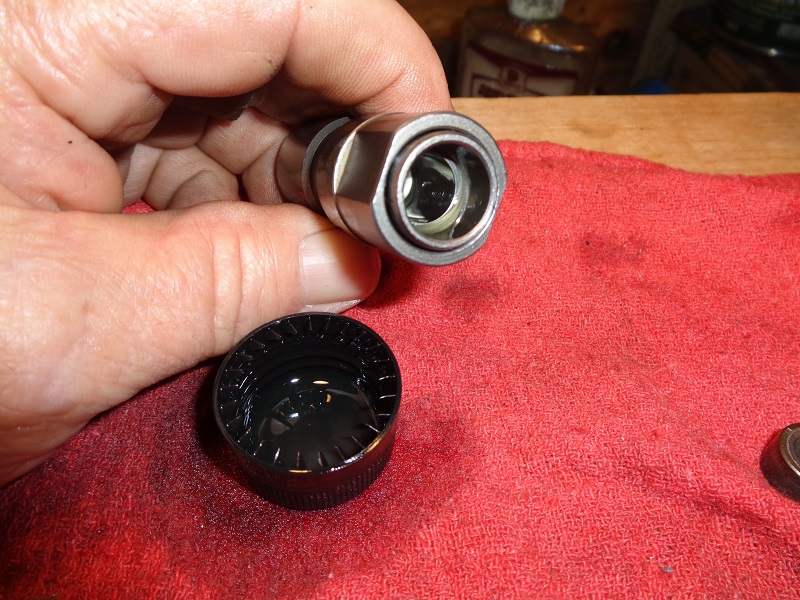
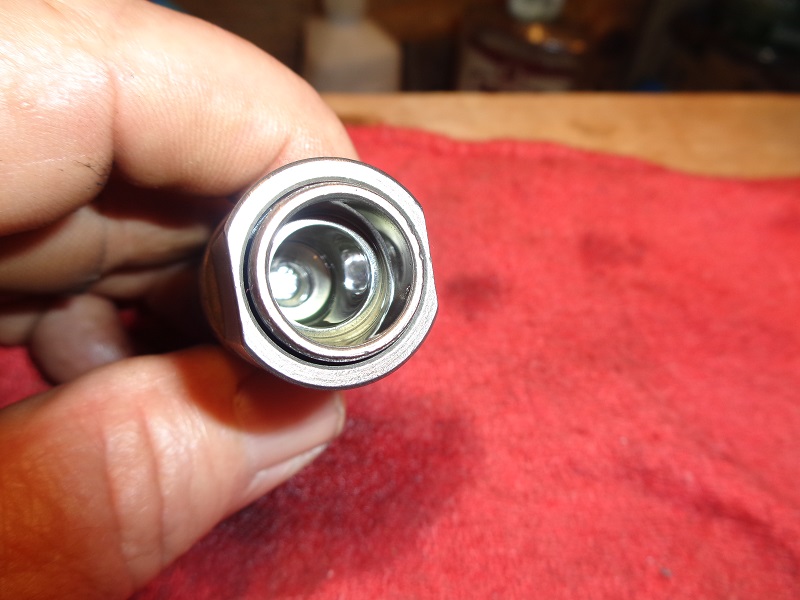
| This is the lifter's check valve (some have a plate and spring, others have a ball and spring). The cup pries off with a screwdriver. Careful not to lose the cup or the tiny spring under it. 8) |
||
 |  |  |
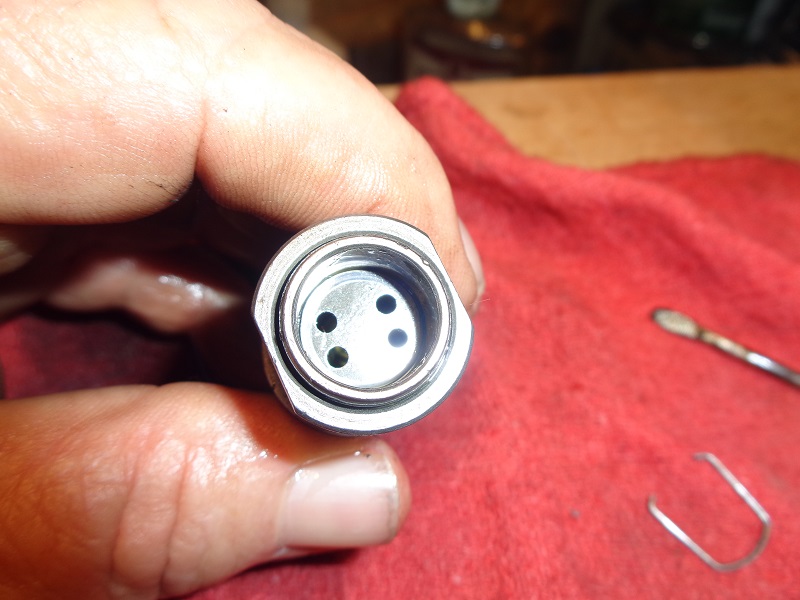
| This plate, spring and cup make up the check valve for this lifter. 9) | ||
 |  |  |
Inspection
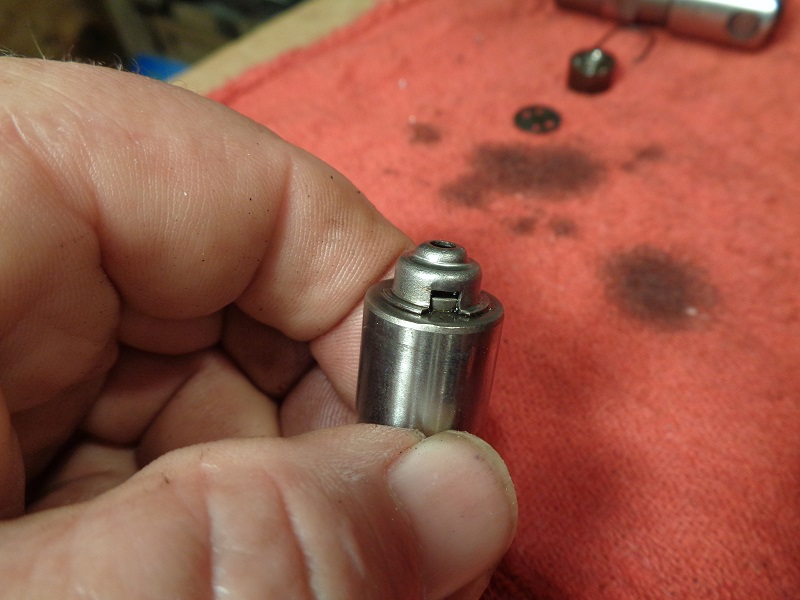
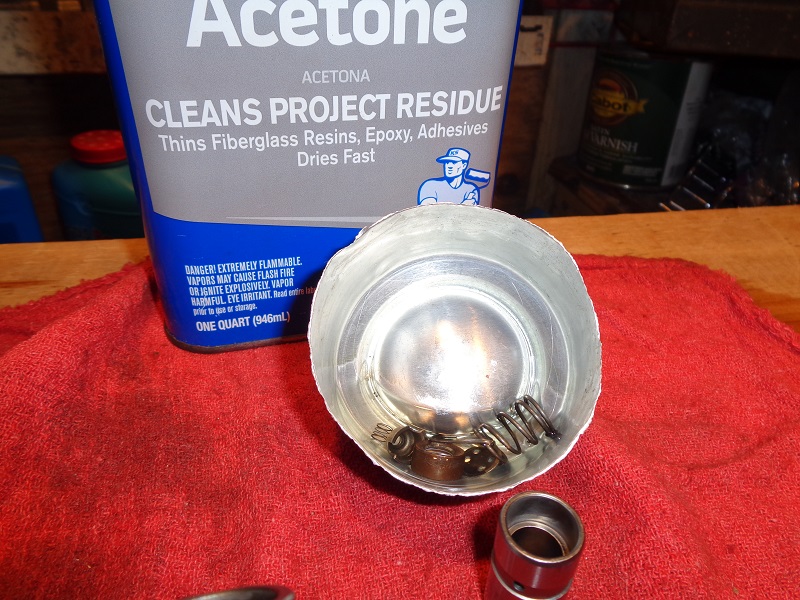
| Clean all parts inside and out with solvent 10) | |
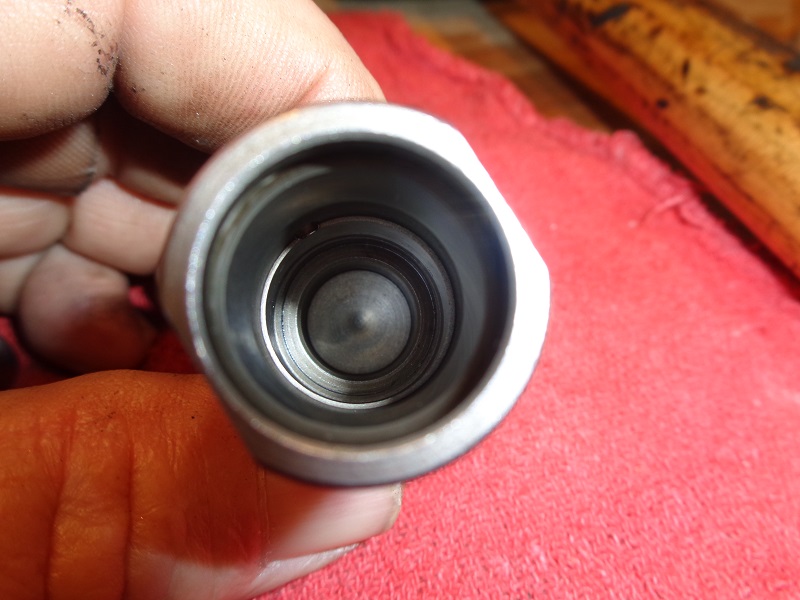 |  |
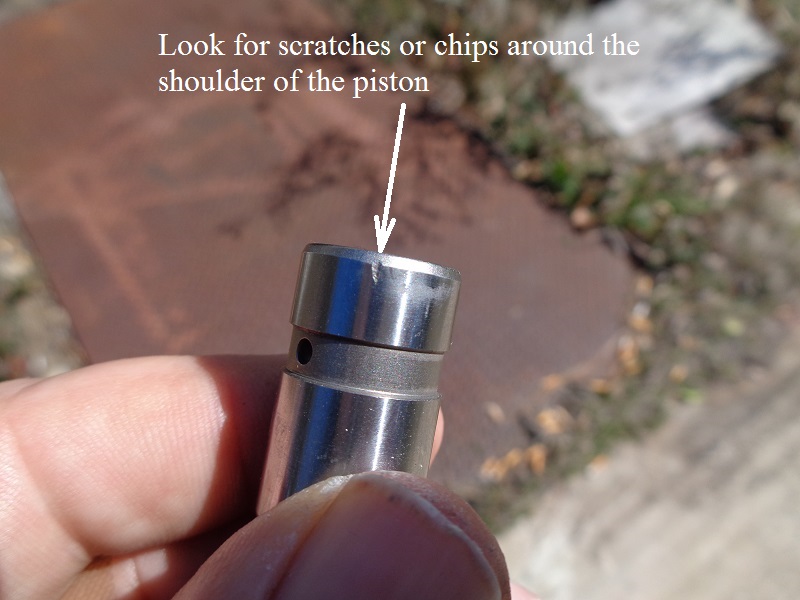
| Check for scratching or galling on the inside shoulder of the housing and outside body of the piston. 11) | ||
 | 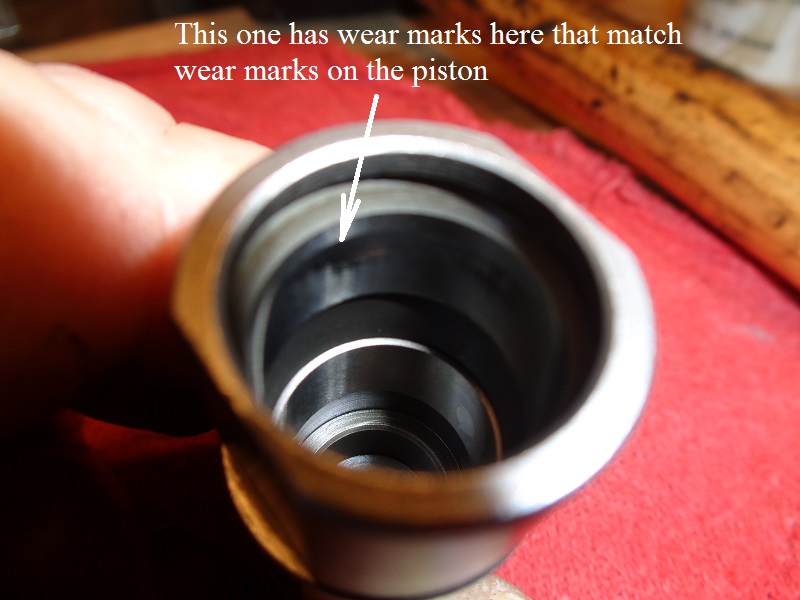 |  |
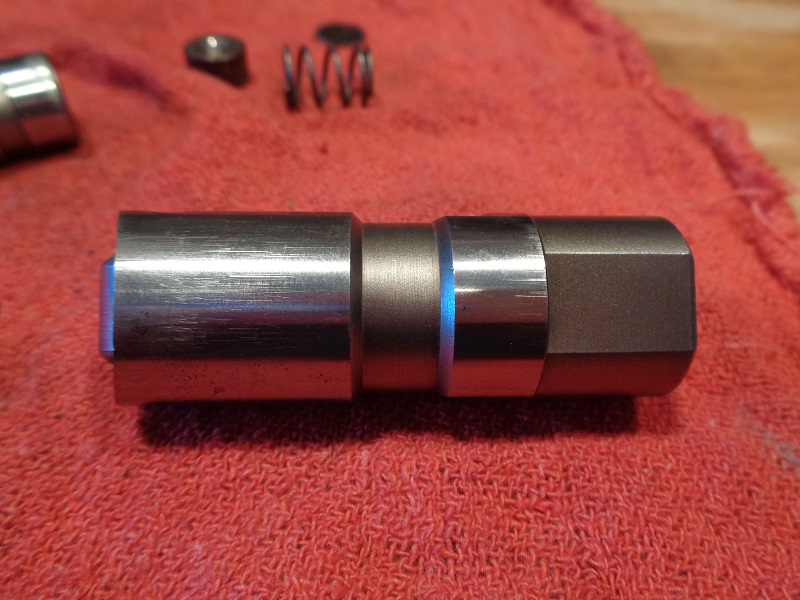
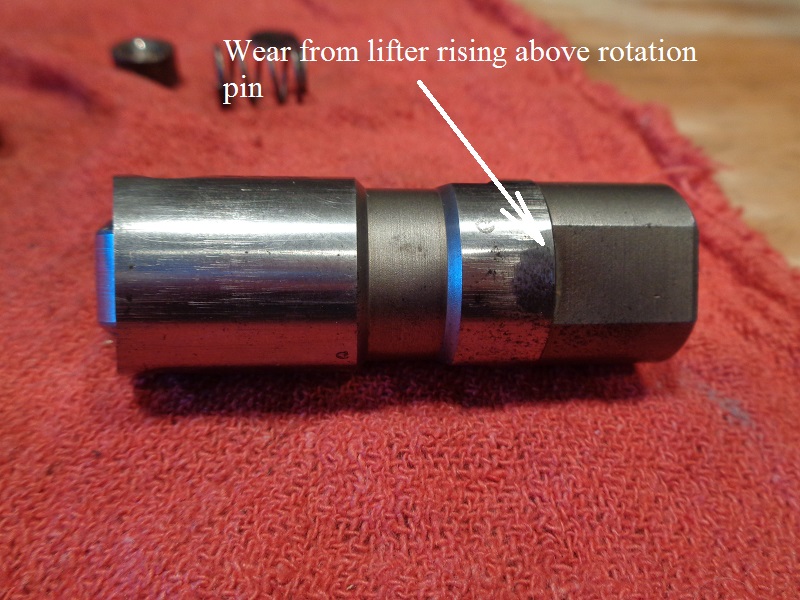
| Check for excessive wear on the outside of the housing. Excess scratches should signal you to check the lifter bore clearance in the case. 12) | Wear marks from lifter rising above the anti-rotation pin. 13) |
|
 |  |  |
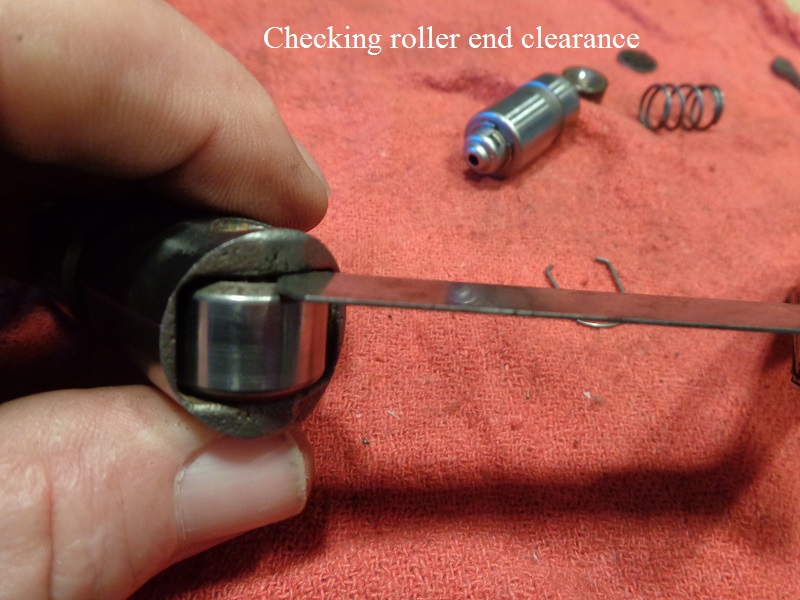
| Check roller end clearance with a feeler gauge. 14) |
 |
Assembly
 |  |  |
 |  |  |
 |  |  |
 |  |  |
 |  |  |