Table of Contents

REF: Engine Mechanicals - Sub-01L
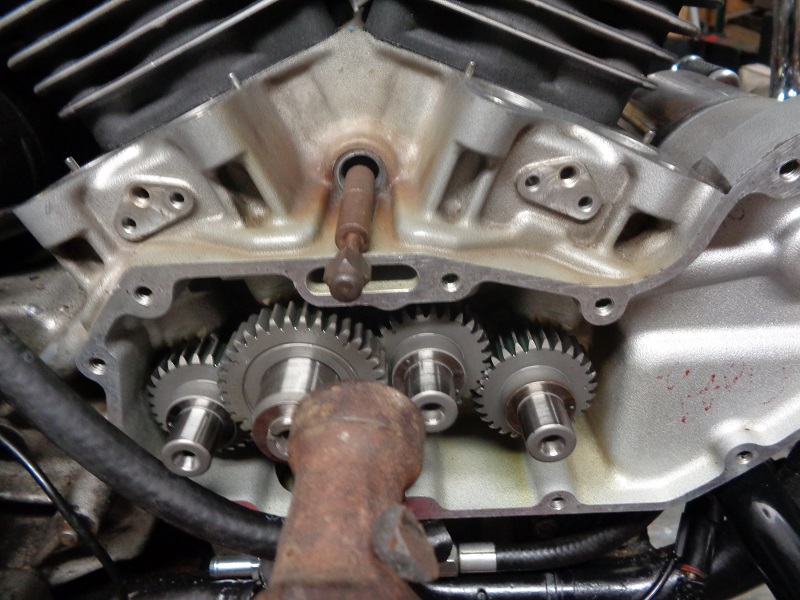
Making Your Own TDC Mark on the Flywheel (03 and prior engines)
- When upgrading a 2003 or earlier engine with a 2004 and up crankshaft, you'll need to create your own timing mark as these will not have one. Base timing on 04 and up is set in the programmable Engine Control Module (ECM) using a CKP Sensor at the flywheel teeth.
- Shown below are examples of how to create a TDC mark for the front cylinder (the same mark is used when referencing either compression or exhaust stroke).
- The procedure can be repeated to create a TDC mark for the rear cylinder but each cylinder will have to be set up separately. Use at your own risk!
Choose your tool for measuring TDC
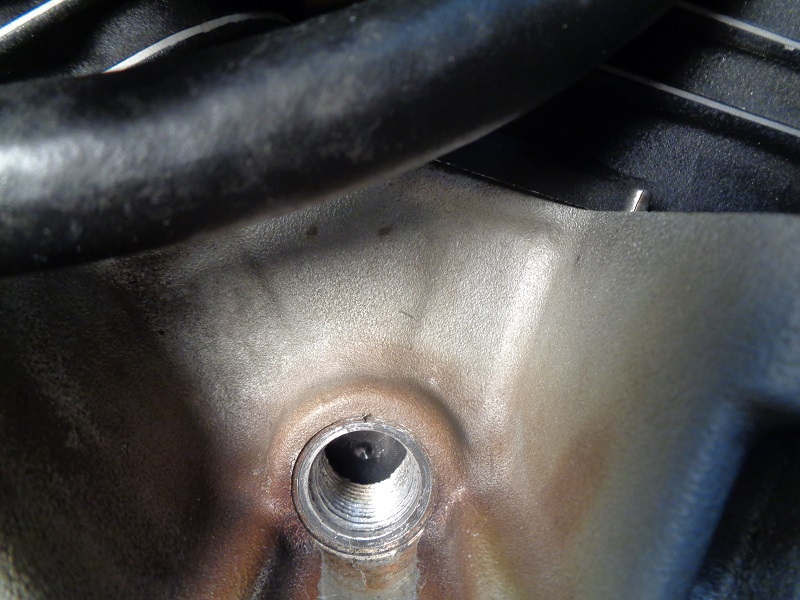
Dial Gauge
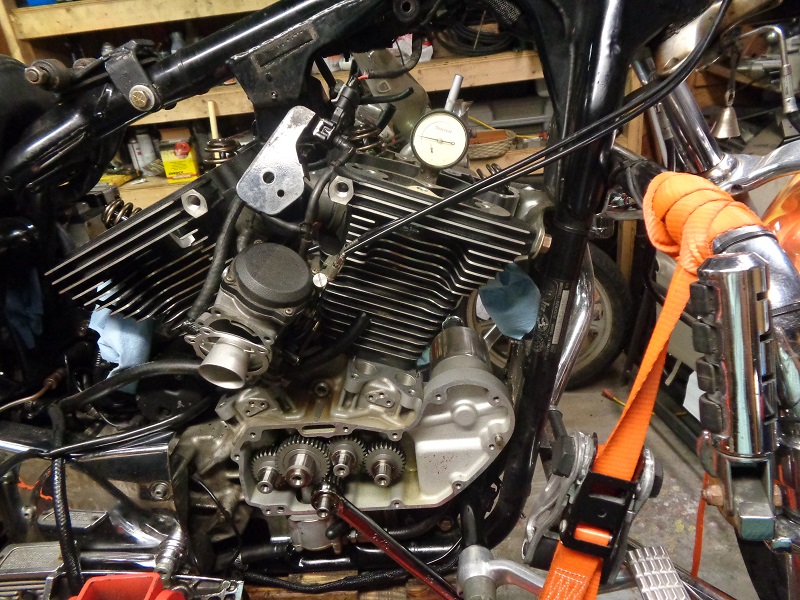
- Arguably, the best tool to use to achieve true TDC is a dial gauge whether you hang it from a post or use a depth gauge doesn't matter as long as you can make it stable where it doesn't move. How much it takes to move the gauge depends on how you intend to turn the engine over. Turning the rear wheel will jostle the entire bike and engine, while turning the crankshaft alone yields little to no movement of the engine case.
- This dial depth gauge will probably not work for single plug heads as there is no positive placement where it will stay put while working.
- Check the length of probe needed on the dial gauge prior to setting it in the plug hole by using a straw in the hole and turning the engine to get the approximate TDC.
- Use a rounded probe end (not the pointer type) so it will slide up when the piston contacts it instead of getting stuck and binding up.
| You can do a pre-length check by bringing the piston to the top with a straw through the spark plug hole. 1) This will tell you about how long of a probe you need while also allowing for the distance of throw on your specific gauge. |
|
 |  |
Setting up your gauge
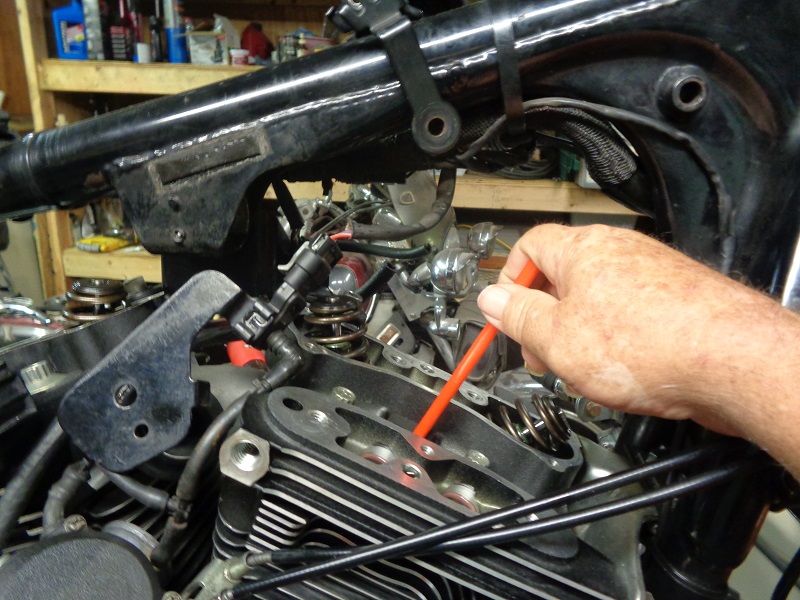
- Set the probe off in the plug hole as straight as possible. Position it so that any bumping or vibration from turning the engine will not move the gauge.
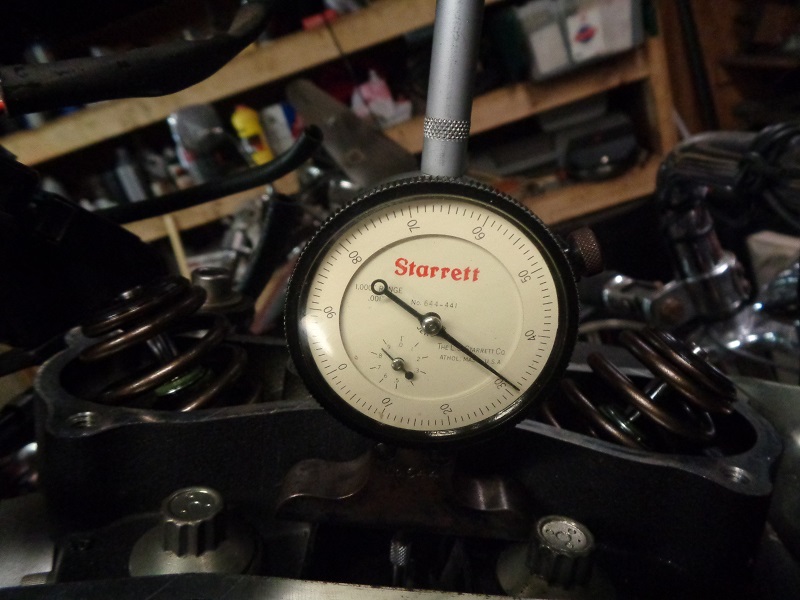
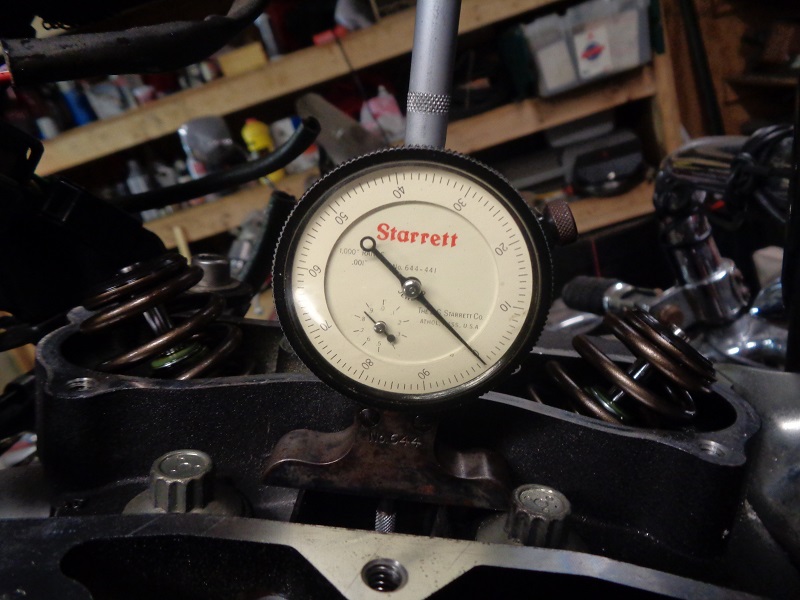
| This depth gauge is heavy enough that it will stay where you put it. Spin the engine over until the piston comes up and then just back down. Roll the engine back and forth to assure when your at TDC. You may be surprised to find just how little rotation it takes to lower the piston slightly each direction. Stop when you have found the spot on the gauge where the dial stops at the same location while turning the engine forward and reverse. Then set the face to '0' and leave the gauge set up so you'll know if the engine moves while your working. |
||
 |  |  |
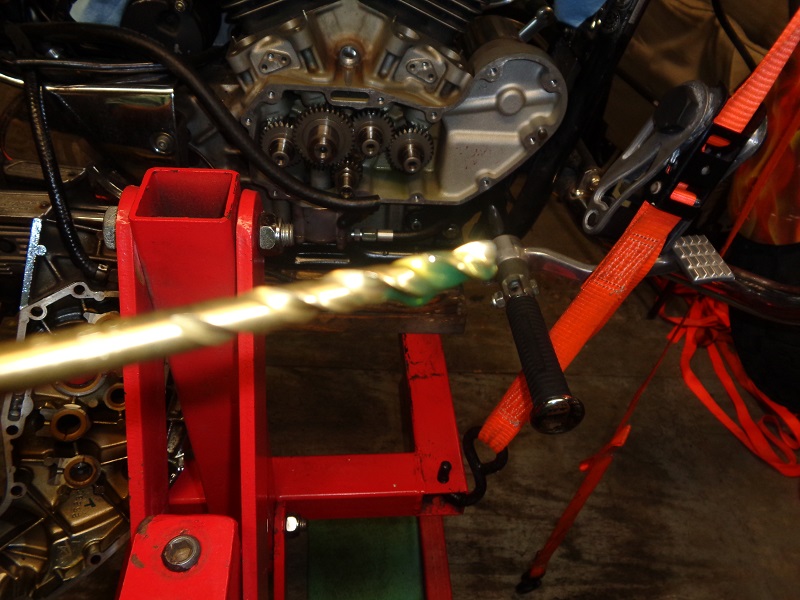
Making the timing mark
- You want to create a mark in the flywheel of some sorts that you'll be able to recognize later and that will accept a coloring (tooth paste, paint, lipstick etc.) that will show up when using a timing light.
- A scribe will probably not be long enough and it if it were to be, it may not cut deep enough to do you any good later.
- A 1/4“ drill bit will put a dimple into the flywheel that will be easily seen and useable to time the engine.
- Gently punch a center into the flywheel to keep the drill bit from walking around and damaging the timing hole threads.
- Use a sharp drill bit (test how it cuts a scrap metal piece first) lubed with thick grease or oil to catch the shavings and not let them get into the engine case.
- A dull bit will take longer to drill the dimple while creating more heat to melt the grease and let chips fly.
- Use a variable speed drill on very low speed. You just want to make a dimple, there is no need for speed here. More speed will also create more heat and sling the melted grease and chips.
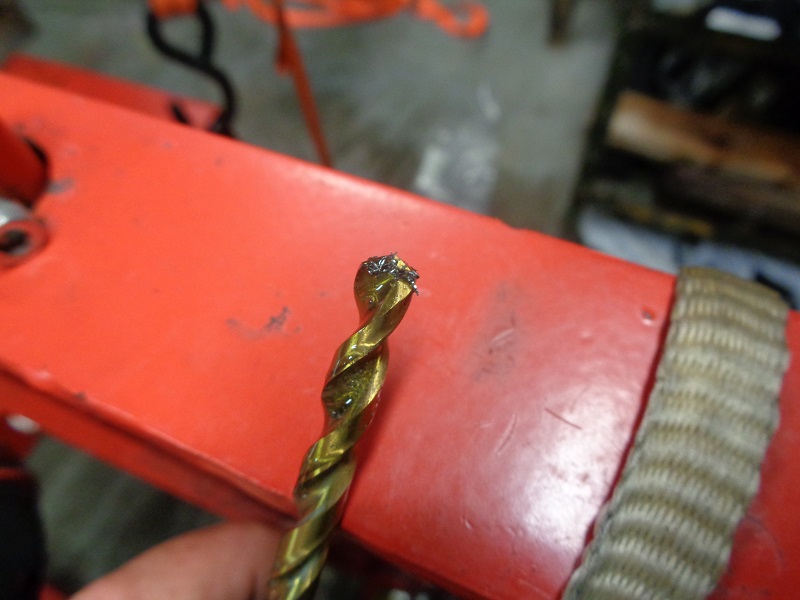
| Do not tap too hard on the punch which could result in crank / rod bearing damage. Clean the bit and check the mark. 2) | ||
 |  |  |
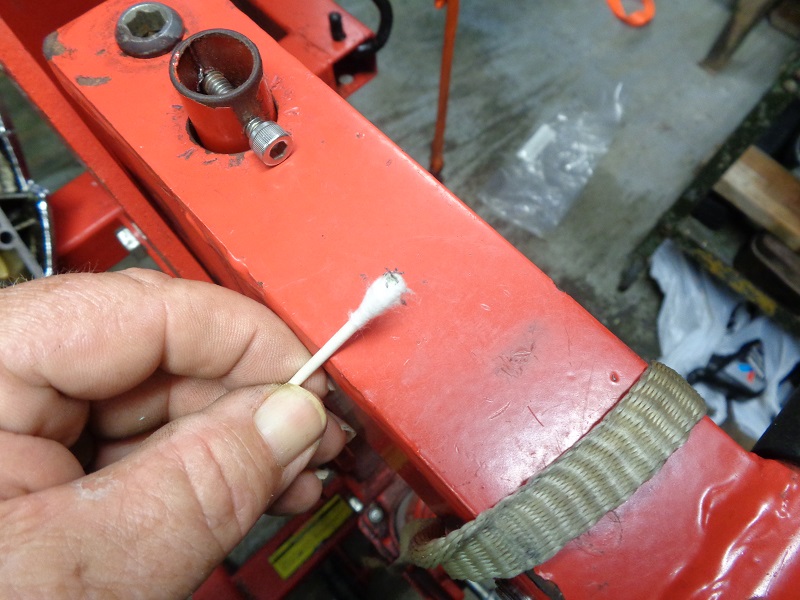
| When done, clean the crankshaft with Q-tips. Spin it left and right and check for debris through the timing hole | |
 |  |