This is an old revision of the document!

REF: Oiling & Lubrication
Homemade Oil Pressure Light
See also Testing the Oil Pressure Switch in the Sportsterpedia.
This is a possible solution if you either don't have an oil light or the wiring has been cut out by upgrades of various nature.
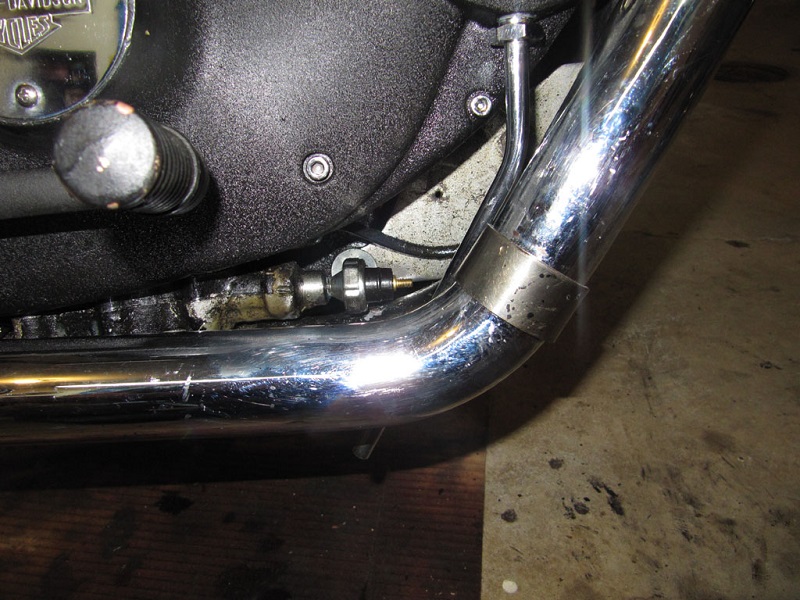
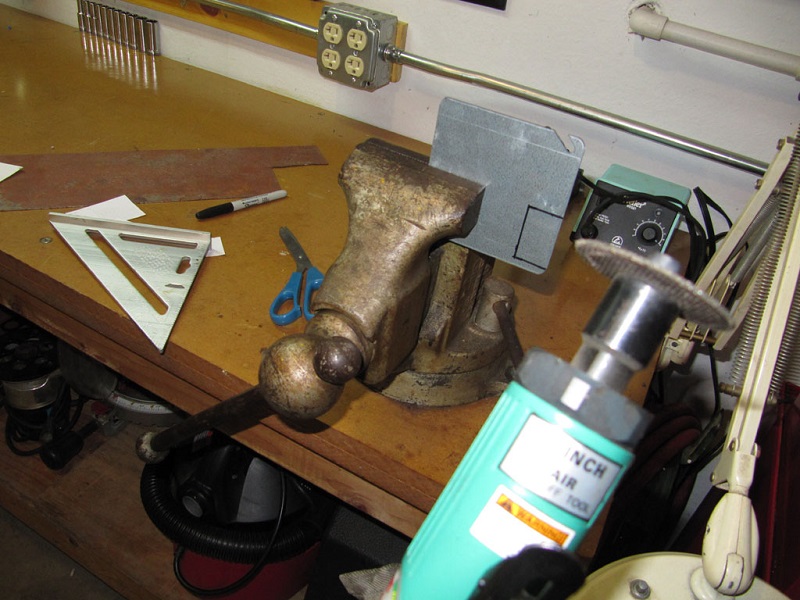
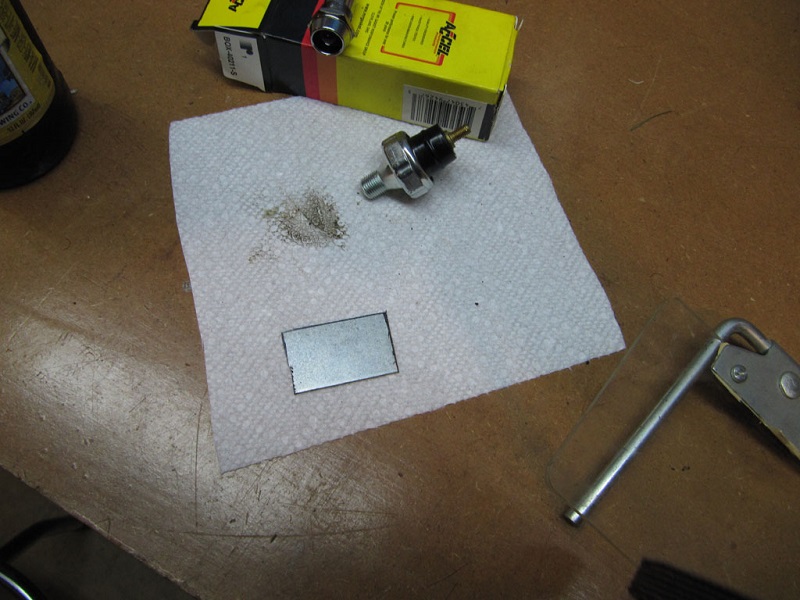
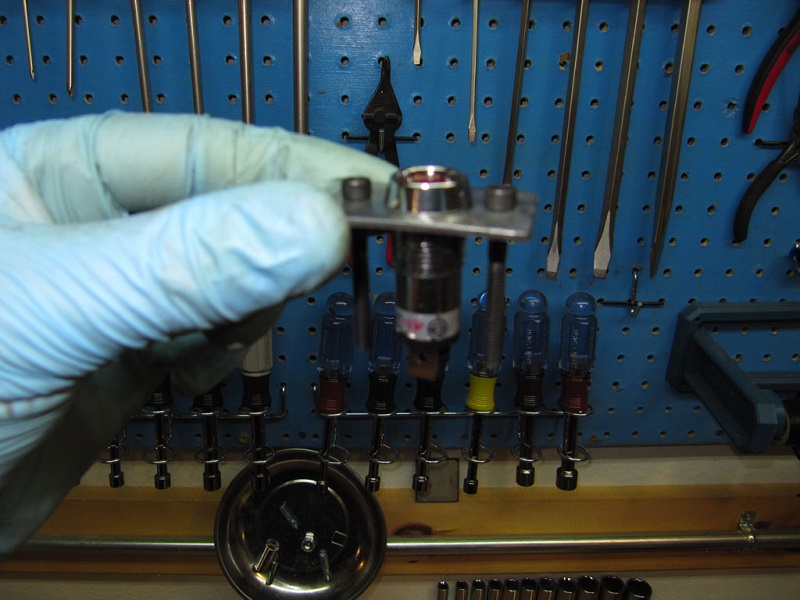
The oil switch and light were bought at a local auto parts shop.
The bracket holder (top and bottom) for the light is made from a cover of a steel electrical junction box.
There are two bolts on either side and the light in the middle.
The bracket has two pieces (one piece on top, and an identical one on the bottom).
The bolts with nuts compress the setup on the tripple tree and hold everything in place.
Trace out the size of the bracket on the metal plate and cut them out with a suitable cutter, Dremil, hacksaw and etc. Make then both identical.

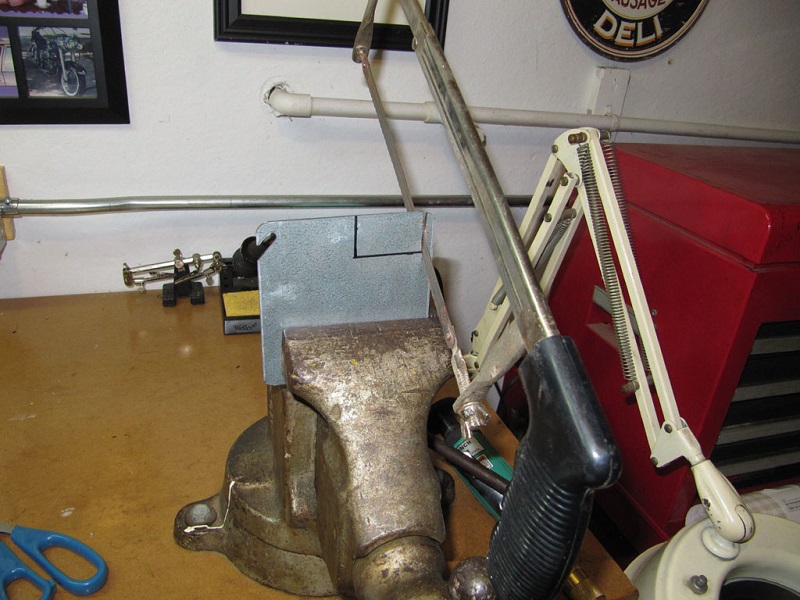
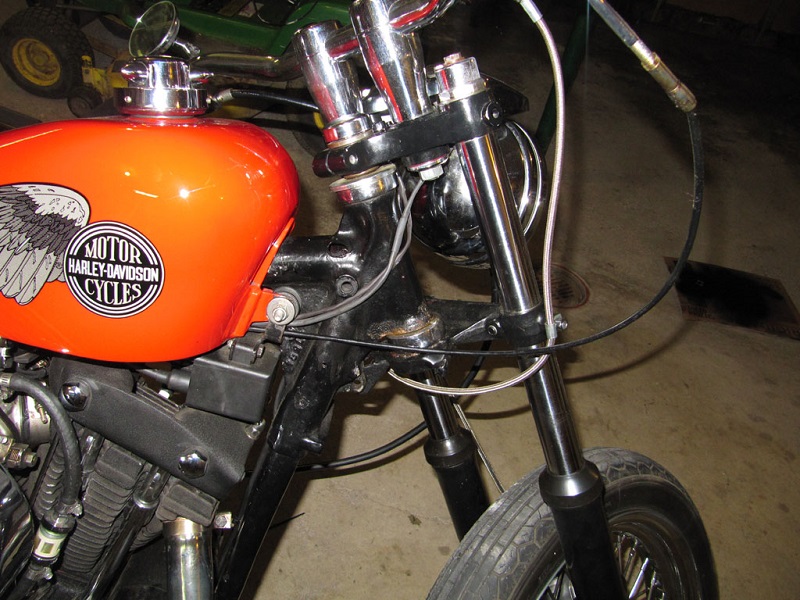
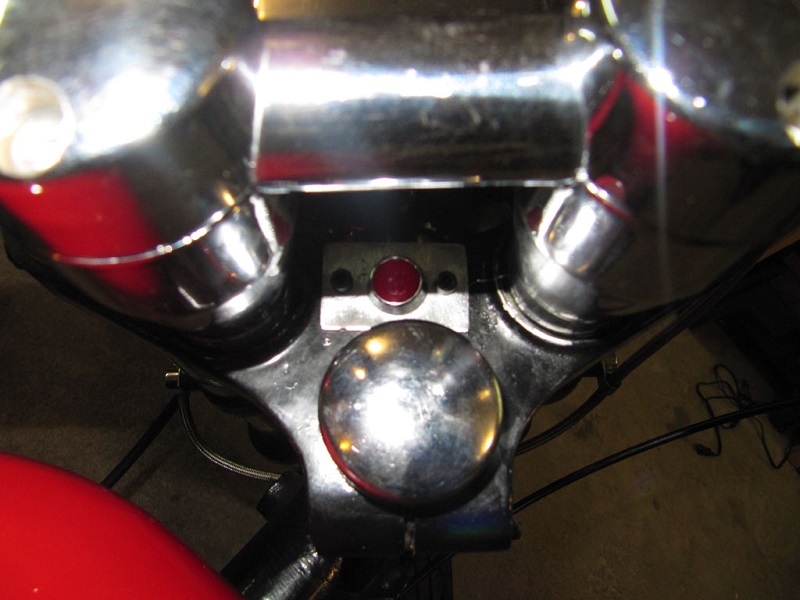
The bolts and the light are intended to be mounted in the oval space in the triple tree here.
But you'll have to calculate your measurements for both the space you have to attach the bracket and the light itself.
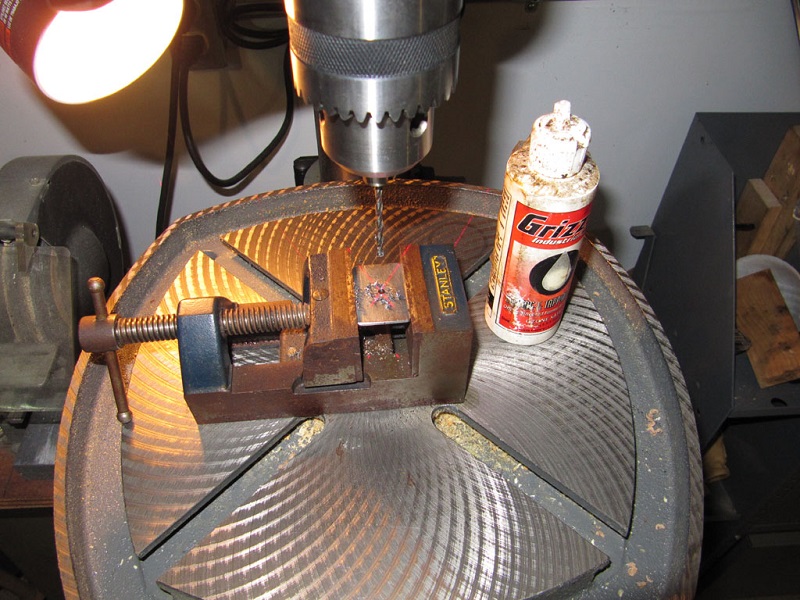
Next, drill out the bolt holes. It's best to use a center punch to mark the hole locations so the drill bit doesn't wander.
Then begin drilling with a small bit and progress through increments to the final hole size.
Be sure to clamp your work piece, drill slow, and use plenty of lube.
After cutting & drilling, use your grinding wheel, or some files to clean up the edges and make the pieces nice and smooth.

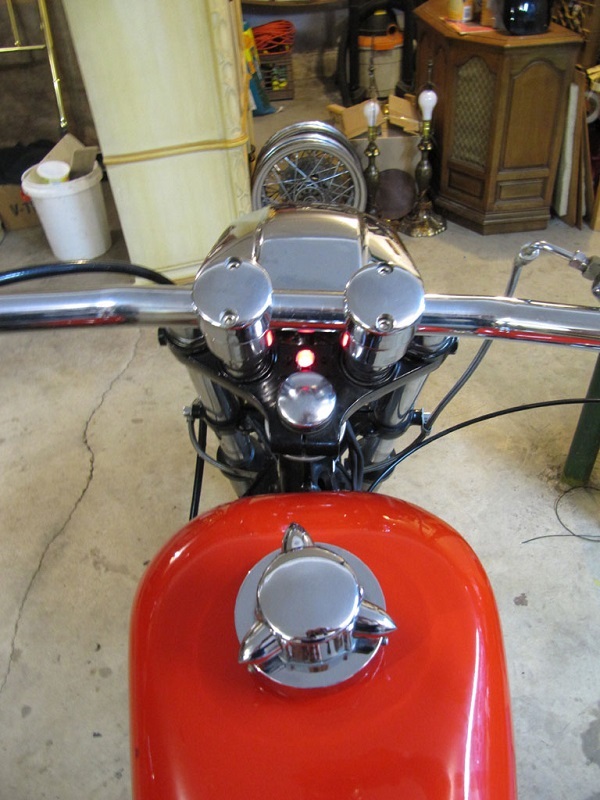
Here's the light and the bolts going through the top bracket, and then going through both.
It's good to test fit the piece as you go.
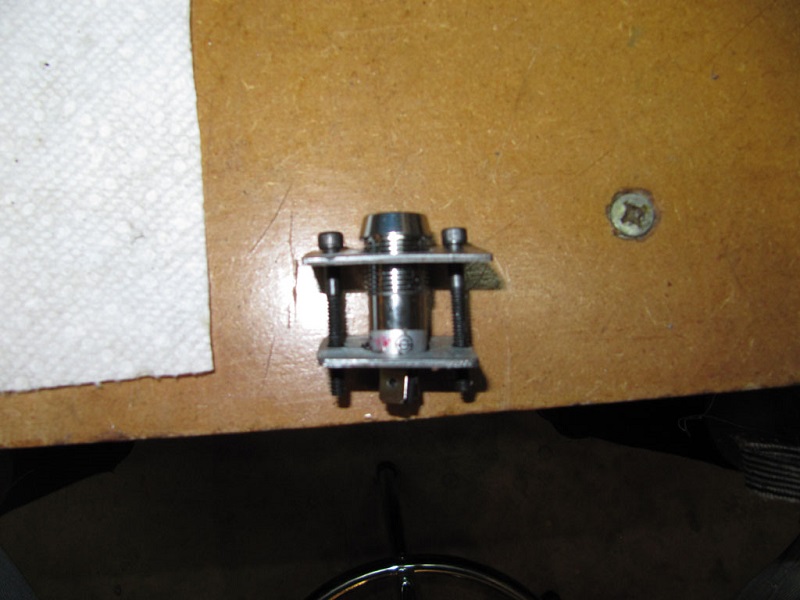
When everything test fits Ok, prime and paint the metal plates.
When it's all dry, assemble the piece and you can start the wiring.
This is a simple light.
You want to tap off of your +12v from your battery, and make sure it is hot no matter where your switch is (except in the off position of course),
Use a circuit to tap that will stay hot as long as the ignition has juice (don't tap off your headlight circuit).

This one is wired with a soldered/shrink wrapped eye hook onto the +12v terminal of the single fire coil.
This is an LED light, so polarity matters!! .
LED's have to be biased in the correct direction otherwise they will not work.
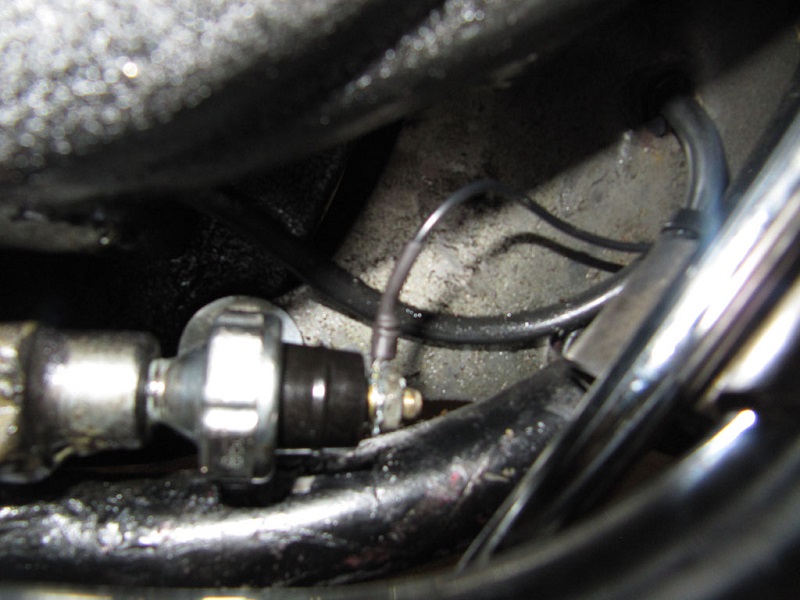
There is an anode and cathode, you want the +12vdc to the anode, and the cathode should connect to your pressure switch on your oil pump (ground).
If you are using an incandescent bulb then this doesn't apply. You can hook them up anyway you like and it's electrically the same.
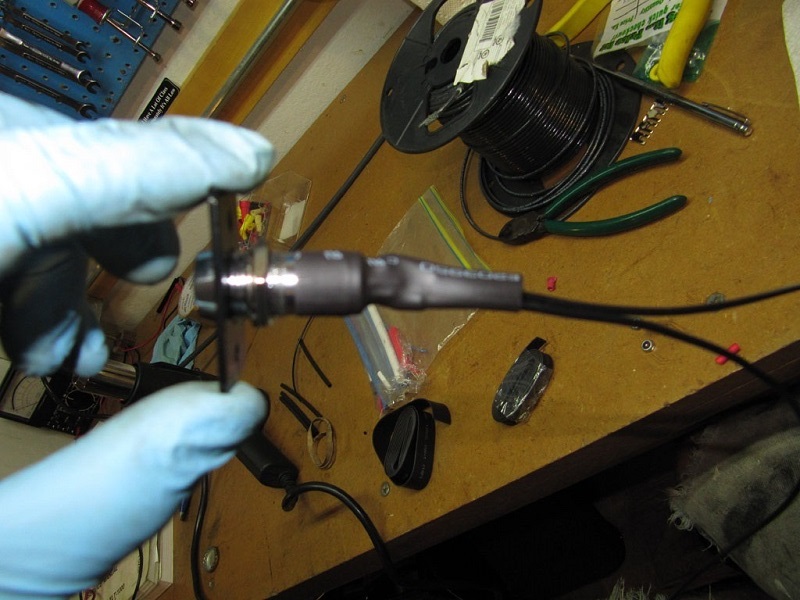
The wire leads are 12 guage stranded.
Solder the wire to the terminals and add some heat shrink tubing ready to slide over the metal, then heat it and shrink it up.
Then mount the light (on the top tree in this case).


Wire up the +12 & oil pressure switch.
The positive feed comes from the coil.
For the wire to the pressure switch, you can strategically run that line down the frame with wire ties and to the switch pressure switch.
Use plenty of black zip ties hidden away and keep the wire from touching any jagged metal or anything that will chafe the insulation and create a short over time.