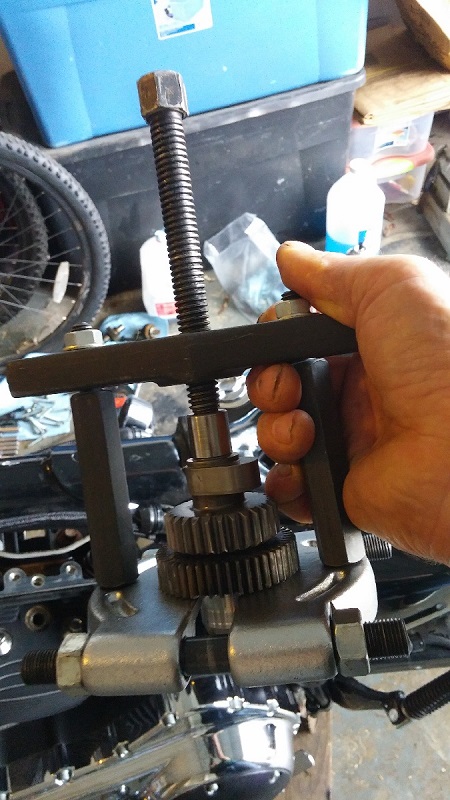
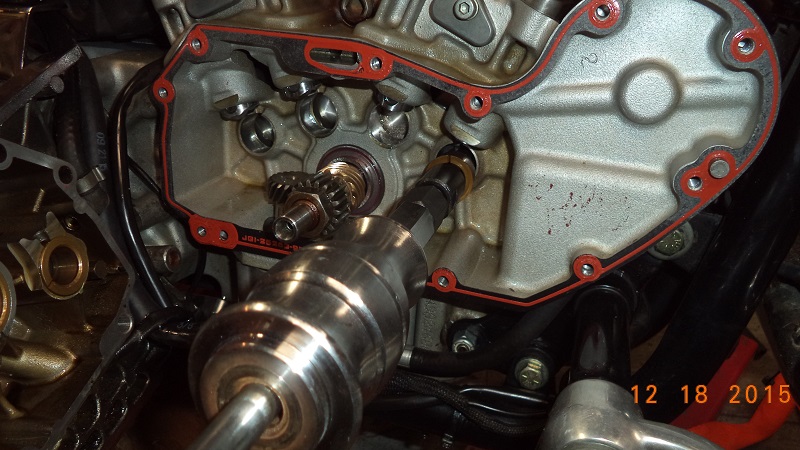
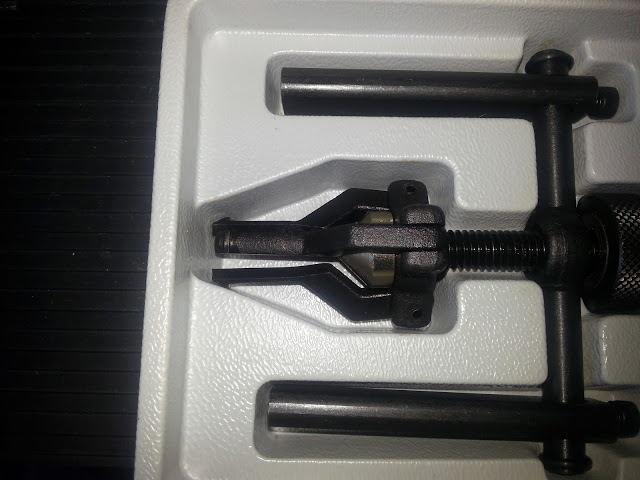
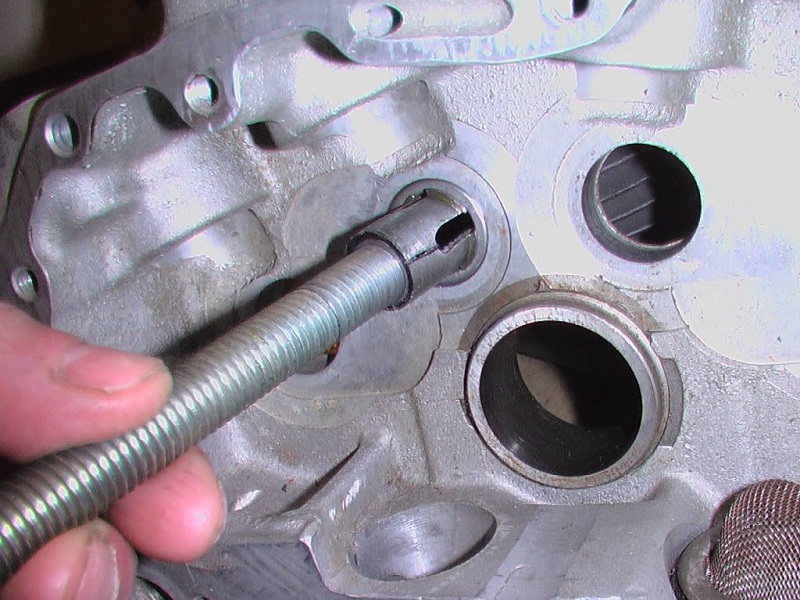
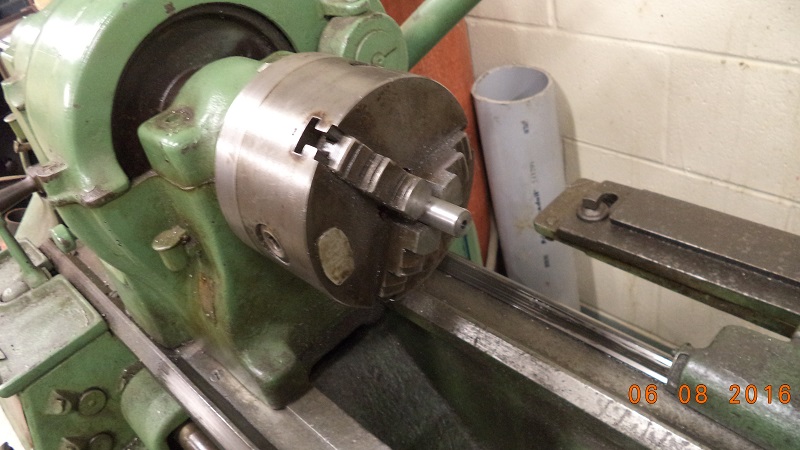
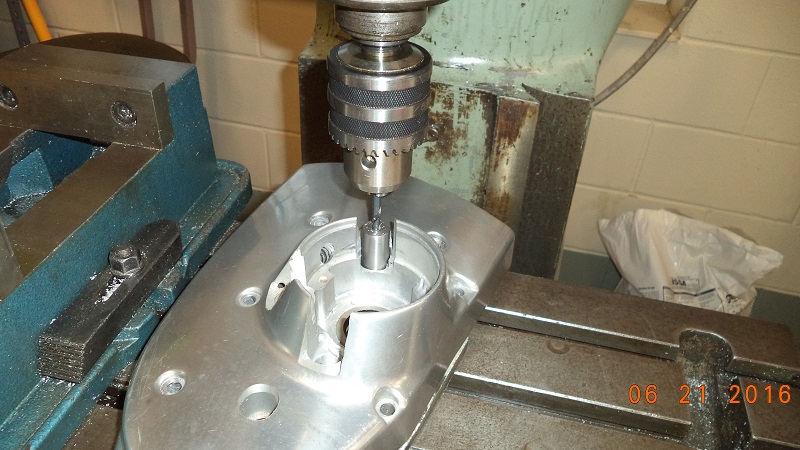
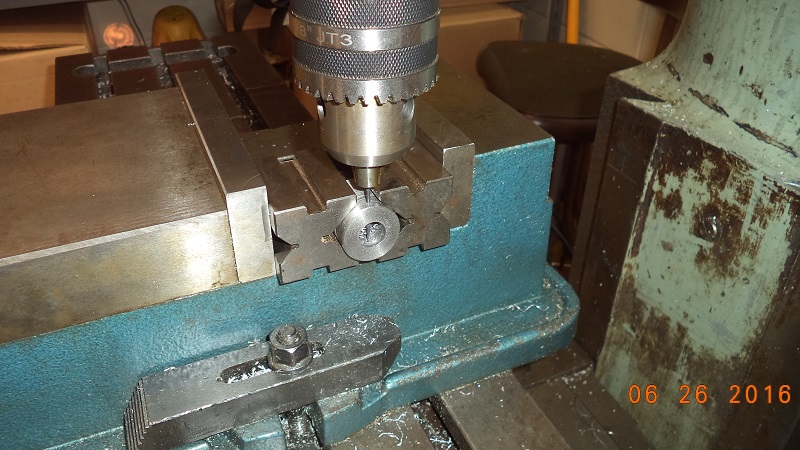
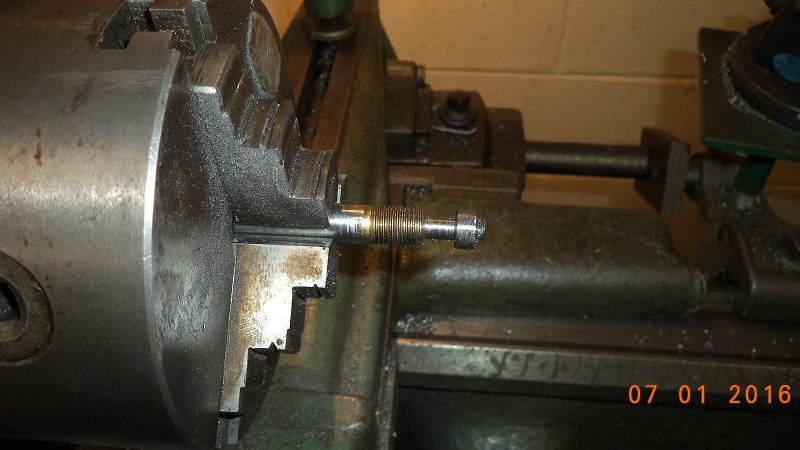
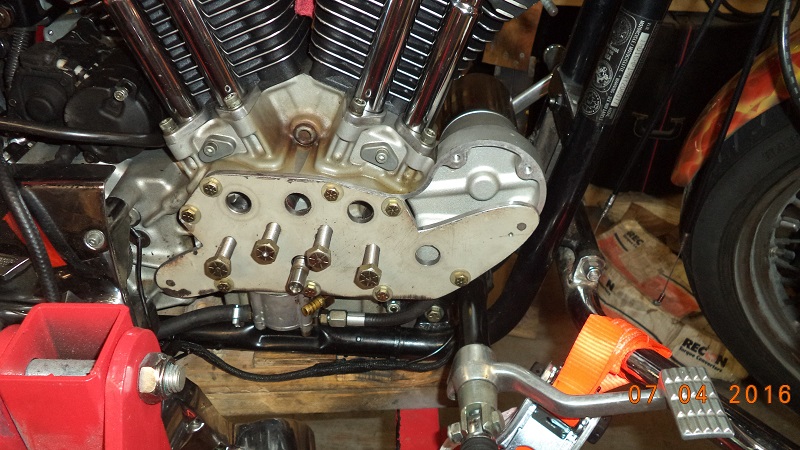
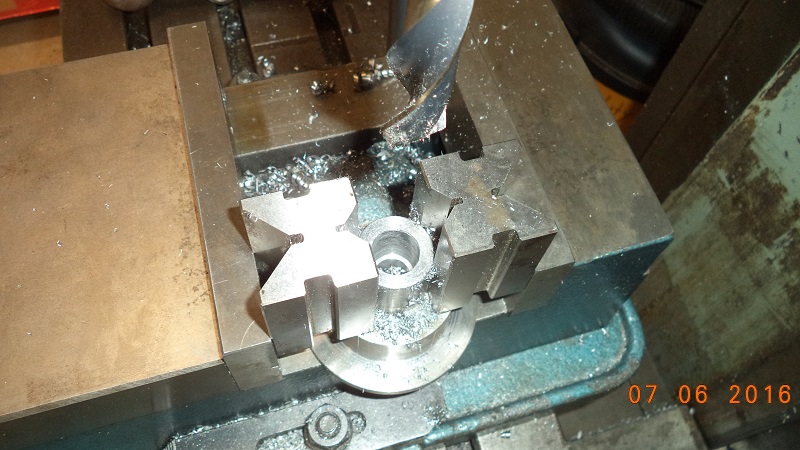
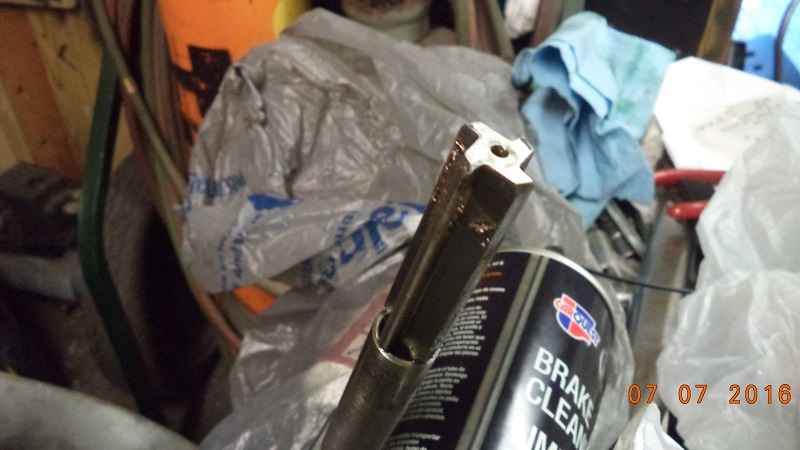
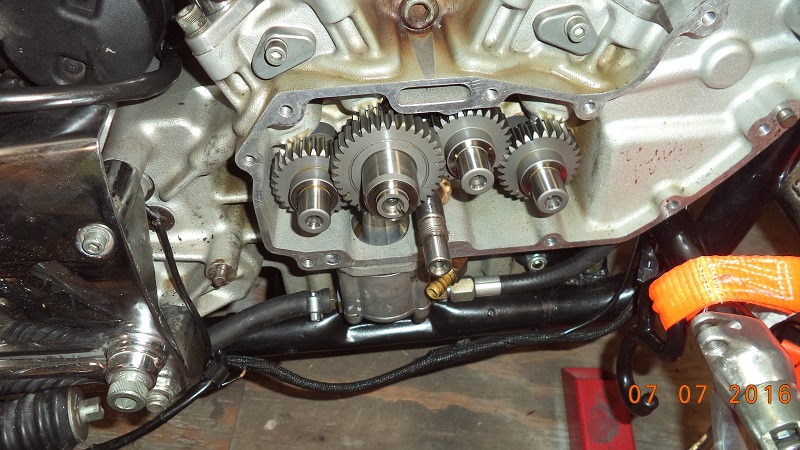
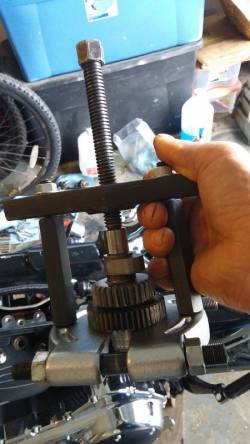
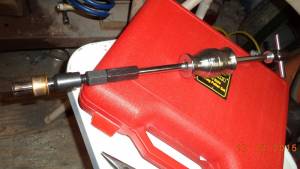
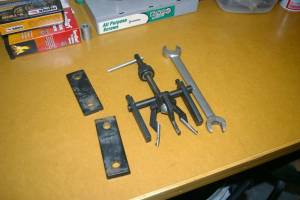
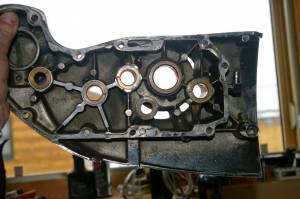
#2 Cam Gear Press
A gear puller shaft attached to a bearing separator for pressing the gear on #2 cam.
| Gear press for #2 cam gear. 1) |
 |
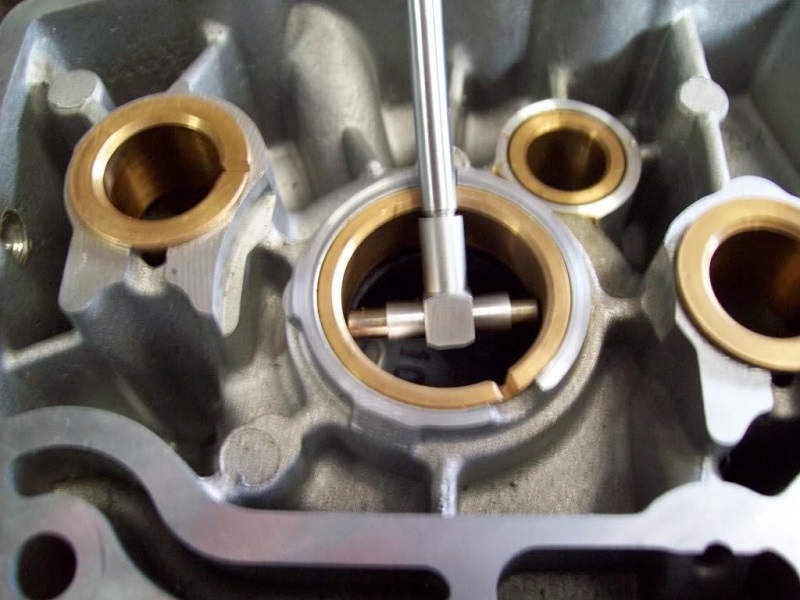
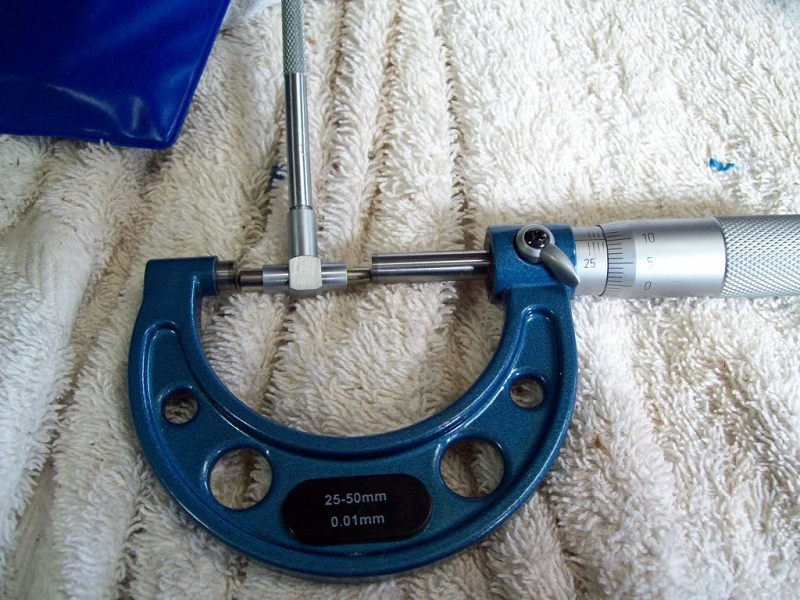
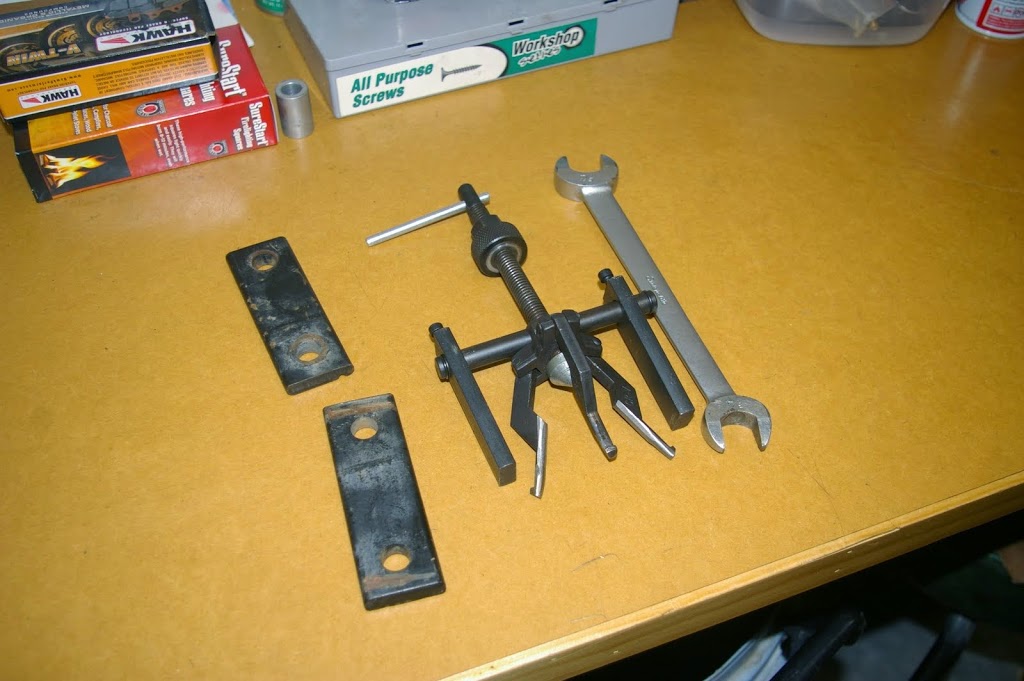
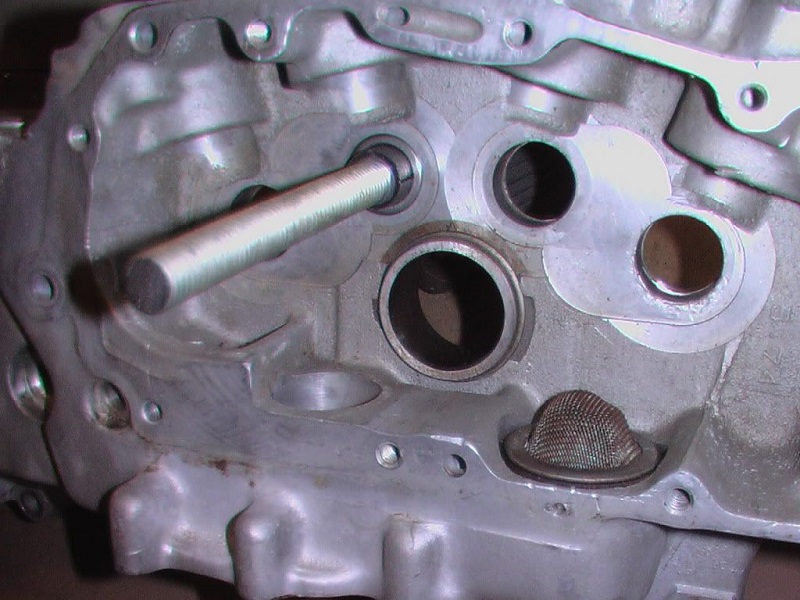
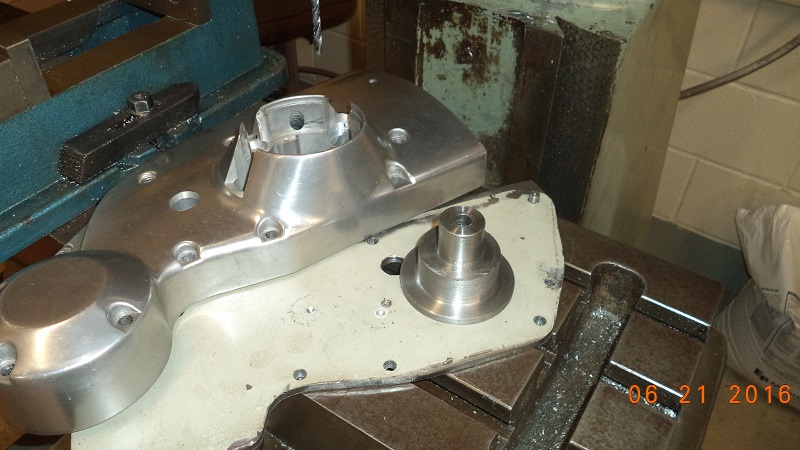
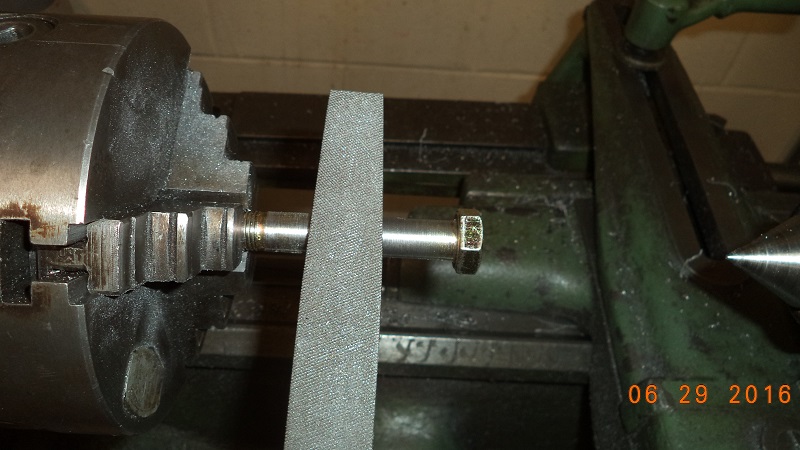
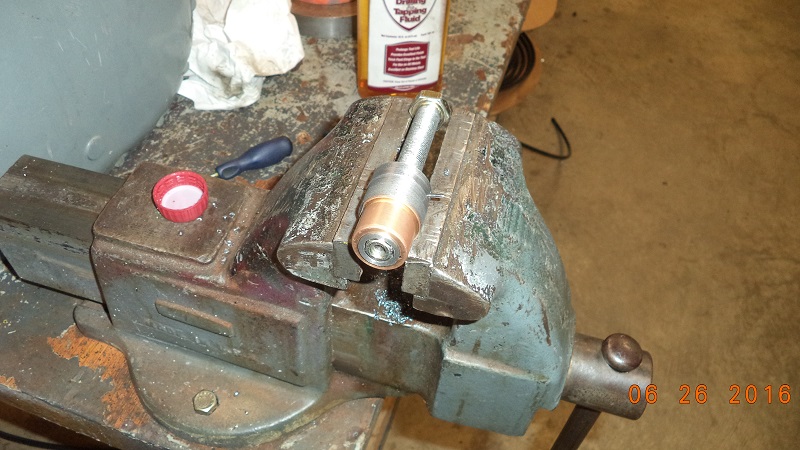
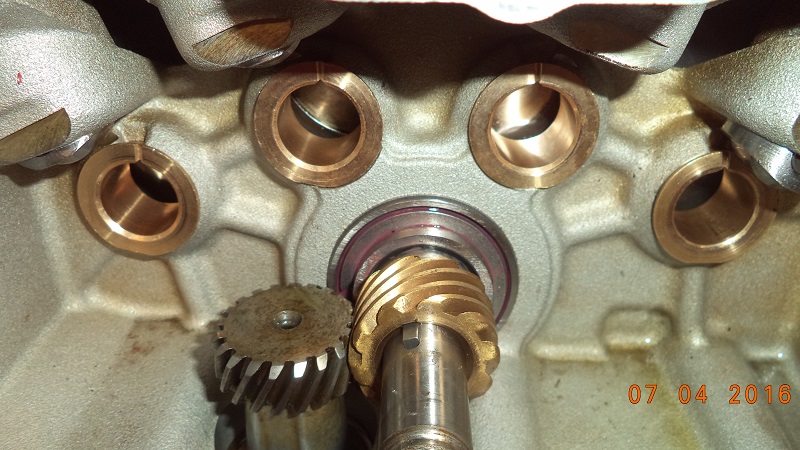
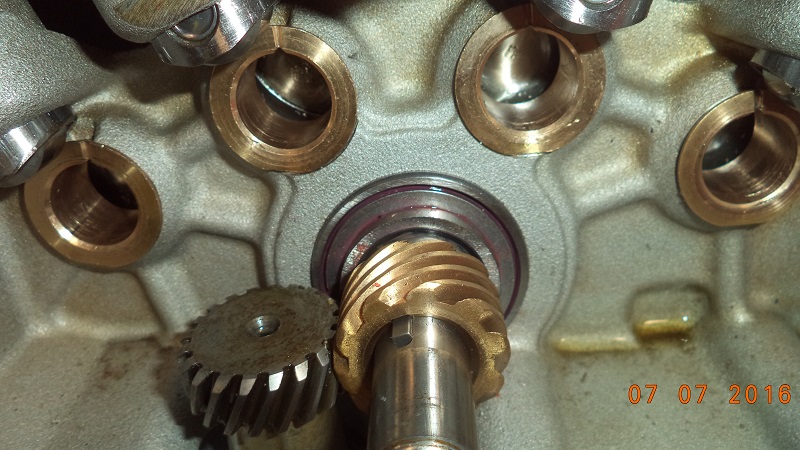
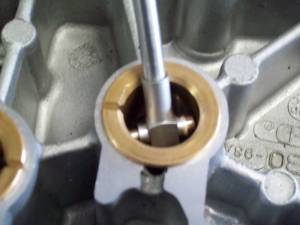
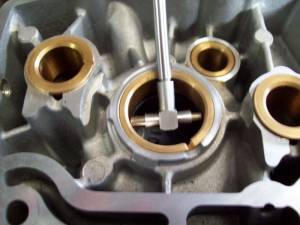
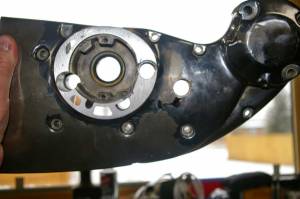
Measuring the Bushings
| Measuring Cam Bushinhgs. 2) |
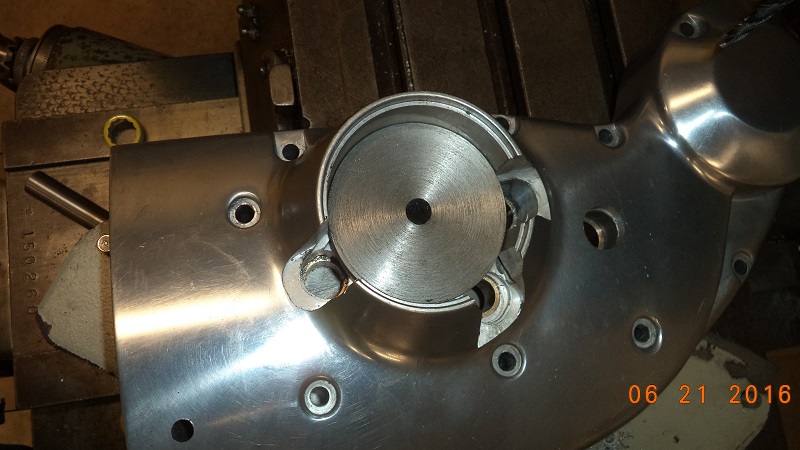
 |  |  |
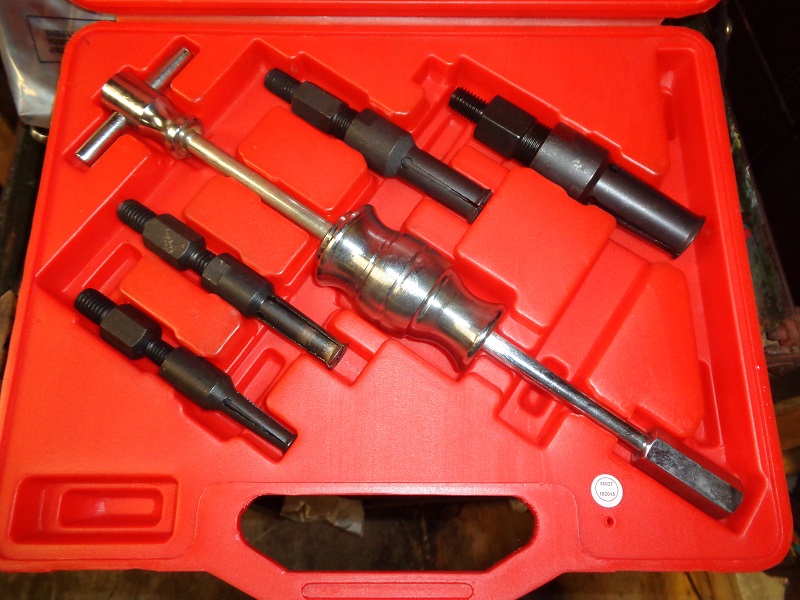
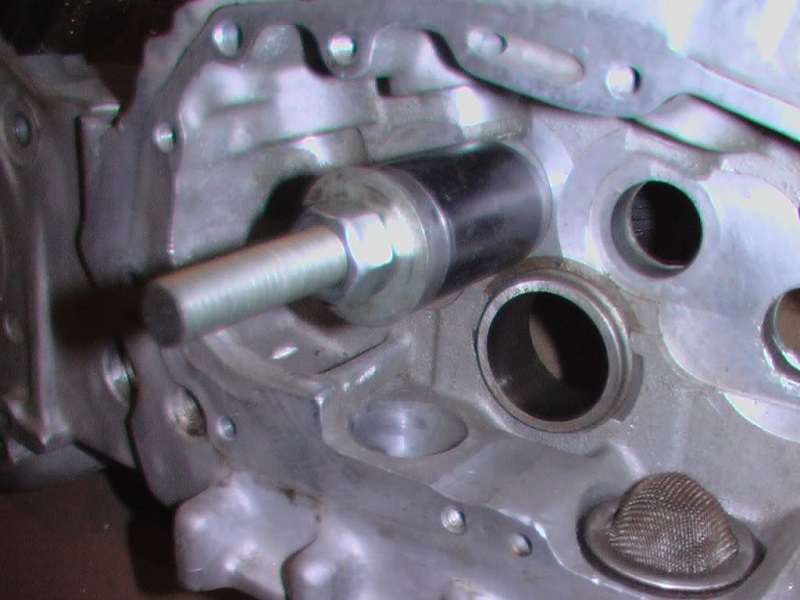
Bushing Removal
You can buy different brands but this is basically a slide hammer with an expandable collet.
See also
Cam Bushing Removal in the Sportsterpedia.
| Blind Hole Bearing Puller (Harbor Freight model) 3) | Decrease the width of the collet. Install it into and behind the bushing. Tighten the nuts to expand the collet.
Then yank the bushings out by knocking the slide against the handle end of the tool 4) |
 |  |  |
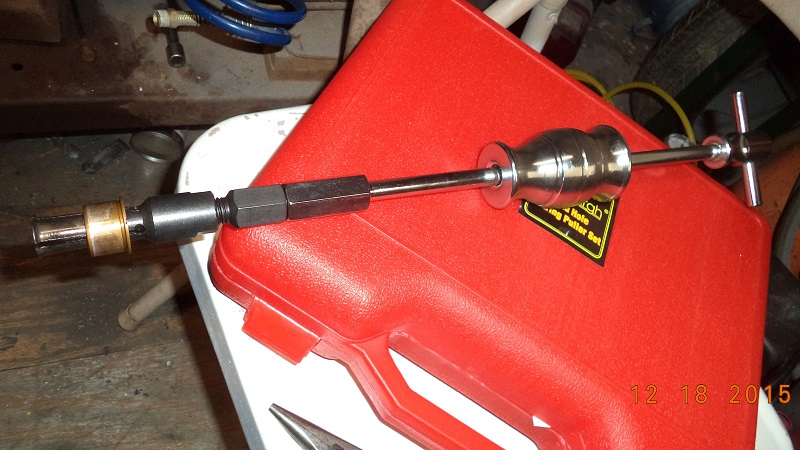
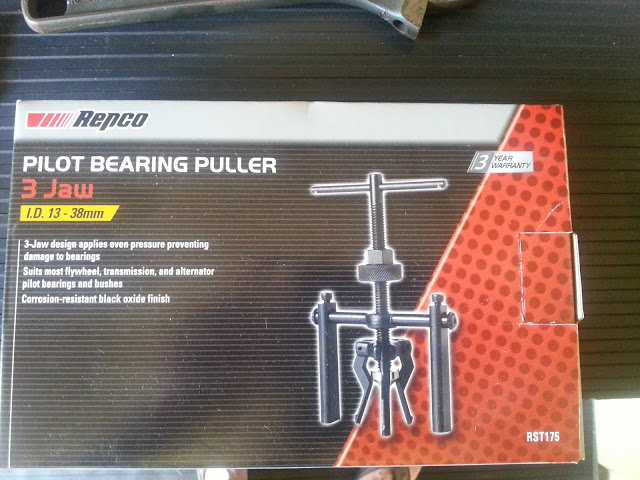
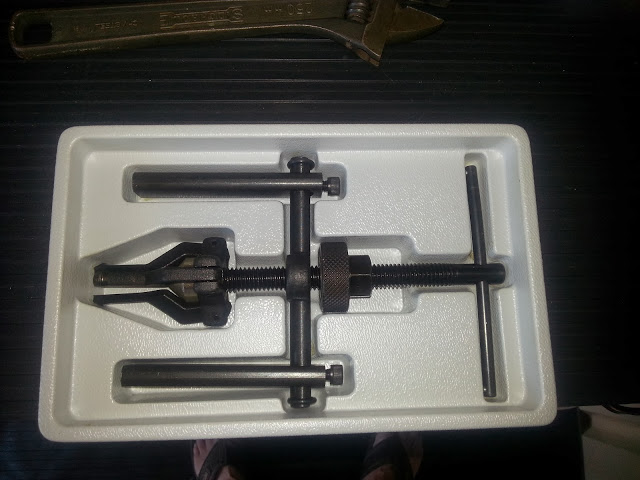
| Check local auto parts stores for a pilot bearing puller. 5) |
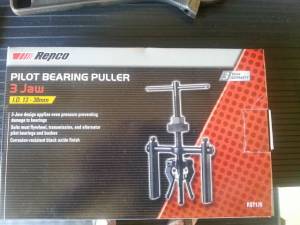 |
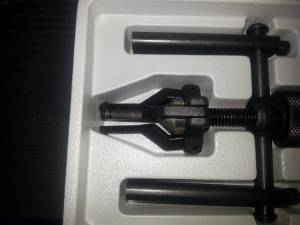
| This works basically like the slide hammer except it pulls the bushings out instead of knocking them out. 6) | For smaller bushings, grind the back of the jaws a
little so they close more to fit the smaller space. 7) |
 |  |  |
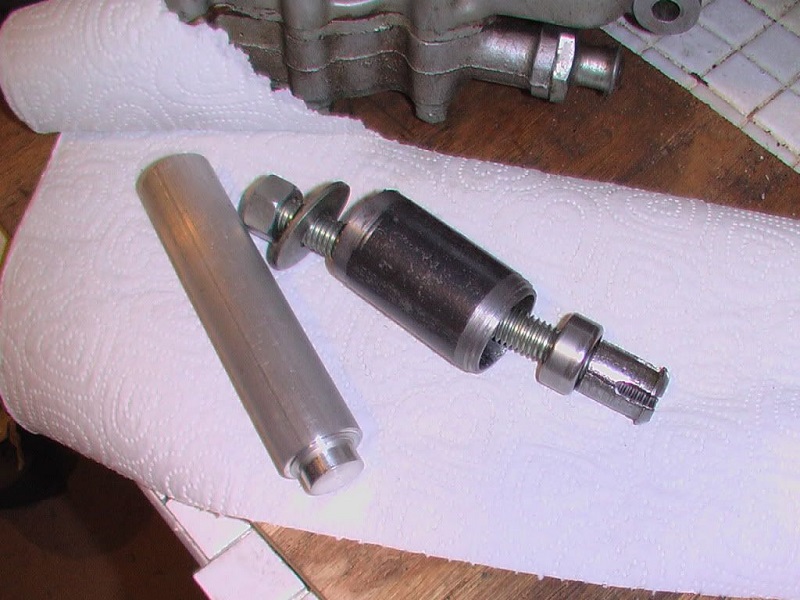
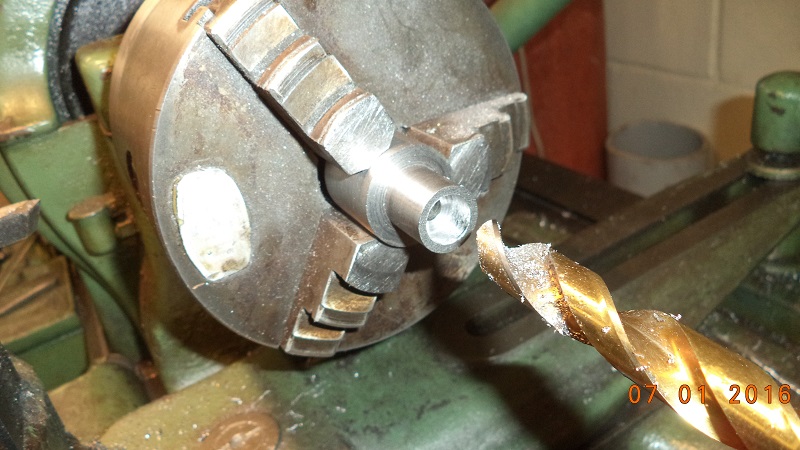
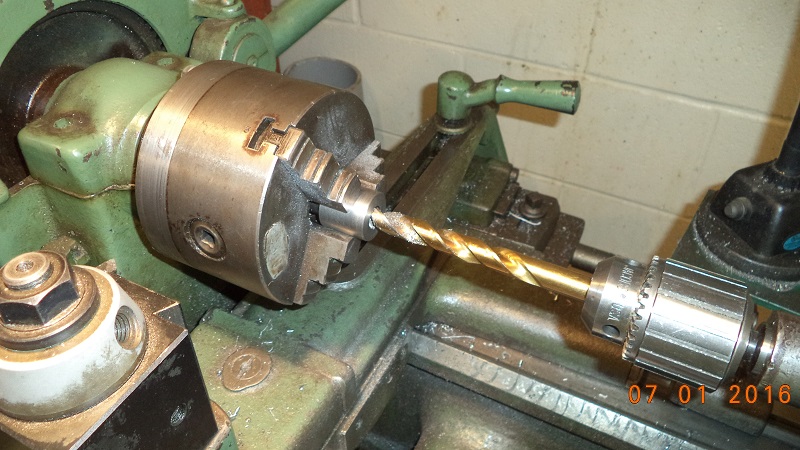
Homemade bushing remover:
The puller is made from 1“ ID black pipe and 1/2”-13 threaded rod. You tap the flex head-puller head through the cam bearing.
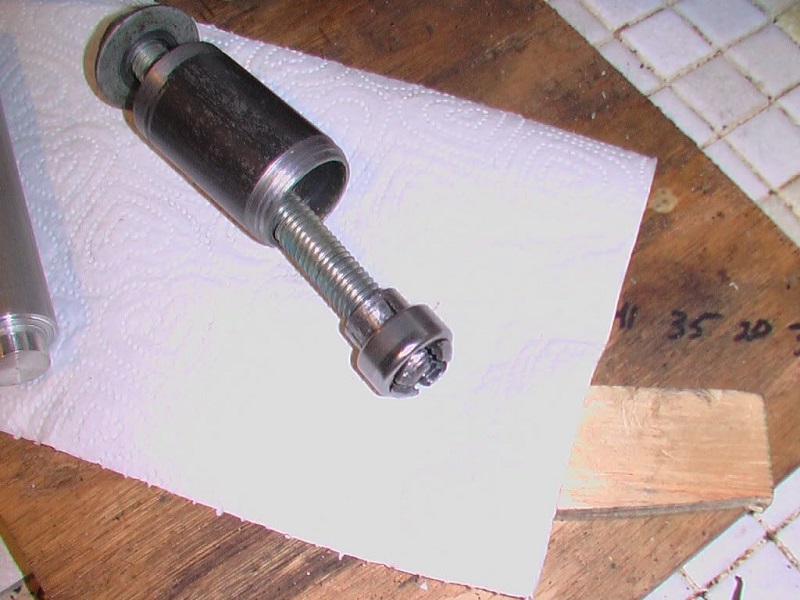
The little nub puller with a collar that you knock into the bearing is made from 3/4“ rod. Then screw the rod into the head to tighten the jaws.
Then place the collar over the rod and nut to start the pulling.
4 grooves were cut into the end for flex / compression to push through the bearing.
Then it was center drilled 7/16” and tapped 1/2“-13 and the slots were cut with a 3/16” end mill.
The threaded rod causes outward pressure on the jaws of the head when pulled. 8)
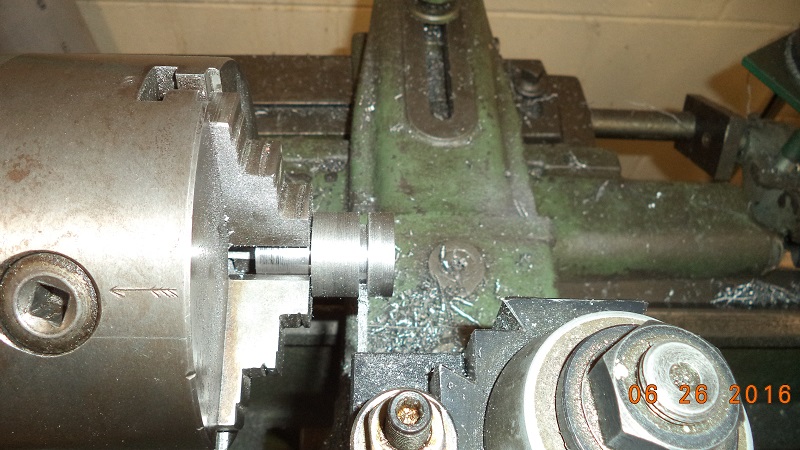
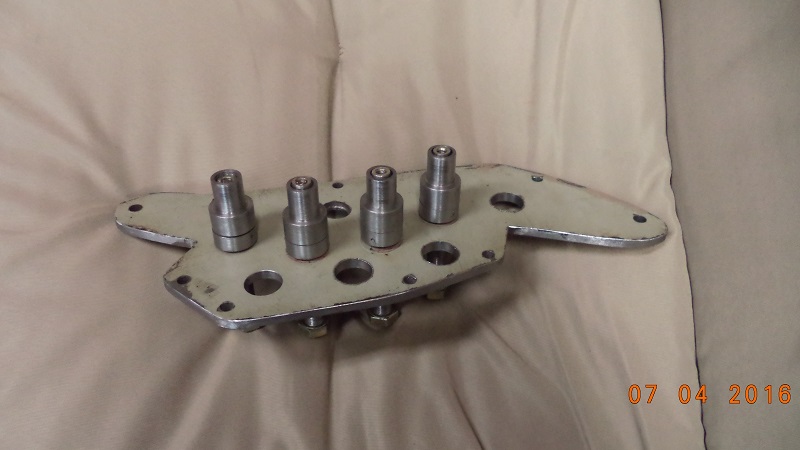
Bushing Installation
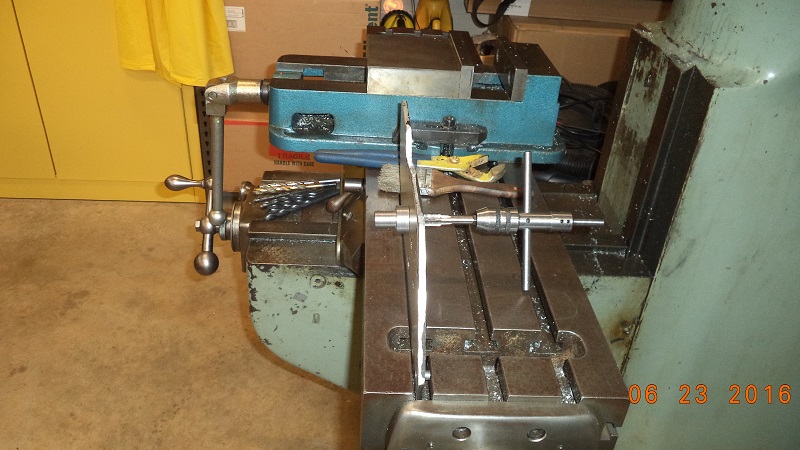
These are typically knocked in with a commercially available long rod and a hammer.
Below are a couple homemade tools for installing the bushings. A knocking rod and a compression plate.
The knocker rod is made from 1“ aluminum bar stock with a .030” shoulder to recess into the bearing, .030“ into the case. 9)
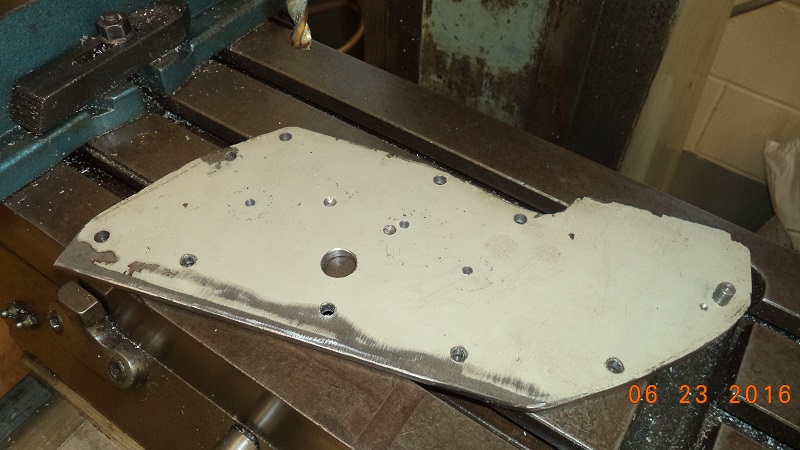
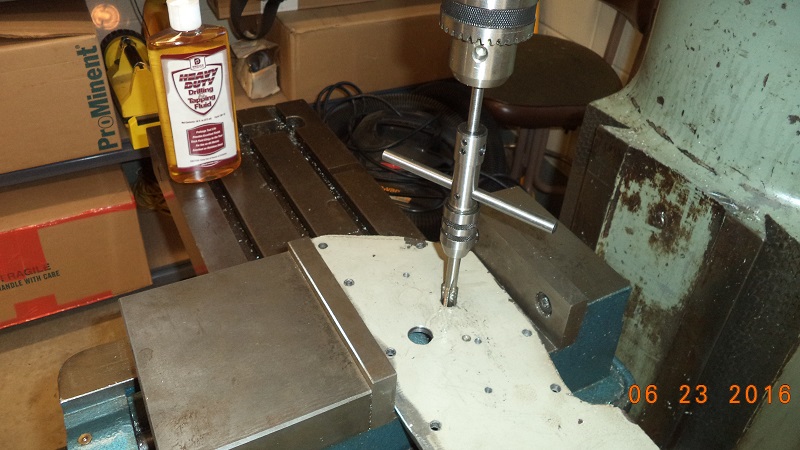
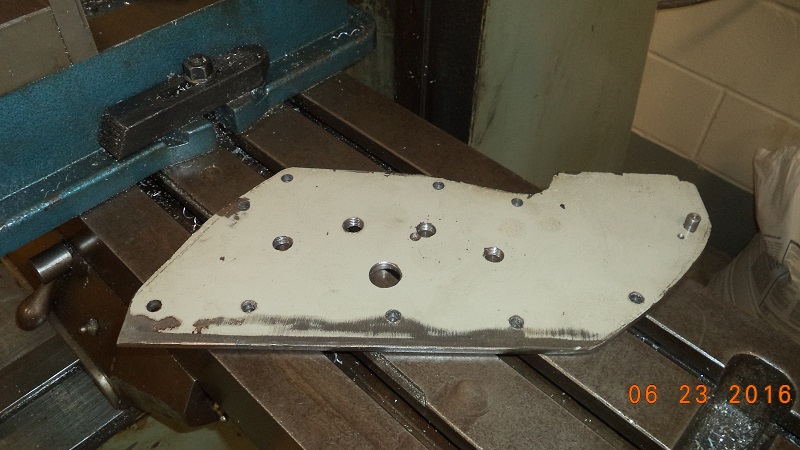
The compression plate is made from a scrap steel plate. The bolts screw in to push the bushings in place. See the build pics below by Hippysmack.
 10)
10)  11)
11)  12)
12)
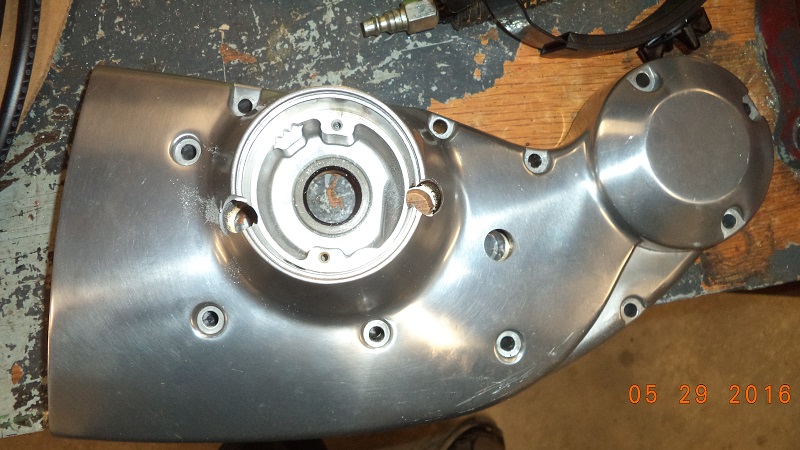
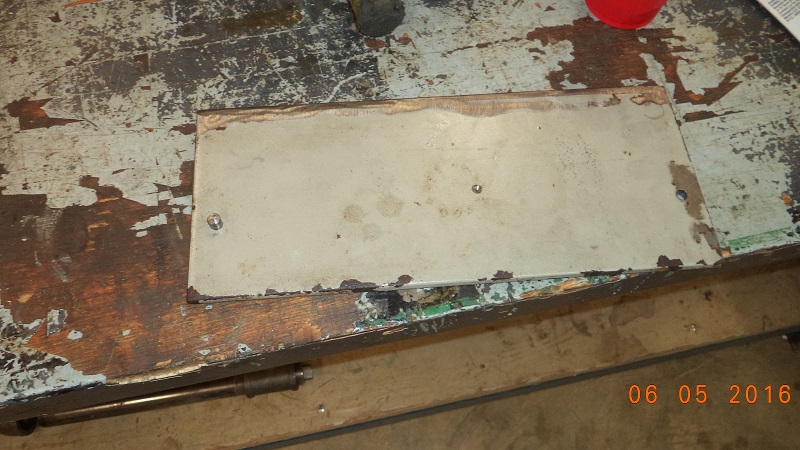
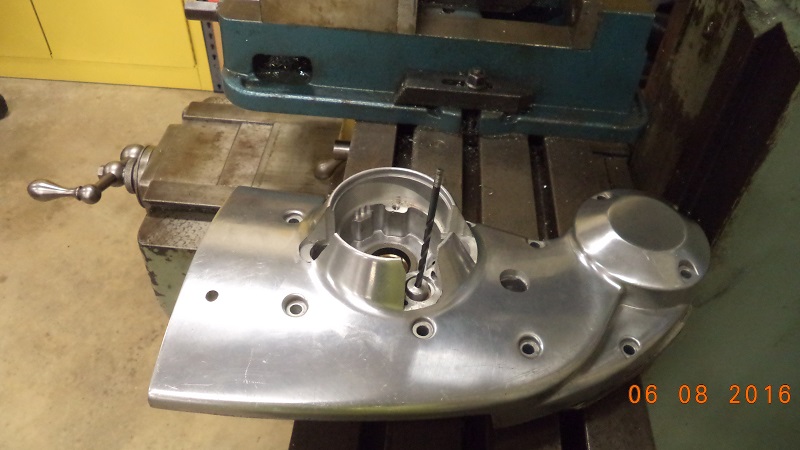
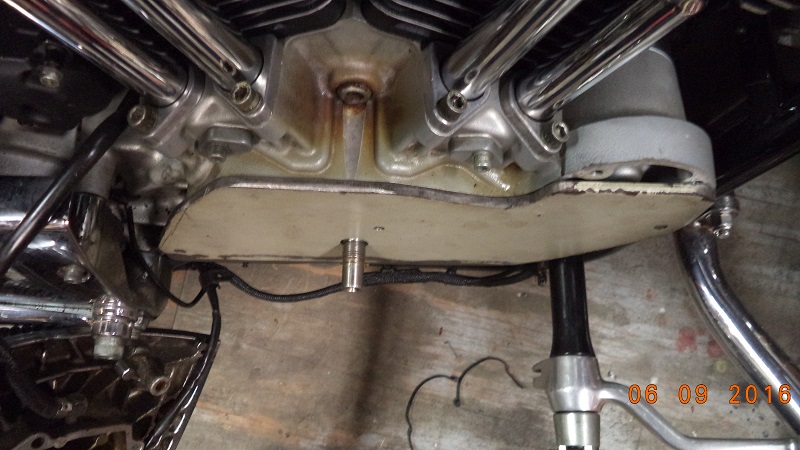
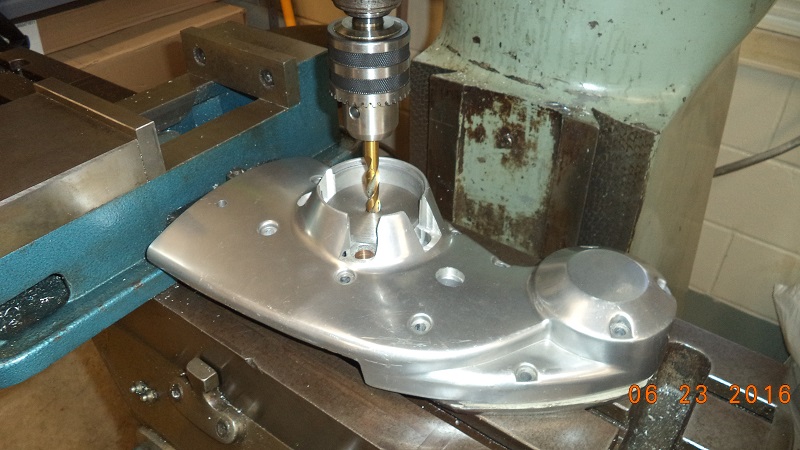
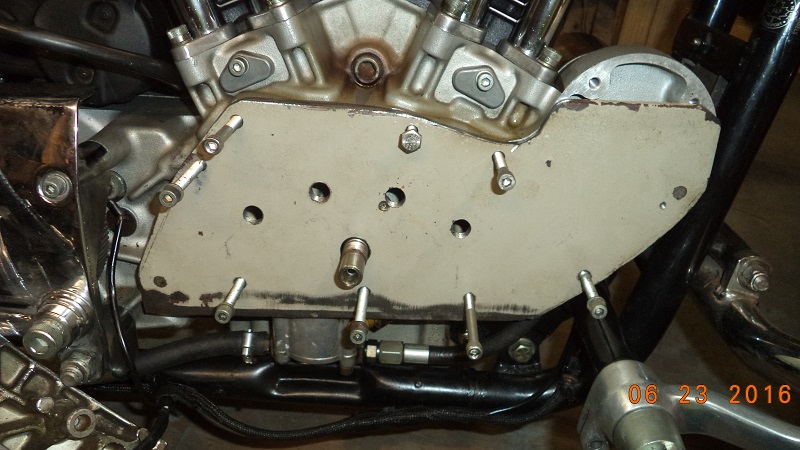
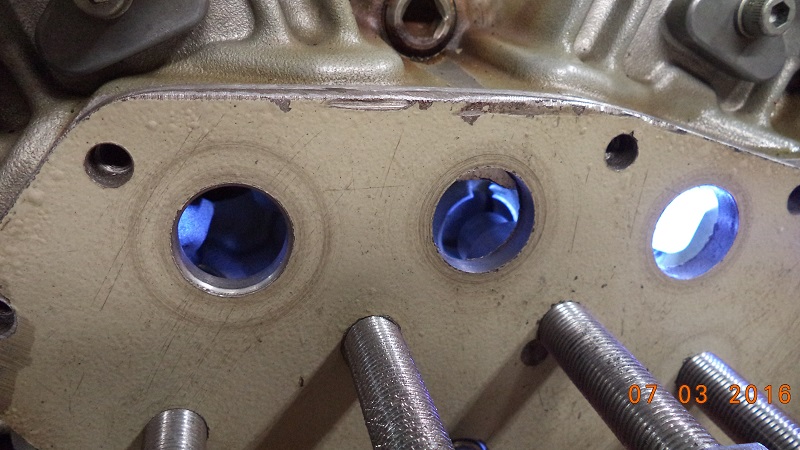
Modified Cover for Reaming
| Modified cam covers for reaming 13) 14) |
 |  |
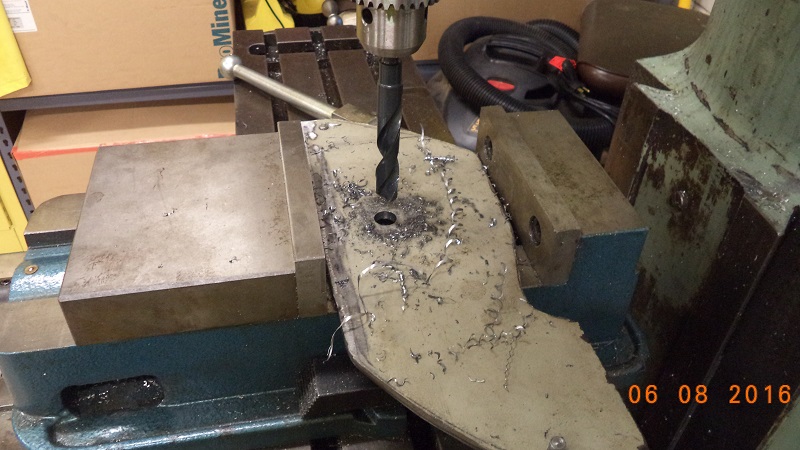
| The bushing holes were drilled thru for -access into and thru the cover bushings to the case bushings. 15) |
 |  |
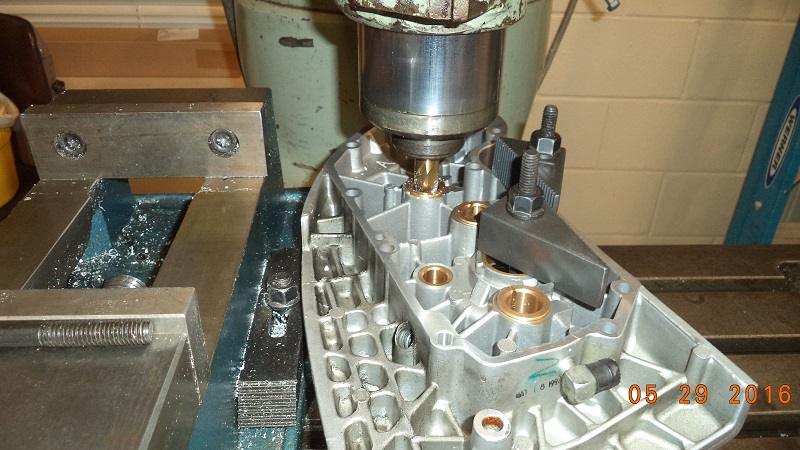
Reamers
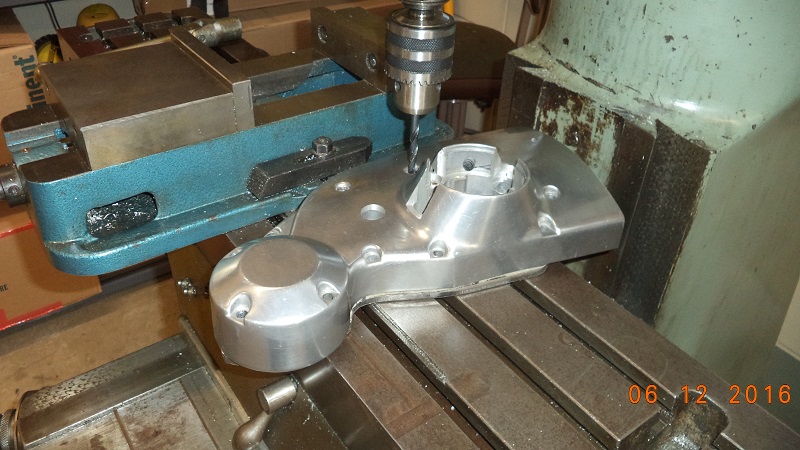
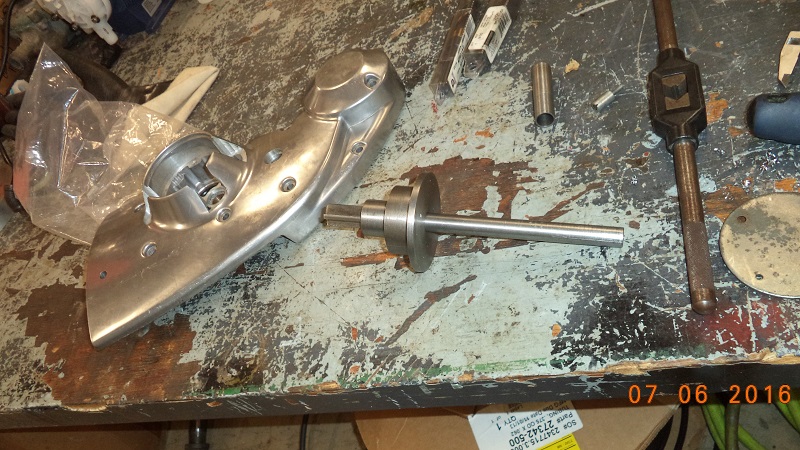
Reverse Engineered Cam Bushing Installer
Article by Hippysmack
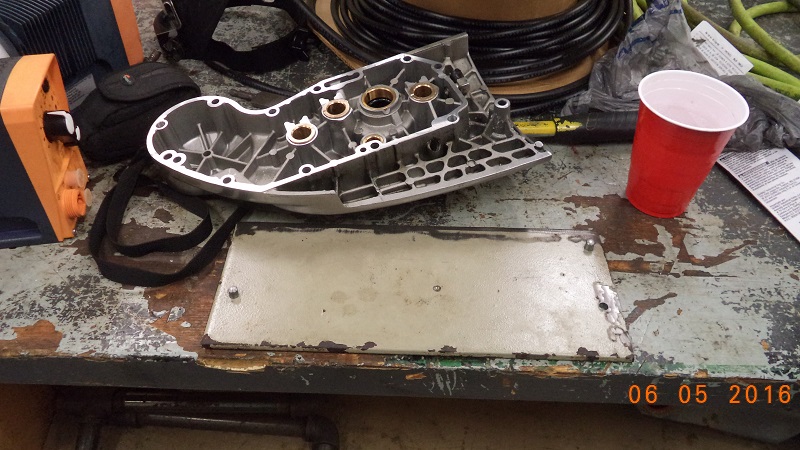
Click on a pic to enlarge:
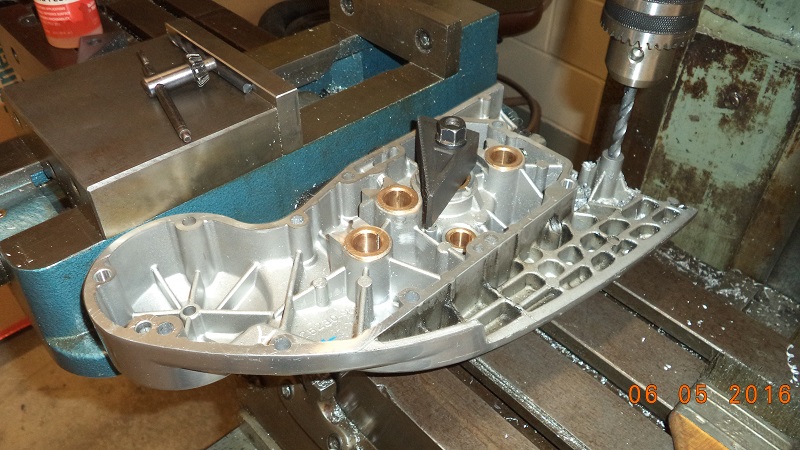
I decided to make my own bushing installation tool since I have checked with the MOCO in three states and nobody has the one mentioned in the FSM for sale. A bushing hammer would have worked fine but I didn't want to beat the cam bushings in my engine. Besides, I wanted to use the shop. The plan is to make an installer, press the bushings in with it and ream the bushings thru a spare and molested cam cover. I'm doing this backwards from the FSM. Your suppose to ream the bushings to exactly 11/16” at a right angle, place the cover on the case half (which has been split from the left case half) and then ream through from the case half into the cam cover with a pilot reamer. I have a reamer that is 11/16“ dia from one end to the other and the cutting blades are over 3” long.
Originally going for a tight fit and without perfect alignment of the pins, my project is shot since there is way to much movement between the mounting screws and the mounting holes and no other way to true the bushing holes between the cover and the case. I had to remove the pinion gear to install the cover.
1-1/2“ steel is the smallest I've got right now so I've been spending a lot of time turning it down. I did get the mounting bolts drilled in the plate.
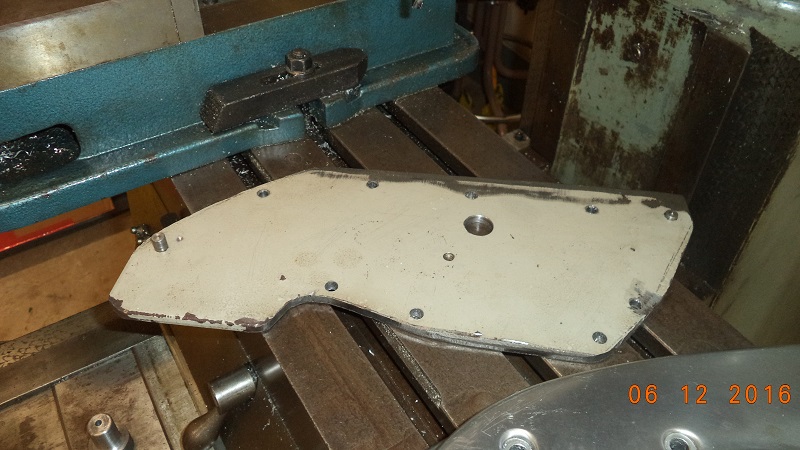
I cut a center hole bushing for the 3 cam shaft slots in the cover that are the same size.
I opted for some wiggle room when installing the bushings, pre-drilled the tap holes 1/64“ bigger for a looser thread since if it's not just right, it won't run the bushings in flat. 29/64” instead of 7/16“ (.0156”) more for 1/2“x20” bolts.
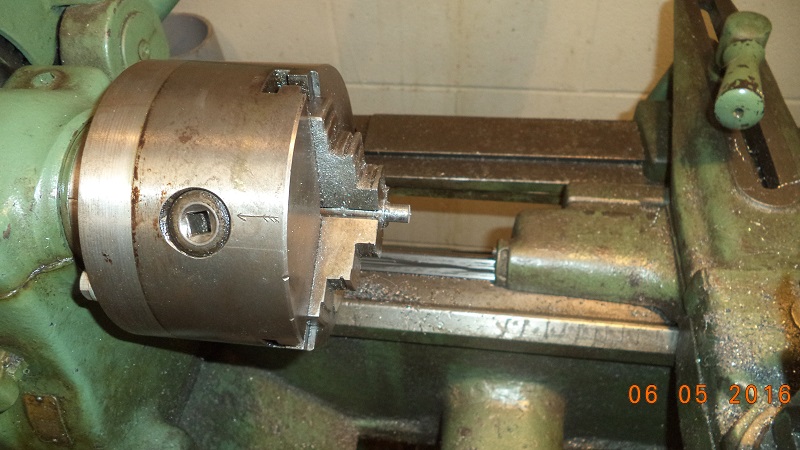
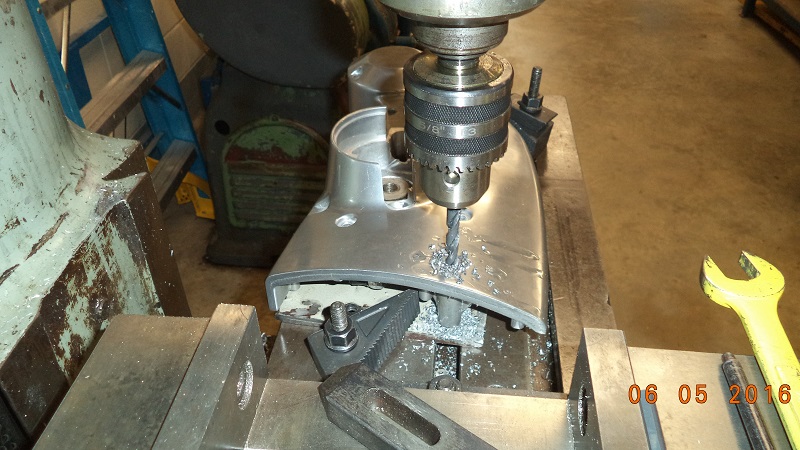
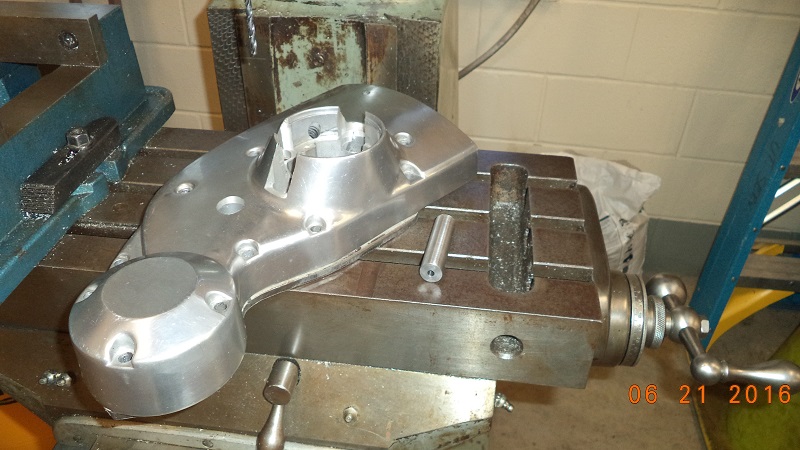
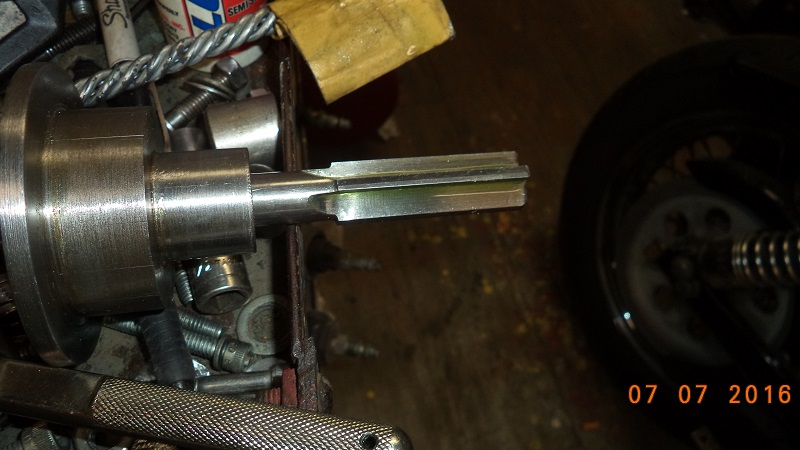
Hand reamers are tapered to allow you to center up into the hole before reaming. I couldn't use one since the taper is about an inch in from the end and I only half less than an inch from bushing face to crankshaft. I used a 11/16” chucking reamer with a 45 degree chamfer only at the end of it with a 9/16“ shank. I had to make another bushing for the reamer, 11/16” OD to insert in the spare cover bushings, 9/16“ ID to accept the reamer shank and keep it centered. The chucking reamer is not long enough to ream both holes at once. The 45 degree chamfer is short enough that it will go past the end of the bushing but not into the crank.
The bushings in my original cam cover are all in
spec so I don't have to change them out. This one only has four flutes….I'd rather have eight. Theoretically, the case and cover bushings are all 90 degrees from the mating surface, so you could ream each separately at 90 degrees and put them together as a unit. However, if you deviate off 90 degrees, then you change center and the 'out of service' clearance for these is only .003”.
I decided to use the center bushing I had already made for the press since I don't have any more big stock. I planned on keeping the one I made for the tool pilot holes and making another to ream bushing number 2 in the case. I bored a 9/16“ hole thru it to accept the reamer shank but the reamer cutting edge is 2.25”. From the gasket surface to the brass bushing face is only 1.8“ ish. So, I drilled an inch into the back of that center bushing with a 11/16” bit to loosen it up a bit. I ran a 3/4“ milling bit into it and low and behold, the bit was burnt and wouldn't cut. So, I ran an 11/16” end mill into it and played around a little until it widened out enough for me. It's ugly but not important. Only the free space inside the back is.
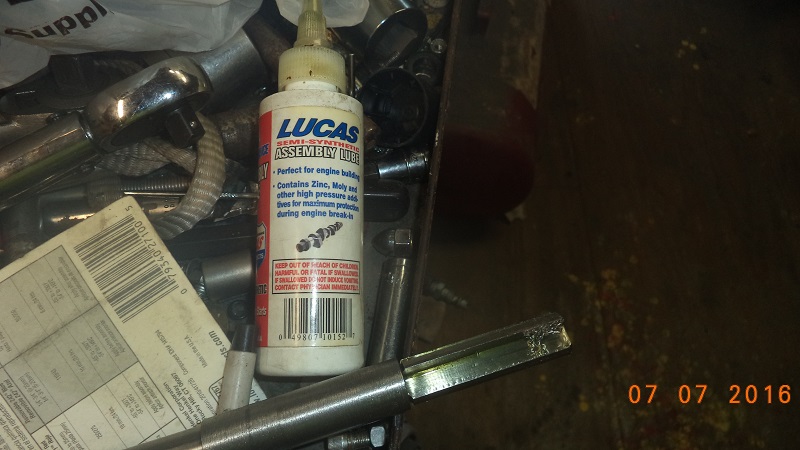
Used Lucas assembly lube. I needed some really thick oil to catch the shavings before they got into the engine. I put a big drop in each flute and pulled it down flat with my finger. After removing the reamer, each time, I could not shake any shavings on the floor.
Then, took some big pliers and turned several times to open up the hole to allow the reamer to turn easier until I could use just a rag in my hand turning until the reamer spun around freely. With an 8 flute reamer, I may have been able to skip this step.