Table of Contents

IH: Oiling & Lubrication - Sub-03E
77-85 Oil Pump Removal and Disassembly
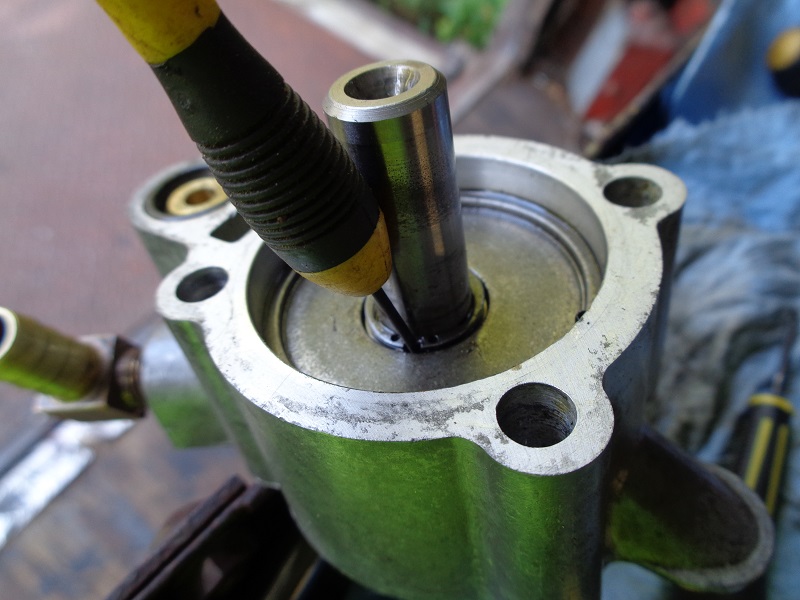
Removal
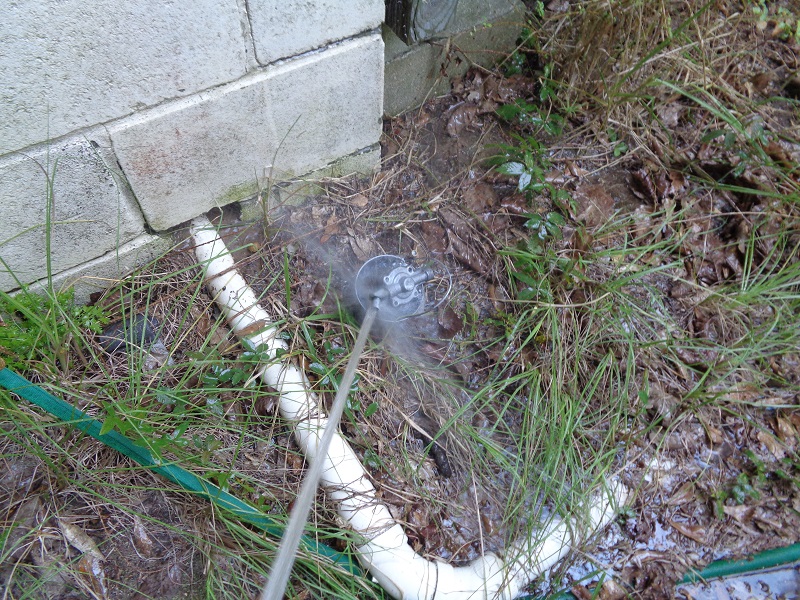
- The 77-85 gerotor pump can be removed with the engine in the frame and the gearcase cover installed.
- Disconnect the oil lines and oil pressure switch wire.
- Remove the four mounting bolts and the pump should drop down.
- There is a flat spot on the frame just under the pump. 1)
- The complete pump assembly comes out as a unit.
- It´s not possible to take only the cover out because of the of limited space between the cover and frame. 2)
- Its a tight squeeze but you can wriggle the pump out. 3)
Pump Stuck to Engine Case
The FSM says to apply gasket sealer to the gasket before installation.
There are also times when a gasket could not be found, so RTV or other sealers were used in addition to or instead of a gasket. 4)
Therefore, expect that to make it more difficult to remove the pump from the engine.
- First, be patient with it.
- Try to turn the motor over by hand. It may push the pump out. 5)
- Try a rubber mallet.
- Gently tap down on the pump's rear side so you're not forcing extra pressure against the drive gear on the pinion shaft.
- Try a short piece of 2×4 to gently tap on the pump.
- Try using a crowbar with a “catspaw” on the rear side of the pump.
- It's a wood working tool for pulling nails. 6)
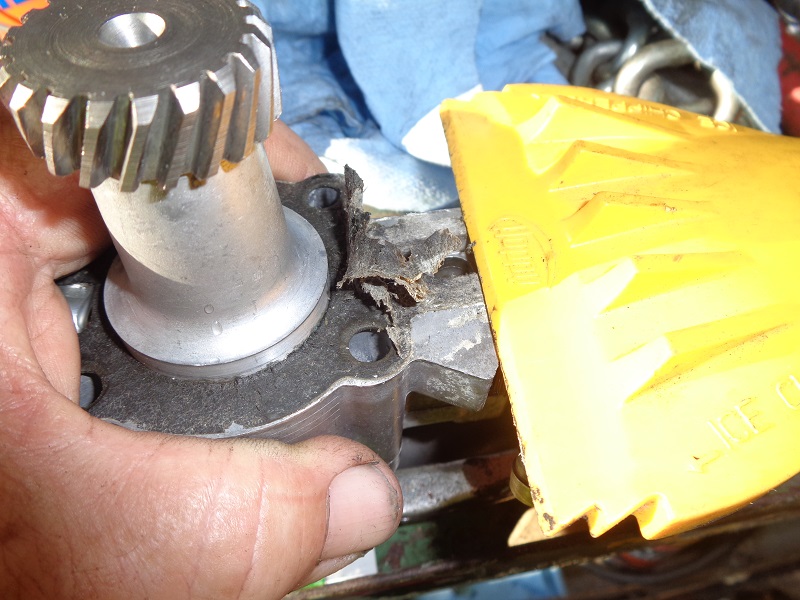
Gasket Removal
There are several ways to remove a stuck gasket.
The use of metal abrasives on aluminum mating surfaces can result in distortion or scratching of the surface and a possible leak thereof.
A straightedge razor blade can cut ruts in the surface guaranteeing a leak.
Plastic scrapers and elbow grease is good alternative.
Soaking the gasket with a solvent will soften it somewhat so removal is easier.
However, the outer plate and cover seals will have to be replaced before reinstallation.
You may have to soak it and scrape several times while removing gasket layers.
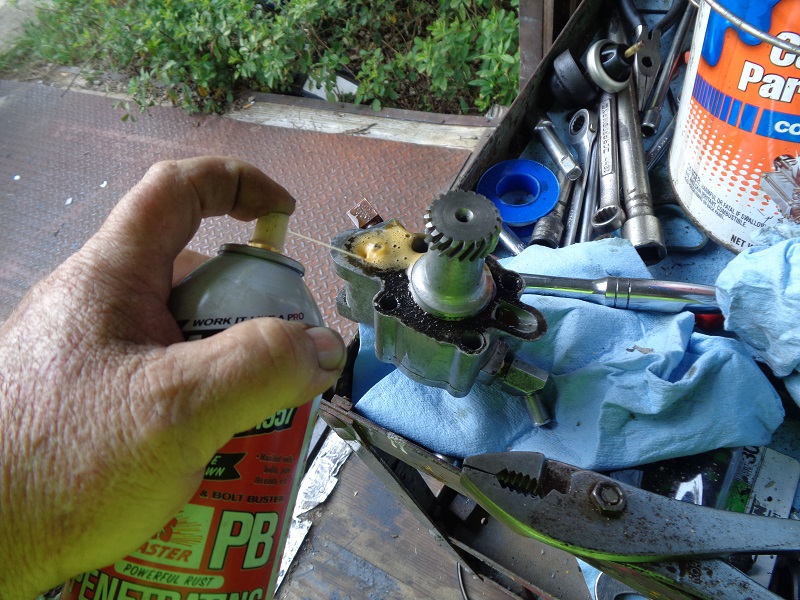
Below PB Blaster was used with an auto window scraper. 7)
 |  |  |
Stuck Cover Gasket
The spring washer inside the pump puts a lot of tension against the cover.
This pressure should push the cover off of the body when the pump assembly is removed from the engine.
Although in use, oil glazing will build around the mating surface between the oil pump body and cover from heat and time.
So, it is common for the cover to be stuck to the pump body.
According to the FSM, the pump to case mounting gasket should be coated with gasket sealer before installation.
This is a debatable procedure as many have reported that is not necessary.
However, sometimes people will also apply sealer to the cover O-ring or the channel that the O-ring sits in.
This later makes separating the cover from the body more difficult.
- Try holding the pump body in one hand and twisting the cover with the other hand.
- Try laying the body on the corner of a wooden table (cover hanging off the wood) and gently tapping the cover to twist it.
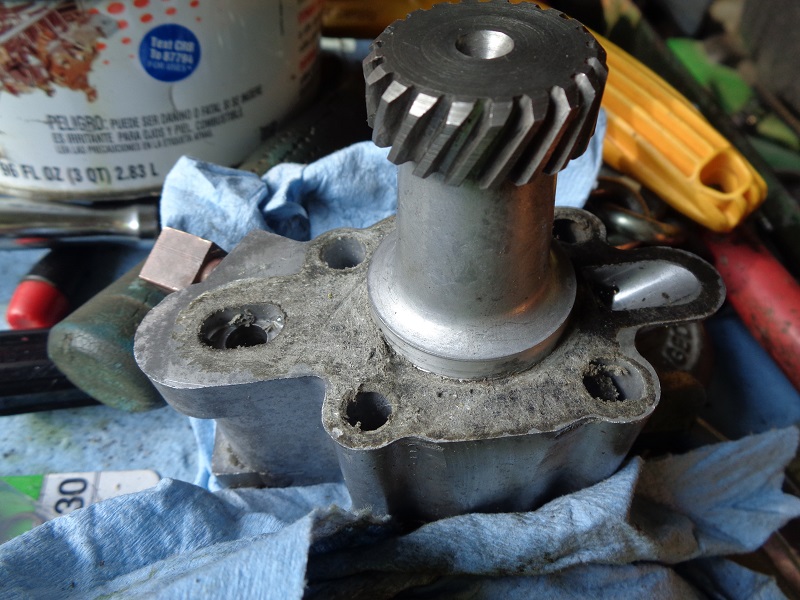
| 79 oil pump 8) |
 |
For whatever reason, the cover can be stuck bad enough that it will not come off by tapping it with a rubber mallet.
Before using a screwdriver or prybar;
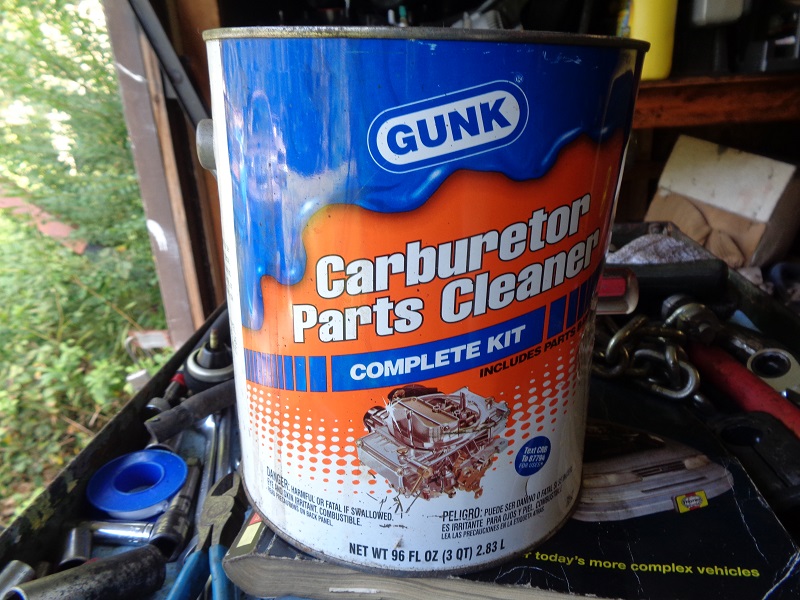
- Try soaking the entire pump in solvent (as in a gallon of carburetor cleaner).
- The pump will fit in the small bucket that's inside the gallon can.
Make sure to remove the oil pressure switch before soaking.
Also check the label for safety precautions.
- Keep in mind, any rubber parts on the inside will have to be replaced before reinstallation.
The solvent will soften and expand the cover O-ring and outer plate seal and render them useless.
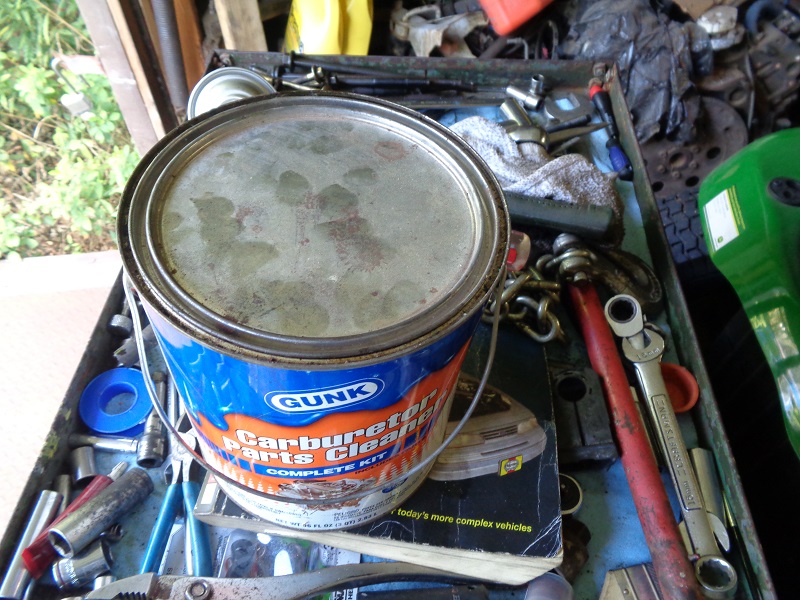
- Drop the oil pump in the bucket, lower the bucket into the can carefully so as not to splash the solvent and close the lid.
- Depending on how old or how 'stuck' the parts are, soaking for a couple hours may help to separate the old gasket in between.
- However, a 24 hour soak will help to soften the gasket / sealer and make it easier to break free.
| Carburetor Cleaner 9) | ||
 | 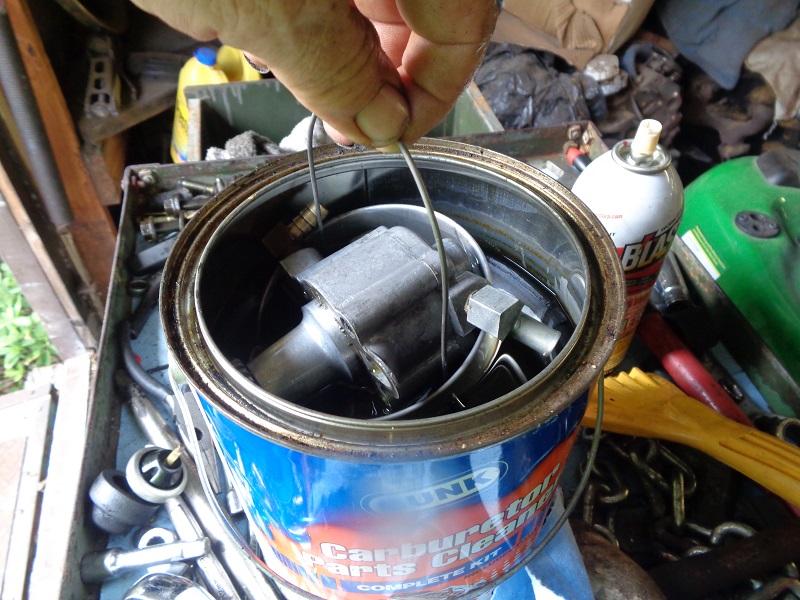 |  |
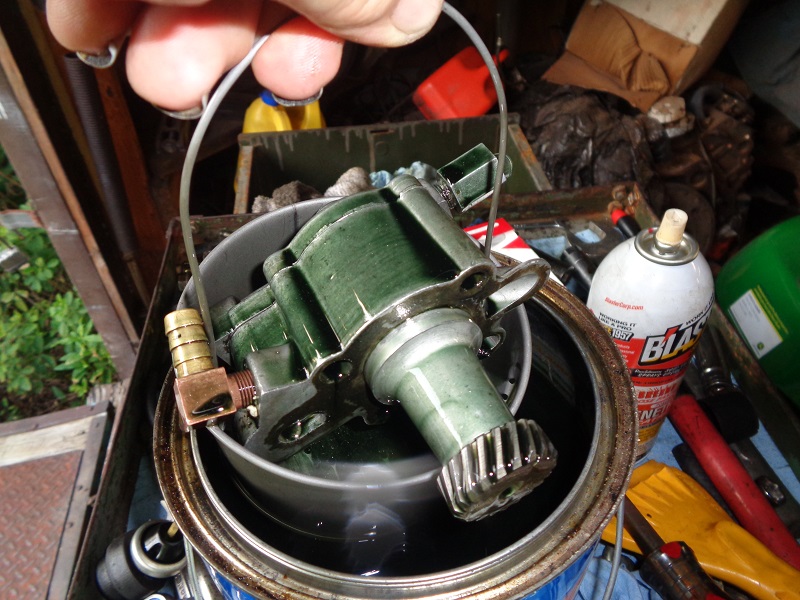
- After soaking, open the lid, remove the small bucket inside by the handle, set the bucket on the ground and wash the parts cleaner off with a water hose.
- Let them air dry and most, if not all of the grease/grime should be gone.
- You may have to re-soak heavy grimed parts or use a wire brush to break grime hardened areas before soaking again.
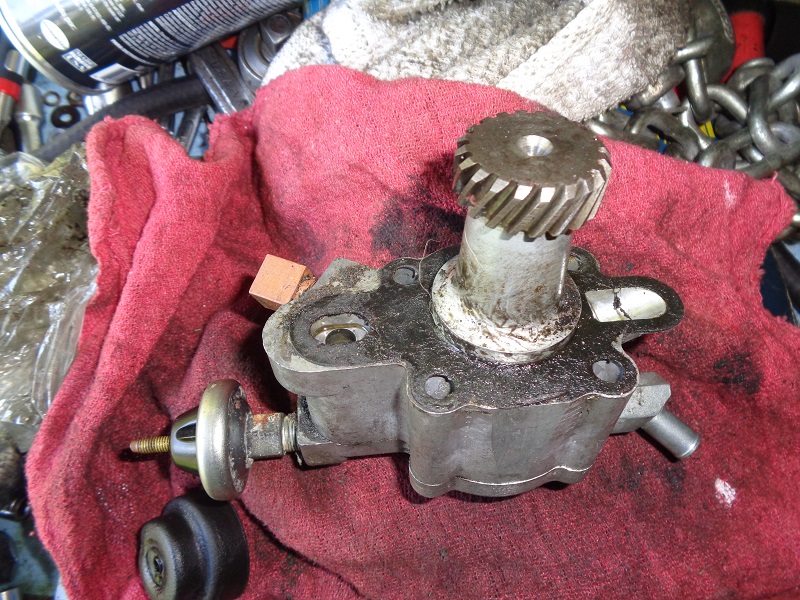
This oil pump had to be soaked overnite before the cover would separate from the body.
| Cleaning and soaking gaskets for more easy removal 10) | |
 |  |
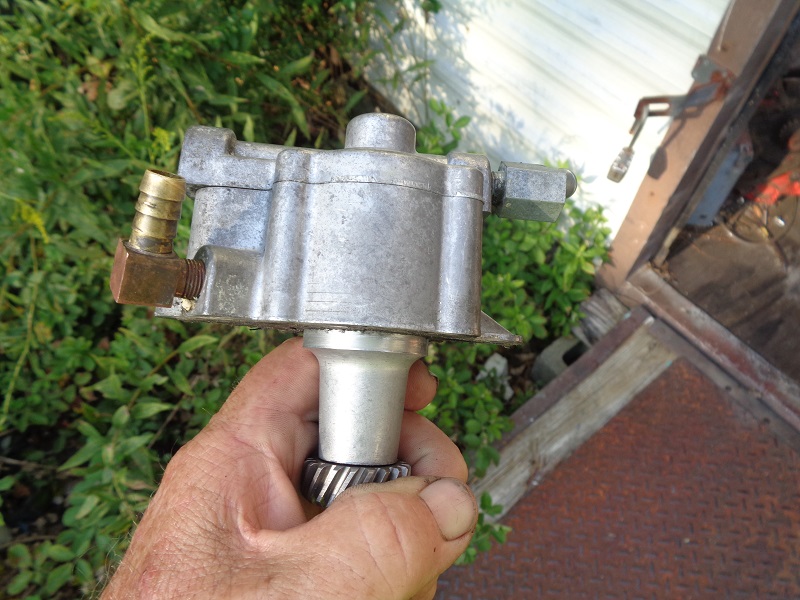 | 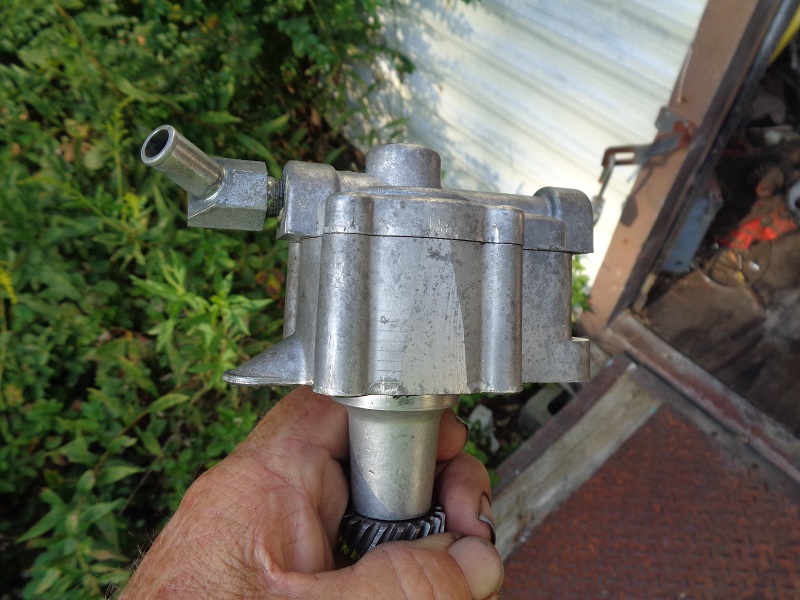 |  |
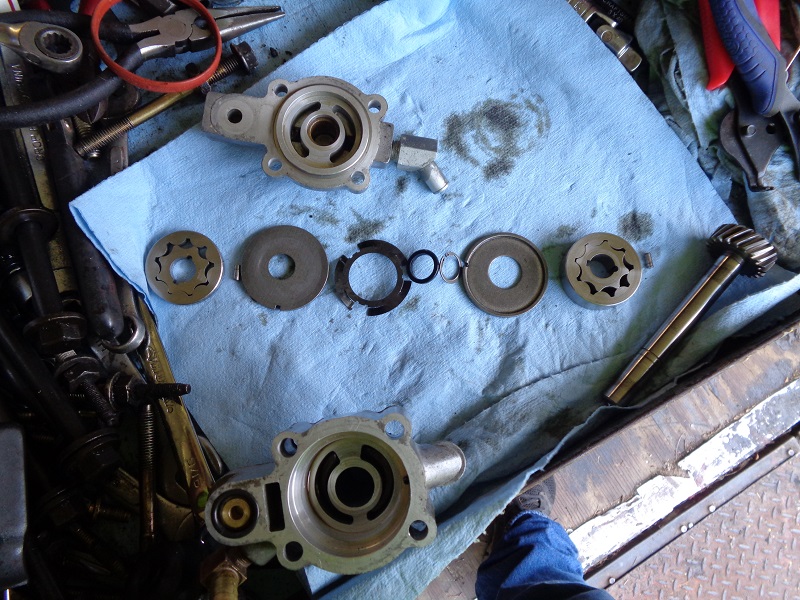
Disassembly
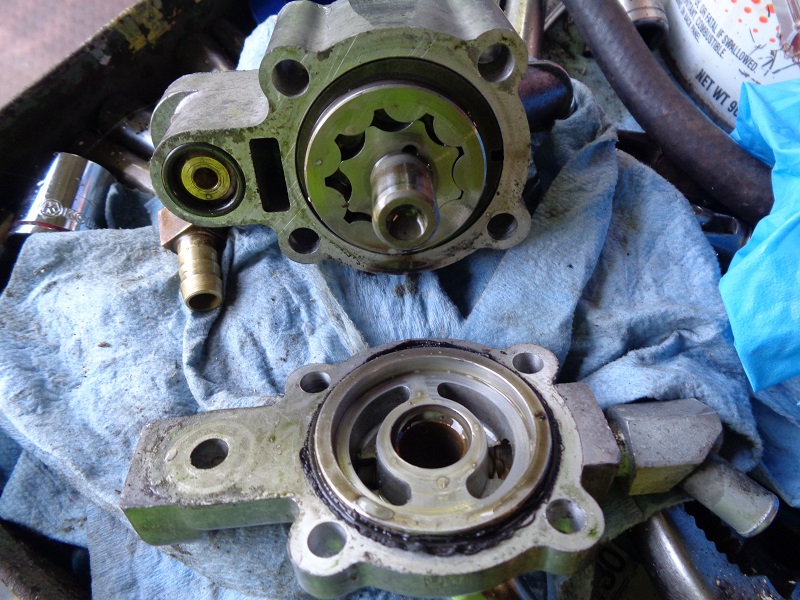
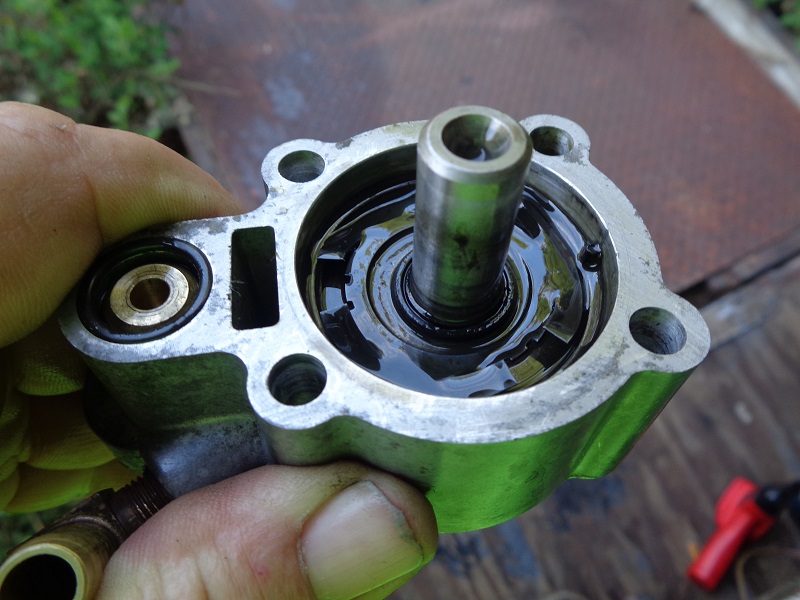
Wiggle the cover off and the feed gerotors are exposed.
Once you've gotten the cover off, you can continue to disassemble the pump from here. 11)
Holding the pump upside down will allow you to remove and inspect parts individually as you go.
It also helps to keep from dropping and losing some of the small parts.
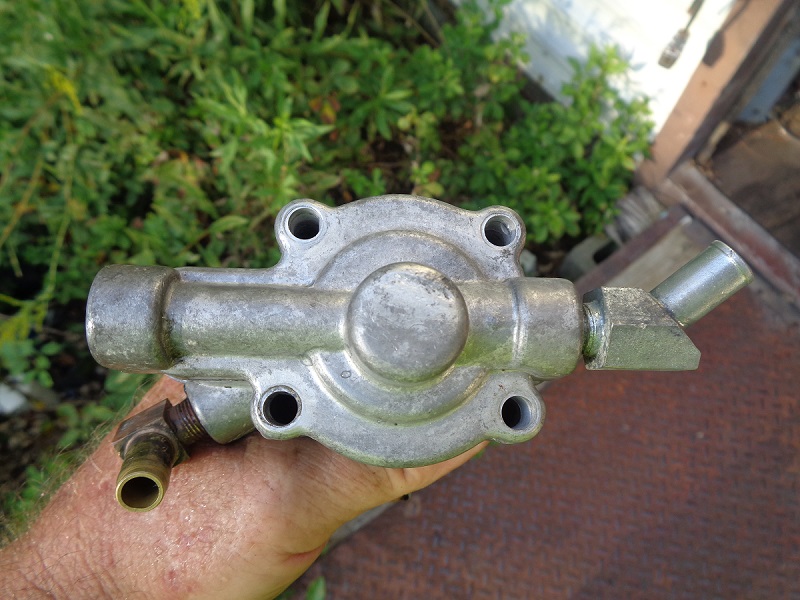
Inspect the parts for damage and wear while removing them.
This can help diagnose certain areas for further inspection that might otherwise be looked over.
- Check for excessive scratching of the cover where the feed gerotors sit as well as the top and bottom of the feed gerotors.
- The feed gerotors are normally 'sandwiched' in place between the outer plate and the cover.
- When the cover comes off, they can be slid off the gearshaft.
- The pin in the gearshaft sticks out into the square recess in the inner gear but doesn't hold the gerotors in place.
- The outer plate is held in place by a solid pin in the gearshaft.
- It's a loose fit in the hole in the gearshaft and it's held in place by tension of the spring washer between the plates.
 |  | 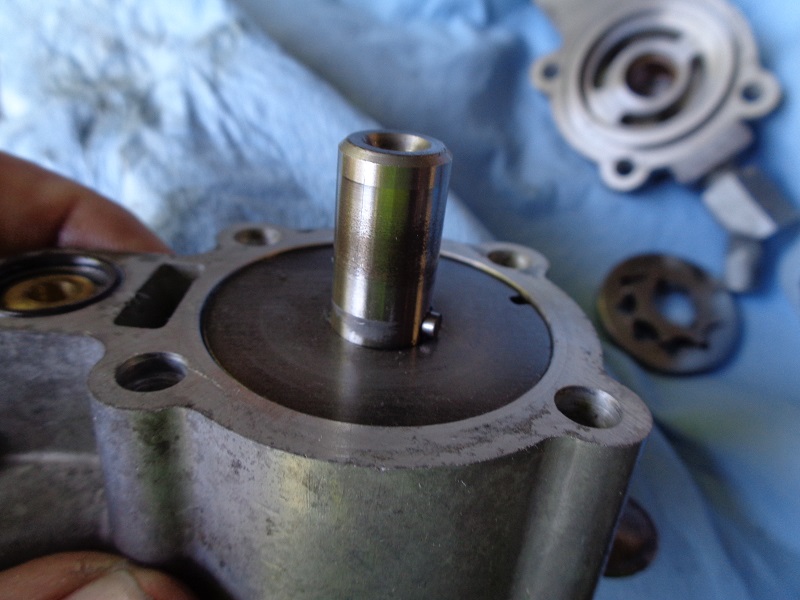 |
- Push in on the outer plate (if needed) to compress the spring and the pin can be removed with pliers or your fingers.
- Then the outer plate can be removed.
- The notch in the plate mates around the roll pin in the body that keeps it from rotating.
- It'll have to be lifted straight out or dumped out.
- Then remove the spring washer.
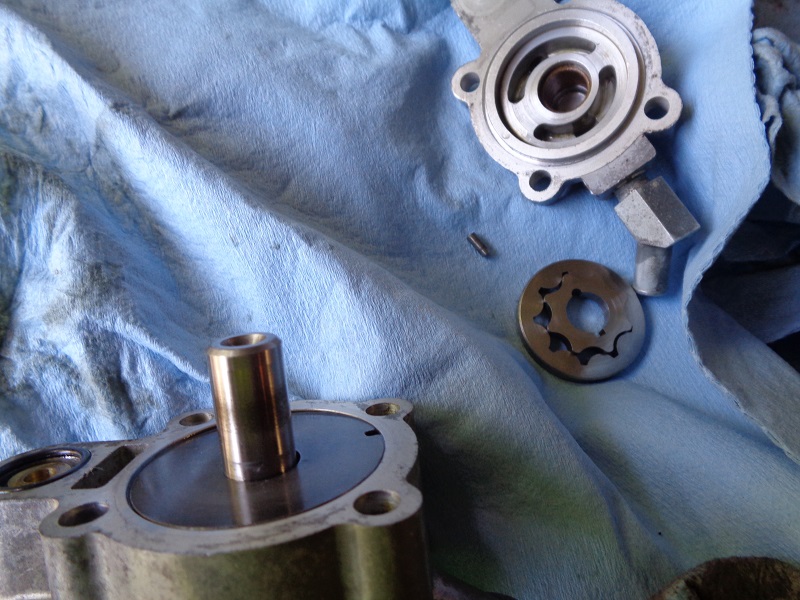 |  |  |
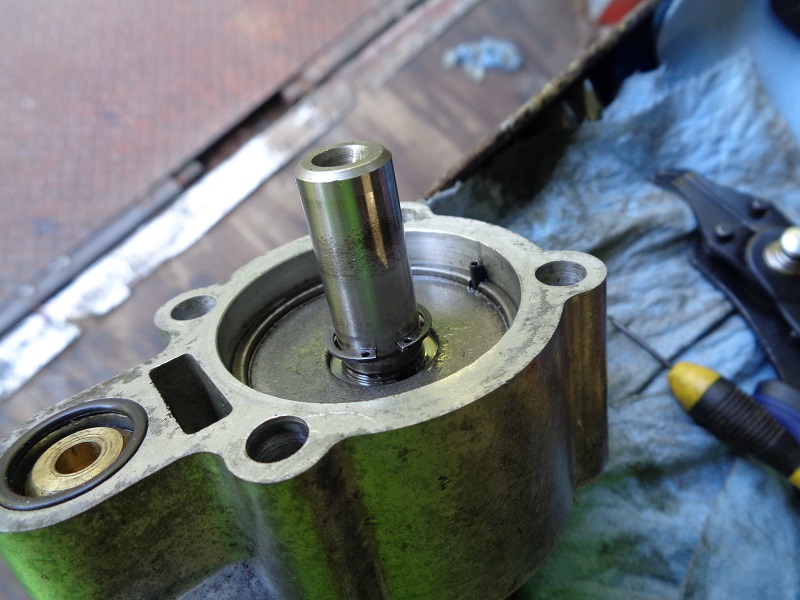
- The 77-82 outer plate seal is simply pushed down the gearshaft and onto the inner plate.
- Check the position and condition of the seal before removing it.
- Remove the seal and the retaining (lock) ring.
- You can use external lock rings pliers or a small screwdriver or two.
- Every time this ring is removed, it gets a little weaker.
- Best advice is to count on replacing it before reassembling the pump.
(therefore, how you remove is irrelevant)
 |  |  |
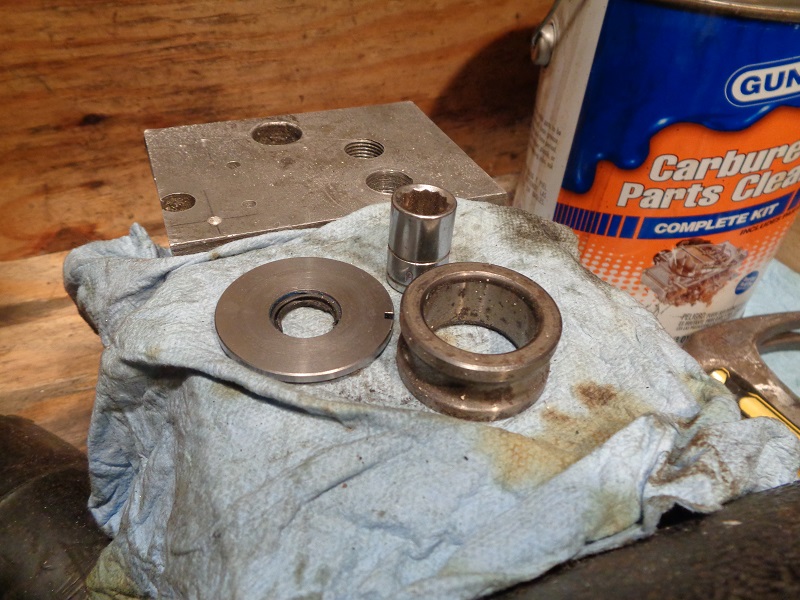
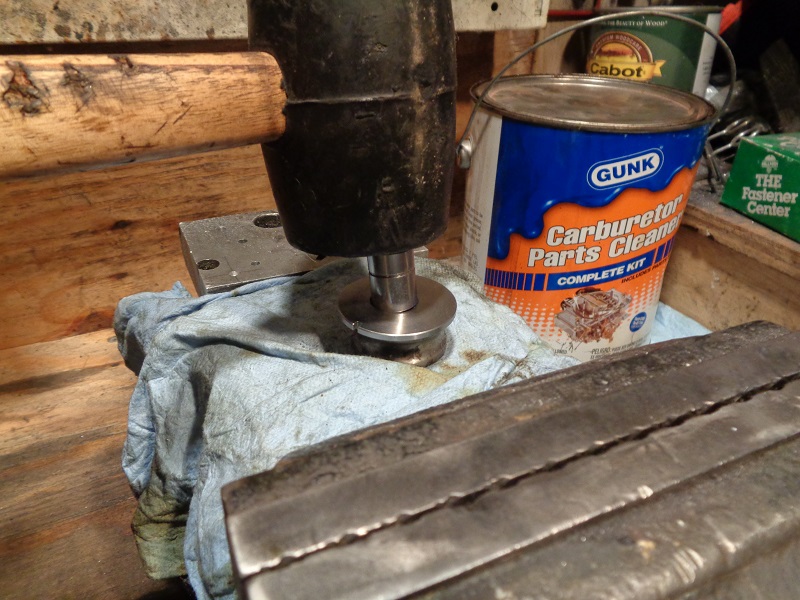
- The 83-90 outer plate seal is pressed into the outer plate.
- Check the position and condition of the seal before removing it.
- The seal will need to be pressed or pried out.
- You can set up a rig as in below (bearing race, a small socket and a rubber hammer).
- Make sure the socket is slightly smaller than the outer plate I.D.
- Gently tap the socket.
- And the seal will fall thru the bearing race (or larger socket etc).
 |  | 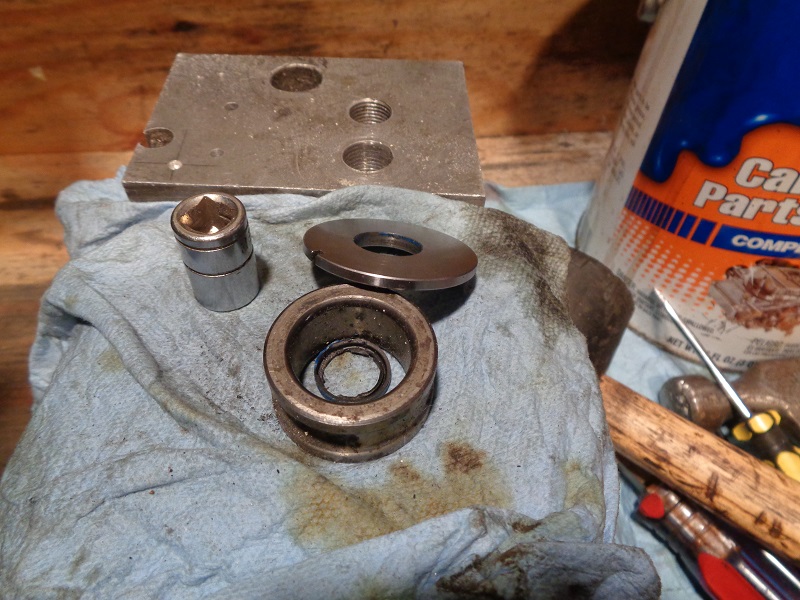 |
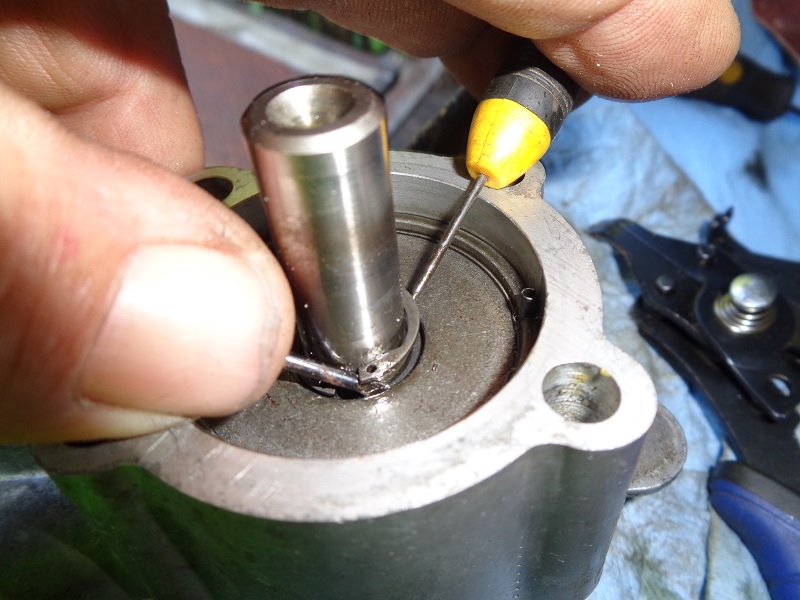
- Two small drivers were used here (1 to keep the ring from spinning, 1 to raise an end out of the groove in the gearshaft).
- The 1st screwdriver can be pushed into the slot in the gerotor to keep the ring from spinning.
- This will allow you to pick and out on one end and then switch back and forth between the two from there.
- Remove the retainer clip.
- Then pull out the inner plate.
 |  |  |
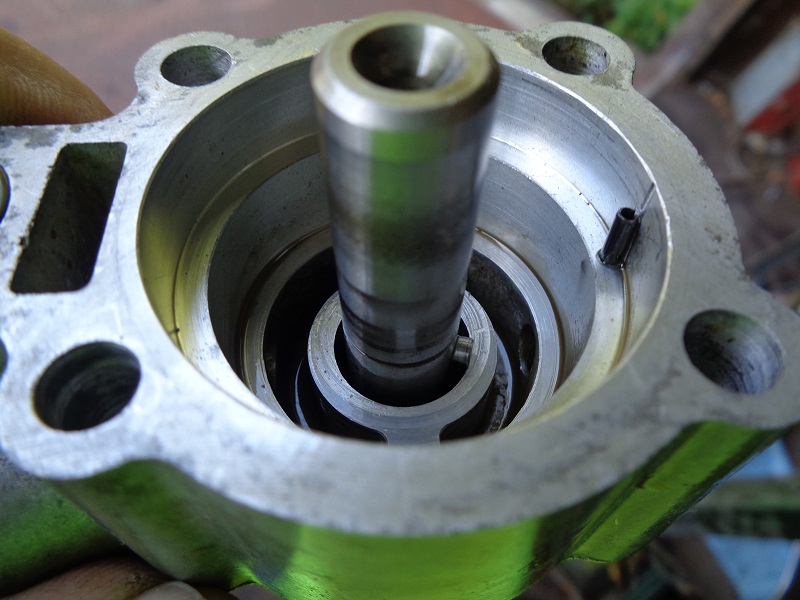
- Inspect the roll pin in the pump body for straightness and damage.
- The return gerotors are also normally 'sandwiched' between the inner plate and the pump body.
- Turn the pump over and dump them out enough to get your fingers on them.
(being careful not to loose the second pin in the gearshaft)
- Inspect the area at the pump bore where the pin contacts it for damage.
- Also, make sure the pin is sitting on the outside of the bore surface instead of inside the bore.
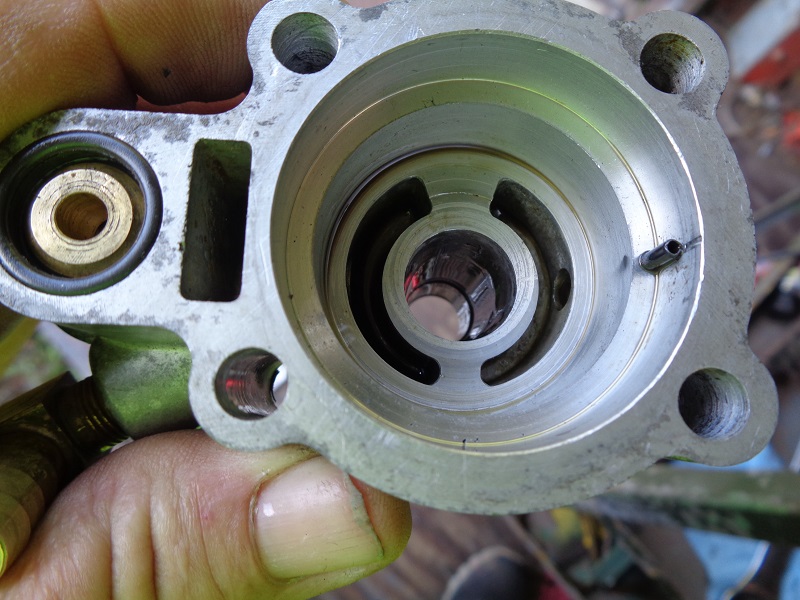
- The second pin holds and keeps the gearshaft from coming out.
- Use a pair of needle nose pliers to remove it from the gearshaft.
- Hold the gearshaft with the other hand to keep it from falling when pulling this pin.
- Else, it could fall out and damage the teeth on the gear.
- Inspect the return gerotors and their mating surface in the pump body for scratches / damage.
 |  |  |
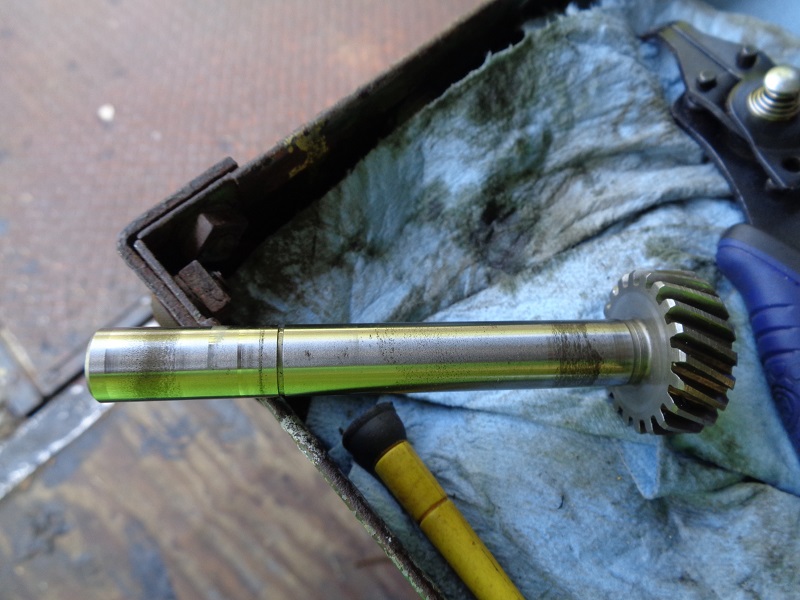
- Remove the gearshaft and set it in a safe place to protect the gear teeth.
- Clean all parts with solvent (brake cleaner works well).
- With the parts spread out you now can now do further inspection on areas noticed while disassembling.
 |  |