Table of Contents
This is an old revision of the document!

IH: Oiling & Lubrication - Sub-03E
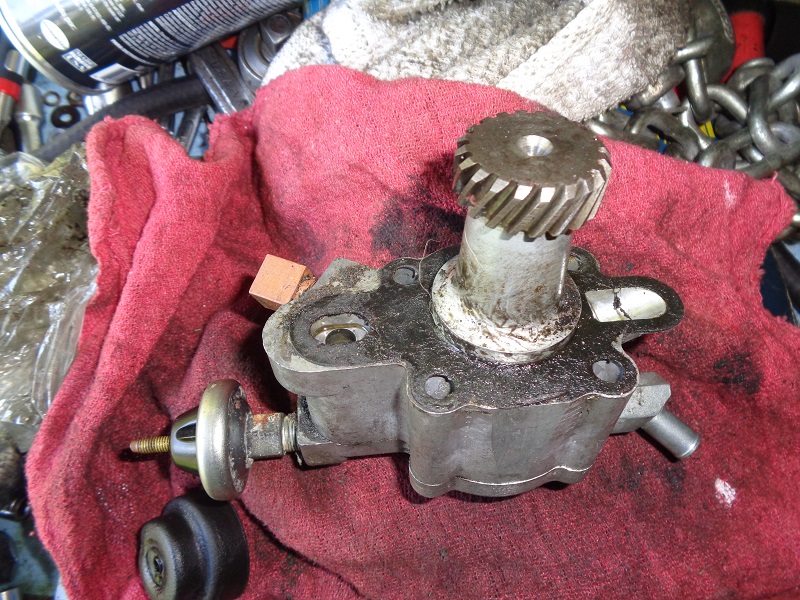
77-85 Oil Pump Removal / Disassembly / Reassembly
Disassembly
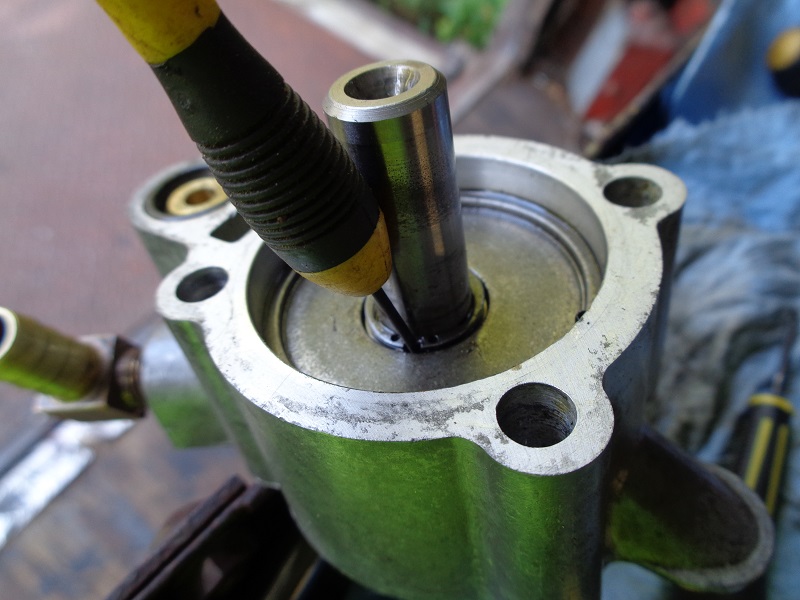
Removal
- The 77-85 gerotor pump can be removed with the engine in the frame and the gearcase cover installed.
- Disconnect the oil lines and oil pressure switch wire.
- Remove the four mounting bolts and the pump should drop down.
- If it doesn't, the pump may have gasket sealer on it holding it to the case.
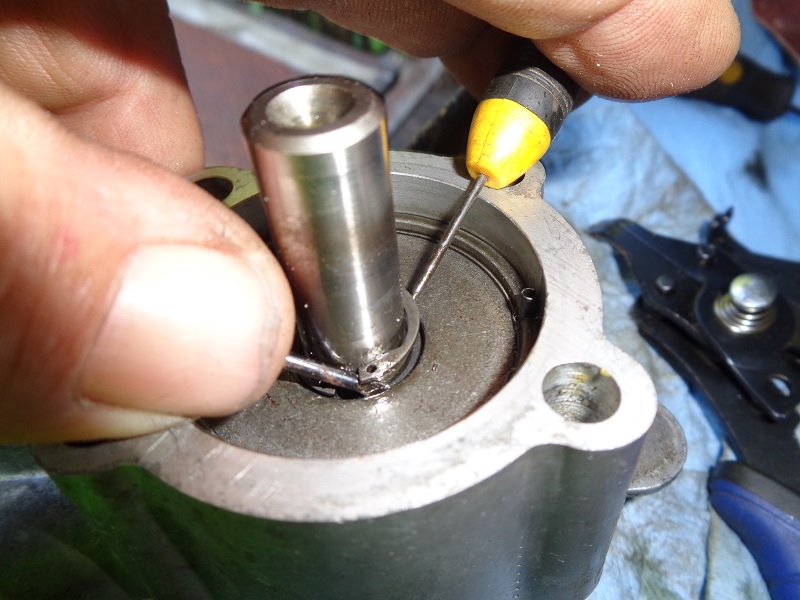
- First, be patient with it.
- Try to turn the motor over by hand. It may push the pump out. 1)
- Try a rubber mallet.
- Gently tap down on the pump's rear side so you're not forcing extra pressure against the drive gear on the pinion shaft.
- Try a short piece of 2×4 to gently tap on the pump.
- Try using a crowbar with a “catspaw” on the rear side of the pump.
- It's a wood working tool for pulling nails. 2)
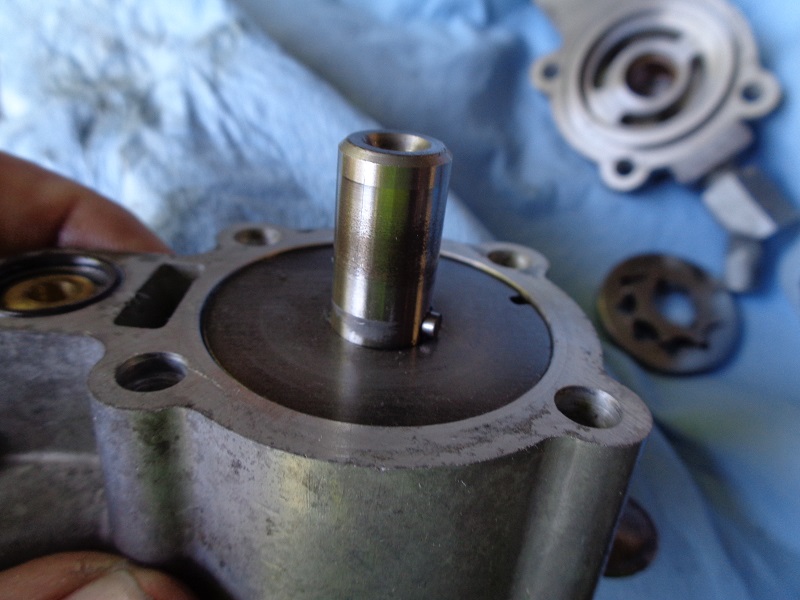
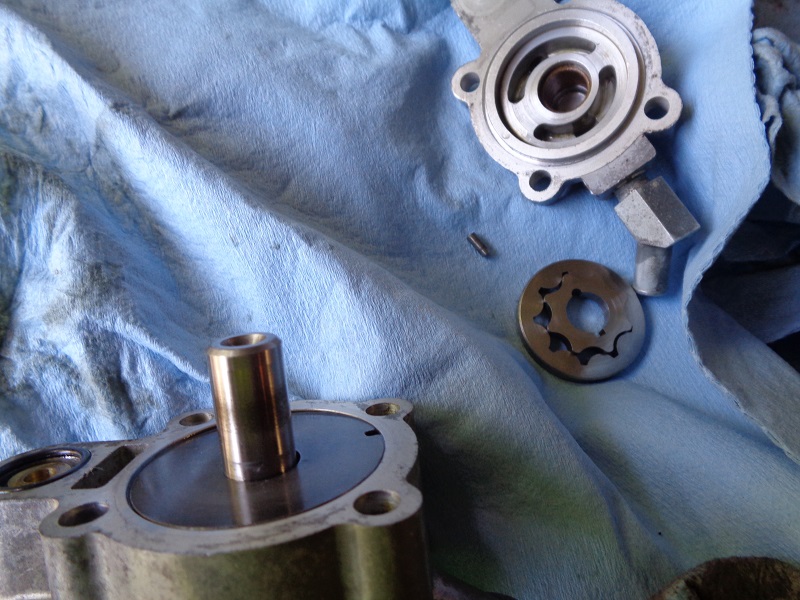
Disassembly
 |  |  |
 |  |  |
 |  |  |
 | 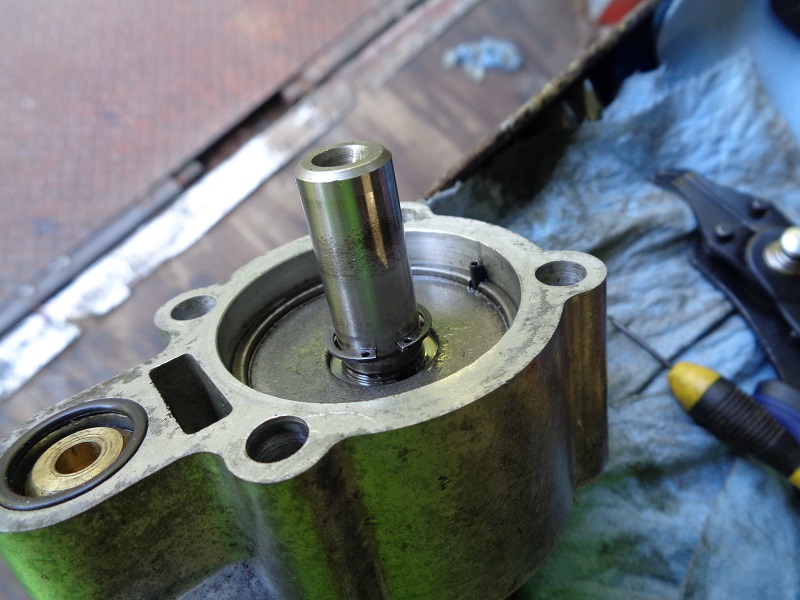 |  |
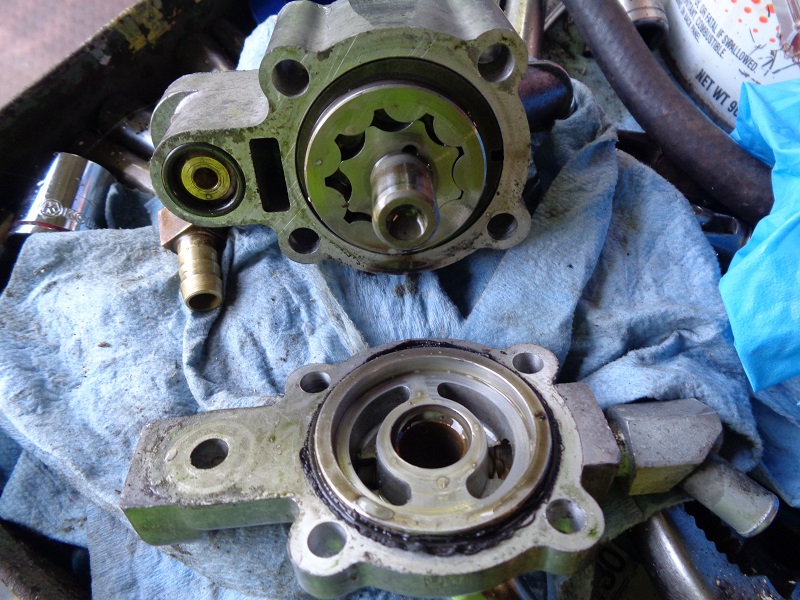
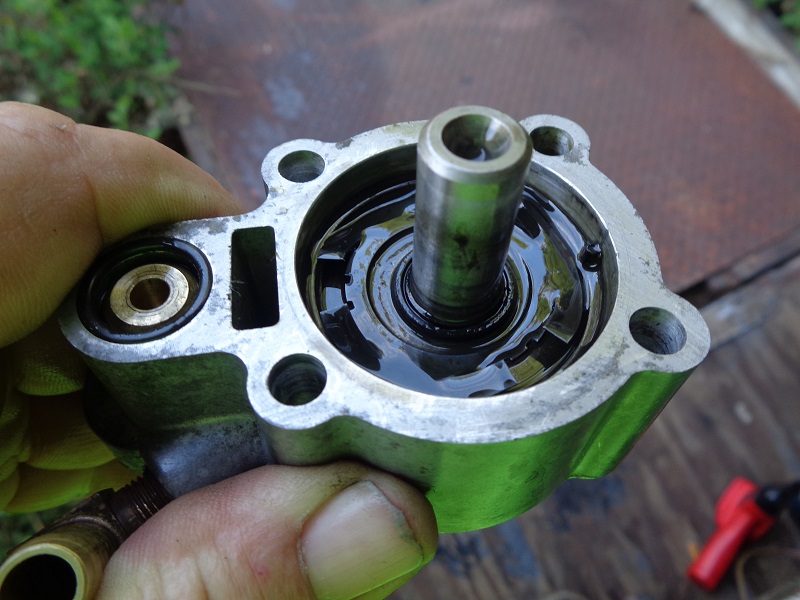
Stuck Cover Gasket
The spring washer inside the pump puts a lot of tension against the cover.
This pressure should push the cover off of the body when the pump assembly is removed from the engine.
Although in use, oil glazing will build around the mating surface between the oil pump body and cover from heat and time.
So, it is common for the cover to be stuck to the pump body.
According to the FSM, the pump to case mounting gasket should be coated with gasket sealer before installation.
This is a debatable procedure as many have reported that is not necessary.
However, sometimes people will also apply sealer to the cover O-ring or the channel that the O-ring sits in.
This later makes separating the cover from the body more difficult.
- Try holding the pump body in one hand and twisting the cover with the other hand.
- Try laying the body on the corner of a wooden table (cover hanging off the wood) and gently tapping the cover to twist it.
| 79 oil pump 3) |
 |
For whatever reason, the cover can be stuck bad enough that it will not come off by tapping it with a rubber mallet.
Before using a screwdriver or prybar;
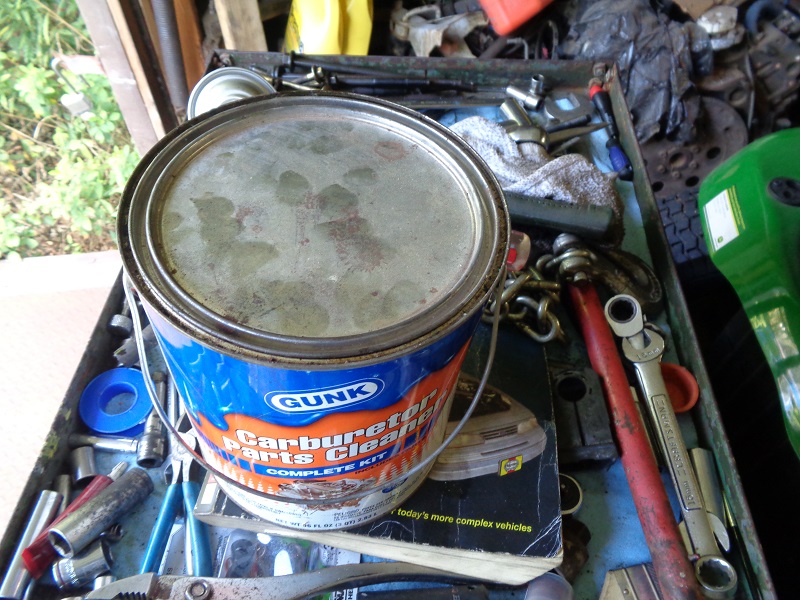
- Try soaking the entire pump in solvent (as in a gallon of carburetor cleaner).
- The pump will fit in the small bucket that's inside the gallon can.
Make sure to remove the oil pressure switch before soaking.
Also check the label for safety precautions.
- Keep in mind, any rubber parts on the inside will have to be replaced before reinstallation.
The solvent will soften and expand the cover O-ring and outer plate seal and render them useless.
- Drop the oil pump in the bucket, lower the bucket into the can carefully so as not to splash the solvent and close the lid.
- Depending on how old or how 'stuck' the parts are, soaking for a couple hours may help to separate the old gasket in between.
- However, a 24 hour soak will help to soften the gasket / sealer and make it easier to break free.
| Carburetor Cleaner 4) | ||
 |  |  |
- After soaking, open the lid, remove the small bucket inside by the handle, set the bucket on the ground and wash the parts cleaner off with a water hose.
- Let them air dry and most, if not all of the grease/grime should be gone.
- You may have to re-soak heavy grimed parts or use a wire brush to break grime hardened areas before soaking again.
This oil pump had to be soaked overnite before the cover would separate from the body.
| Soaking gaskets for more easy removal 5) | ||
 |  |  |
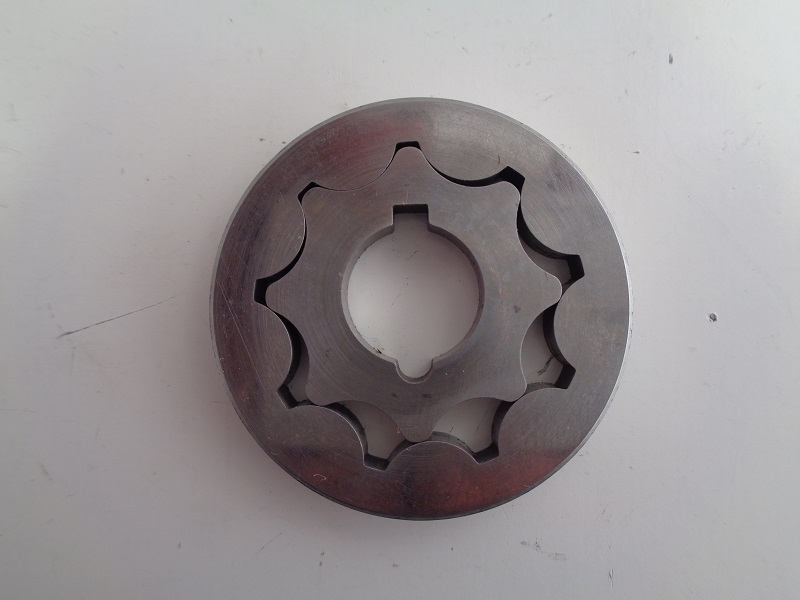
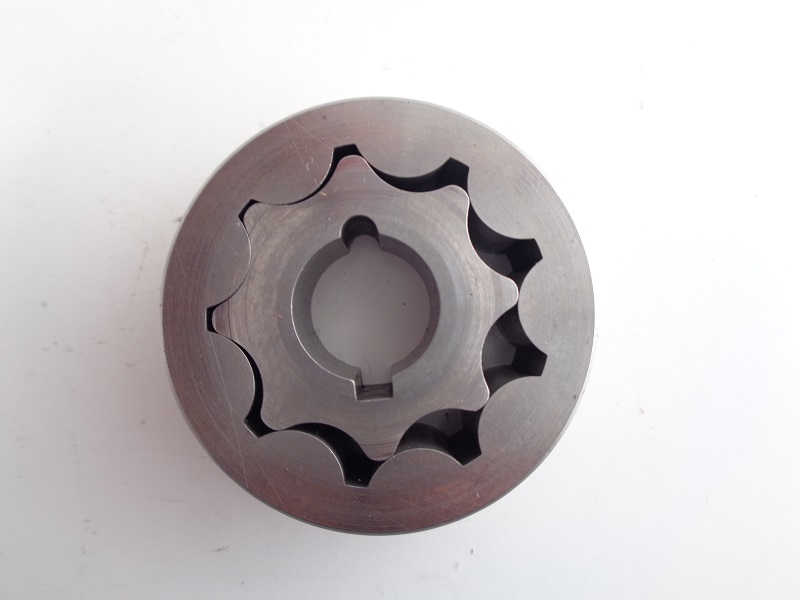
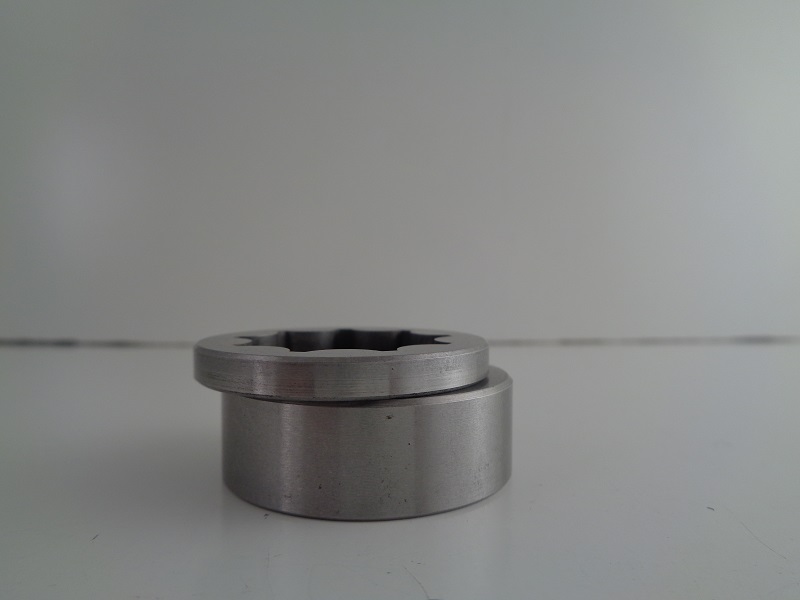
Gerotors
 |  |  |
Specs and Servicing
With the replacement of the gear driven oil pump by the new gerotor style pump, HD issued a recommendation to dealers regarding servicing of the new style oil pumps. 6)
- Zero gerotor (gear) side clearance must be maintained by the flat spring located between the upper and lower gerotor sets in the oil pump to provide adequate oil pressure. For the spring to function properly, the upper face of the lower feed gerotors must extend slightly above the cover to prevent any side clearance which would allow oil to get past the gerotors and reduce oil pressure. 7)
- If you encounter reduced oil, no oil pressure (oil pressure light comes on or stays on) or otherwise need to disassemble the oil pump for any reason, the gerotors should be checked and serviced. 8)
- Using a straightedge across the feed gerotor set (installed) surface, measurement should be taken with a feeler gauge from the gerotor surface to the ridge of the edge of the aluminum cover:
- The thin, feed gerotors (26492-75) are in the oil pump cover (26486-75) and should extend .001“ - .005” above the cover's aluminum ridge which surrounds them. 9)
- The later gerotors extend up to .011“ above the ridge. If the feed gerotors do not extend above the ridge within the specified range, remove them, lay some sandpaper (#280 grit to start - #400 grit to finish), invert the cover and sand the ridge evenly until the gerotors extend properly when inserted. Check the measurement with a micrometer to see that both the inner and outer gerotors are the same thickness. 10)
- If the widths measure equally but the gerotors are not equal in height when placed into the cover, then the cover surface is not flat and the cover should be replaced. Be sure to check the gerotors in the new cover using a straight edge to assure a level surface and the proper elevation above the ridge. 11)
- Another possible cause of low oil pressure is air leakage into the pump due to a loose hose clamp at the oil pump feed hose fitting (63540-62) and at the oil tank feed hose fitting. If the existing feed hose clamp (10020) cannot be evenly and securely crimped to the fittings, remove the clamp and install a worm drive hose clamp. This will prevent air leakage into the system which could cause loss of oil pressure due to an airlock in the oil pump. 12)
- Oil pump covers found with an uneven gerotor surface should be removed. 13)