Table of Contents

REF: Body Parts - Sub-30L
Highway Pegs and Multiple Foot Positioning
Highway Pegs
HD (49053-04A)
Adjustable highway peg support kit: $199.95 (For 2004-up models)
Use with your choice of H-D® small male-mount-style footpegs (not included)

Highway Pegs Mounted for Shifting and Braking
Article by IXL2Relax of the XLFORUM 3)
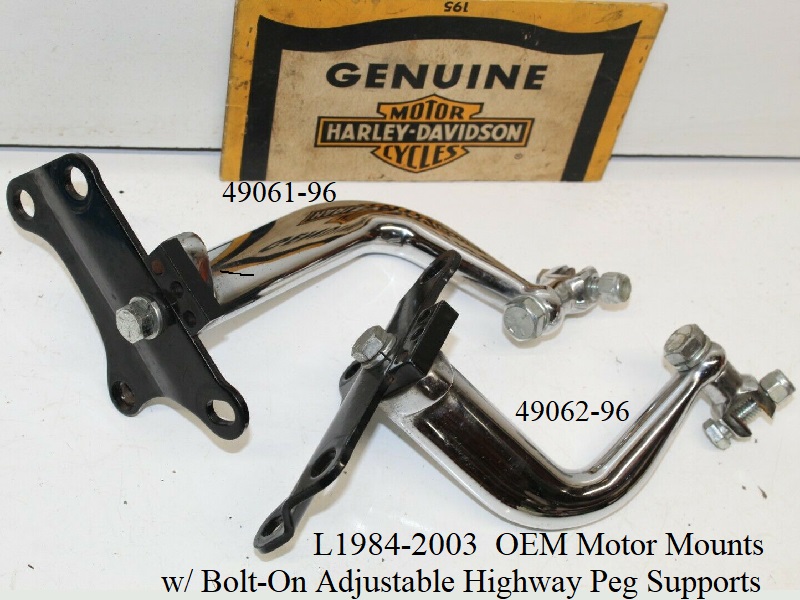
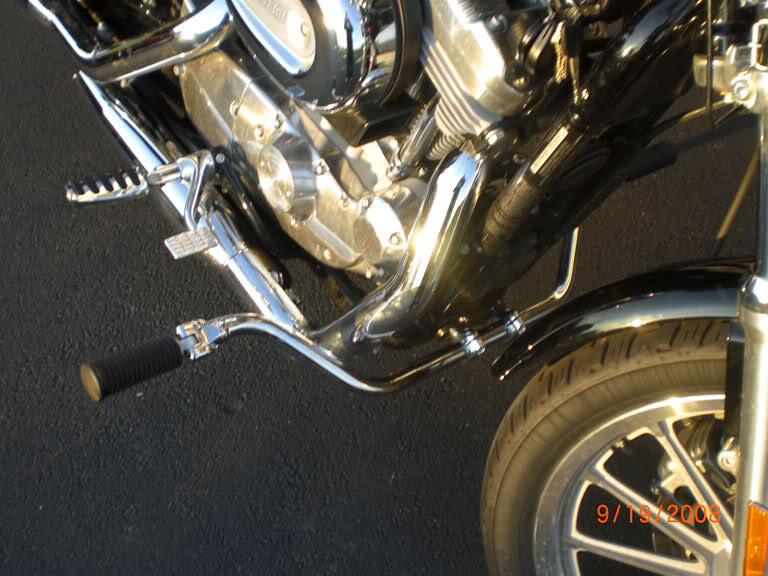
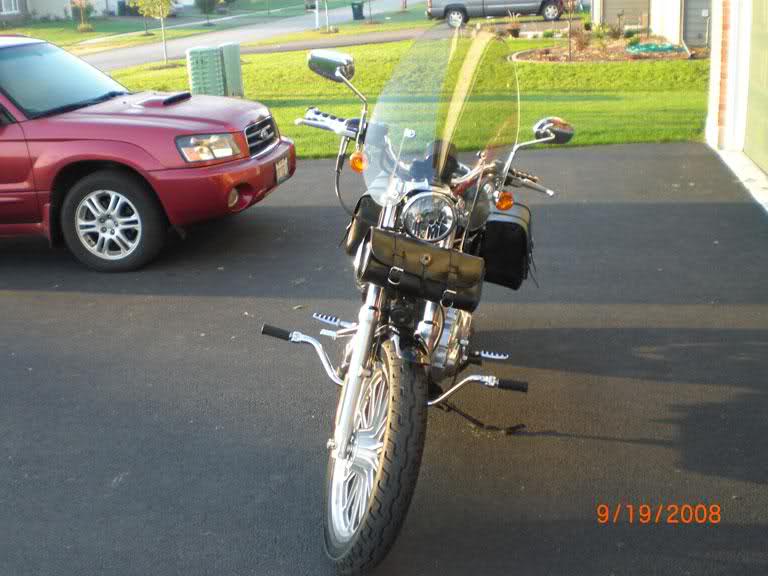
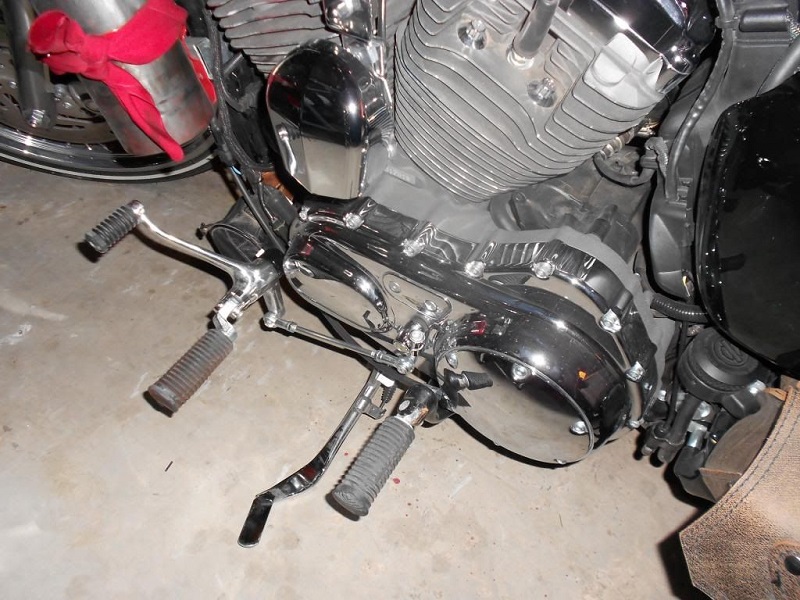
This a mod for adding highway pegs on the stock front engine mounts. (up to 2003 model - 1994 example)
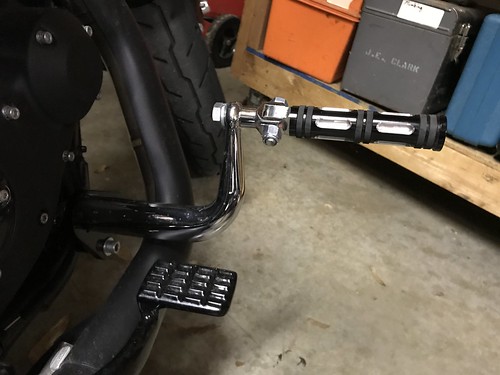
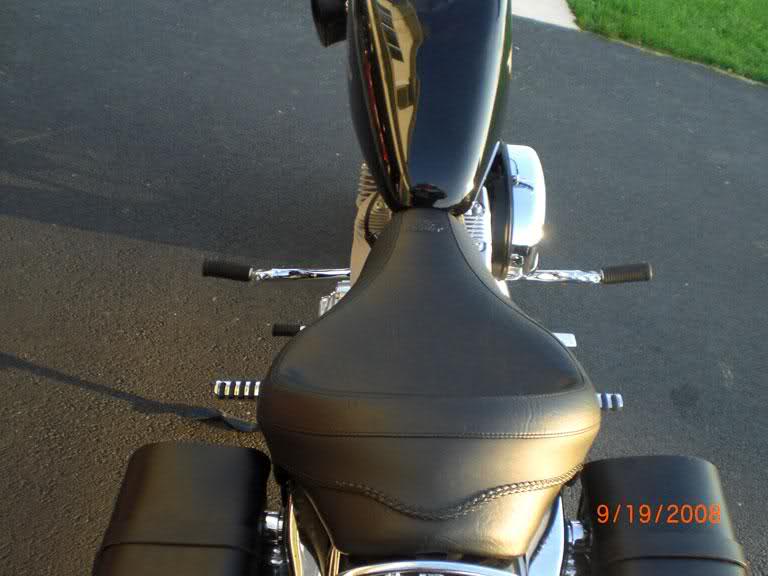
This setup uses a combination of mids and highway pegs. 4)
It allows both stretched cruising and on-the-pegs control when appropriate for either.
It utilizes the stock engine mounts for 1984-2003 Models:
16210-84A - Engine Mounting Plate - Right Front
16212-84 – Engine Mounting Plate - Left Front
Select whatever pegs you prefer on the end of the bars.
My inseam is about 30 inches and I've always preferred my feet forward when riding.
But, I really don't like having forward controls because it eliminates the better control available from mids.
Most highway bars are mounted high up away from the controls.
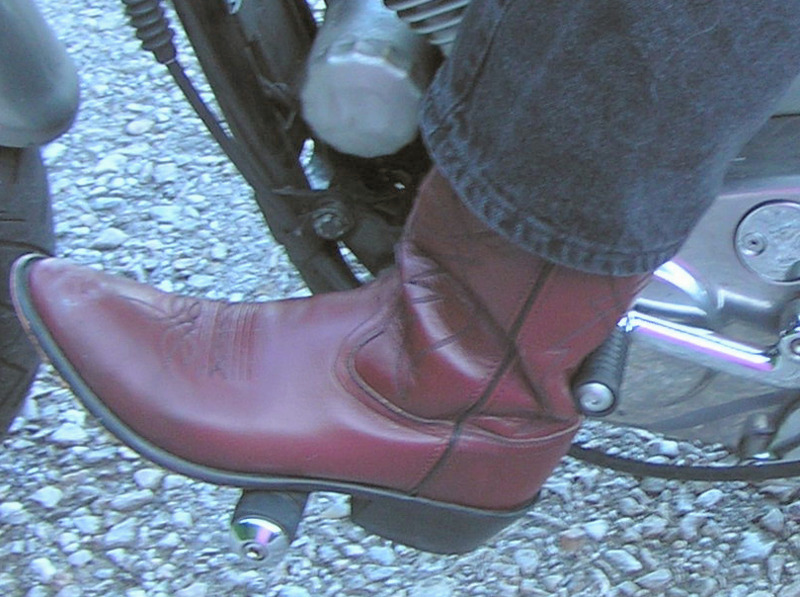
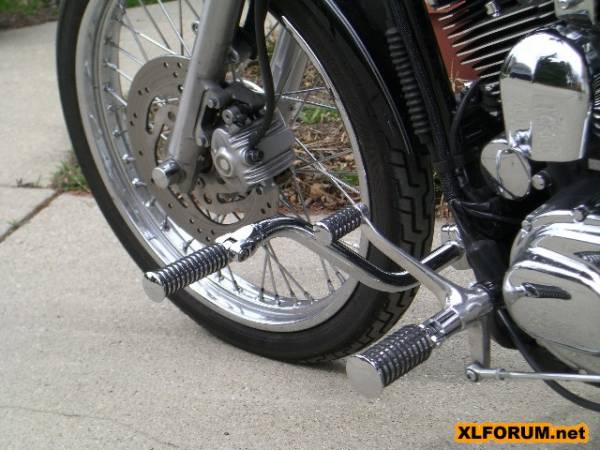
Instead, I've developed my own way of placing my highway pegs (which are mounted on the front engine mounts)..
This way I can still shift and brake without putting my feet back on the mids.
I use the back of my boot to shift, both up and down.
Either by slightly lifting my leg for upshifts or by slightly rotating my ankle for down shifts.
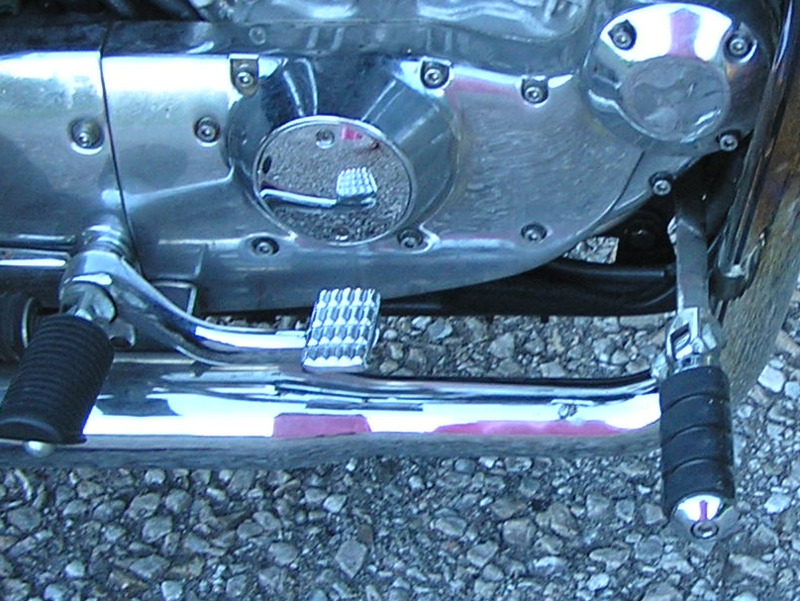
And I slightly rotate my right ankle to apply about 50% rear braking when necessary (using mostly front braking anyway).
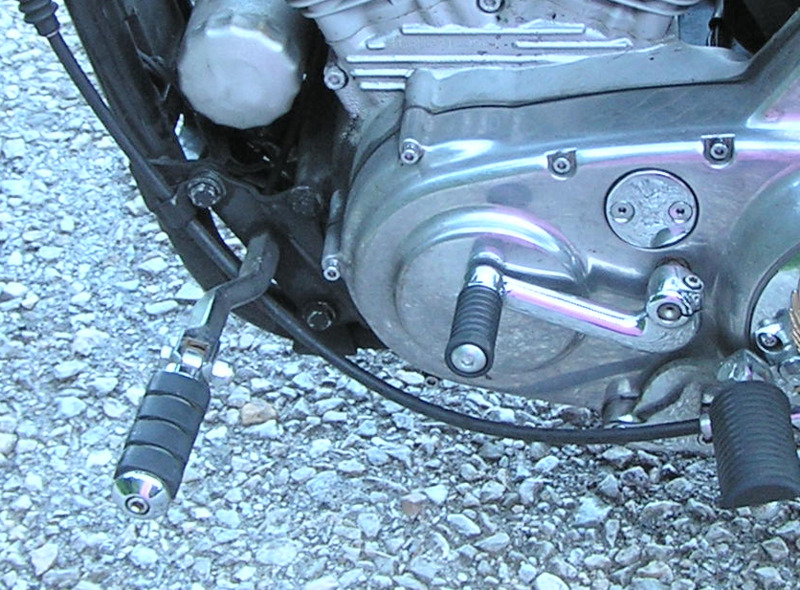
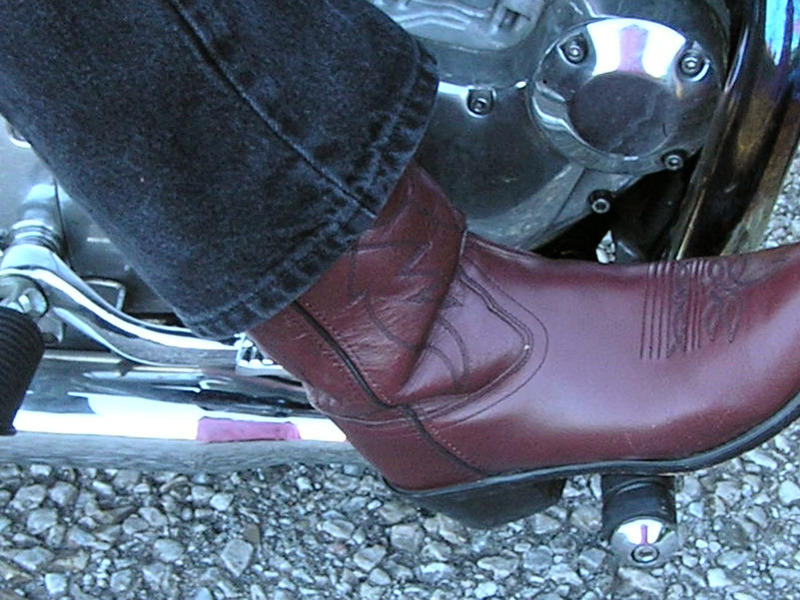
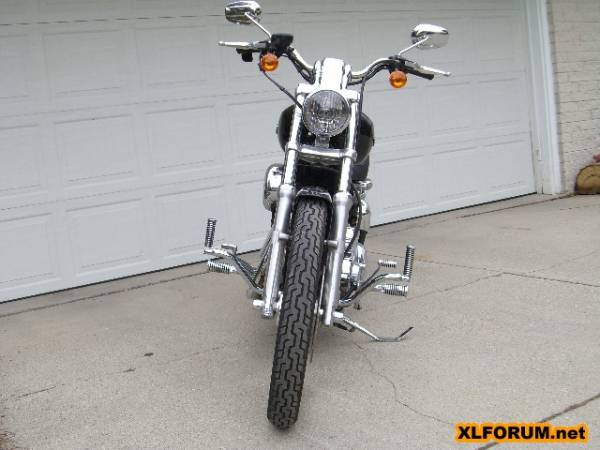
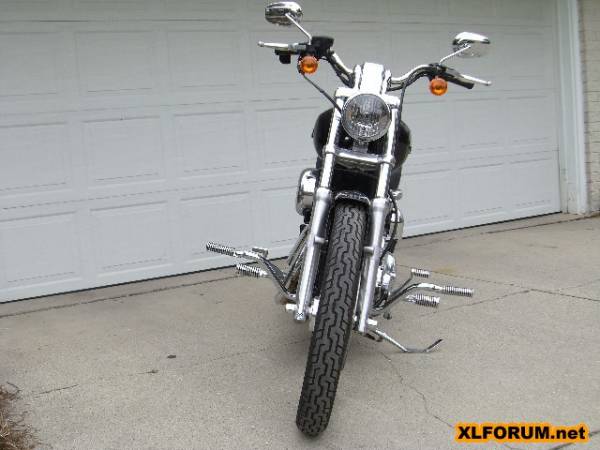
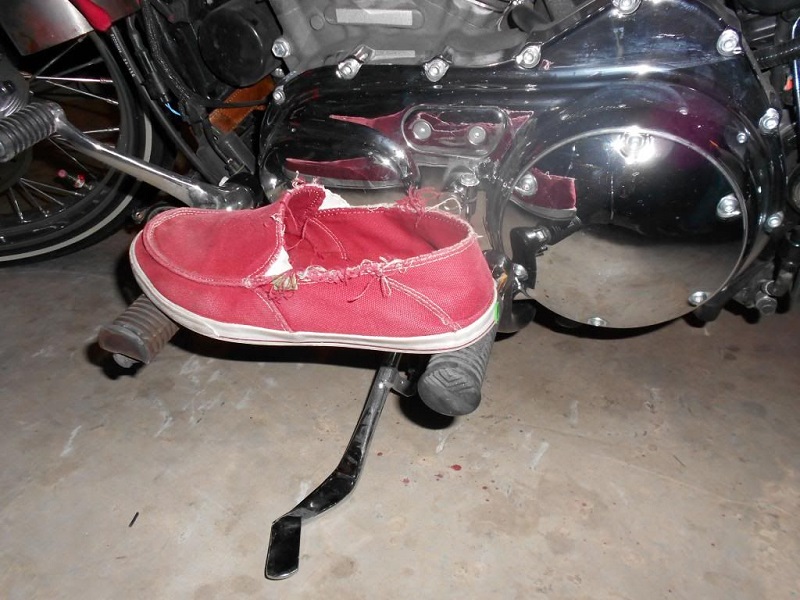
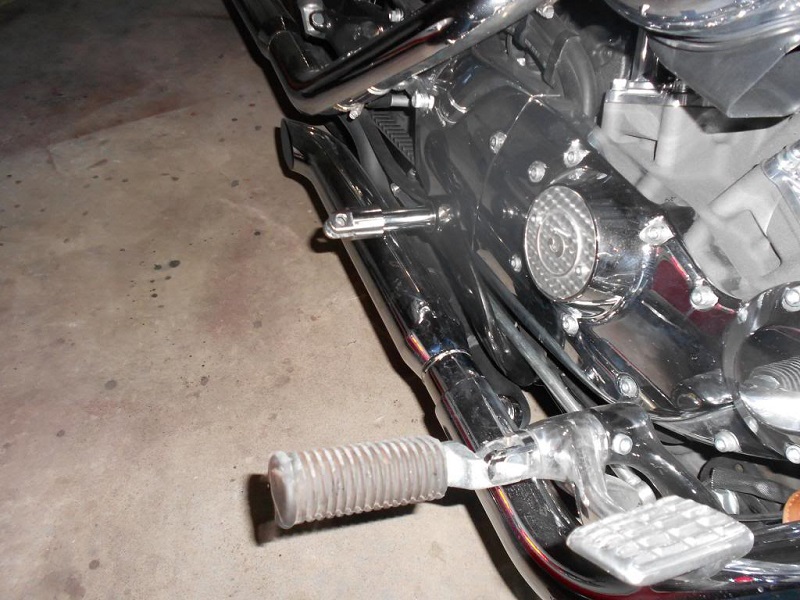
The pics below show boot positioning in order to shift with the heel.
The shifter just fits snugly in the Achilles and I can shift both up and down at will.
On the brake side, I can rotate my ankle enough to apply about 50% braking in most cases.
I'll move back to the mid-peg when I need to apply enough pressure for full stop braking.
Kuryakyn Adjustable Mustache Bar
Due to the clamping system, this mustache bar can be moved up or down the downtubes. 9)
And the bar can be rotated to provide multiple fore and aft adjustments.
Accepts any typical male mount cruise pegs, sold separately.
Fitment:
7502 Harley ’86-’17 Softail & Rocker Models
7502 Harley-Davidson® ’86-’17 Softail & Rocker Models
7502 Yamaha 99-'14 Road Star Models, '08-'17 Raider Models & '98-'16 V Star 650 Models
7502 Yamaha 99-'14 Road Star Models, '08-'17 Raider Models & '98-'16 V Star 650 Models
7503 Harley '91-'17 Dyna Models
7503 Harley-Davidson® '91-'17 Dyna Models
Notice, their fitment chart doesn't mention a Sportster.
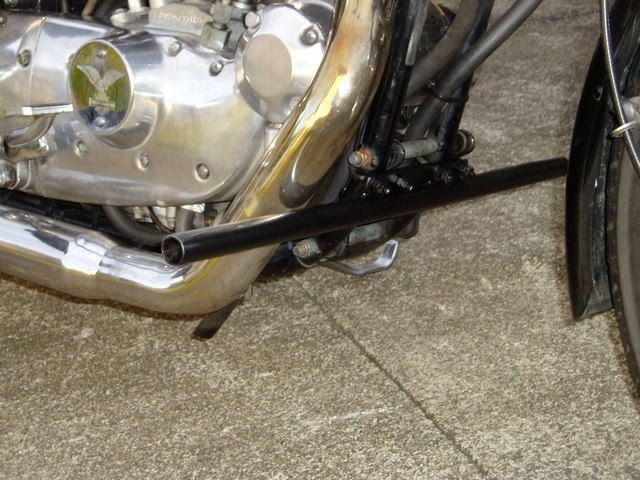
However, below are pics of it mounted to a 2008 883. 10)
 |  |  |
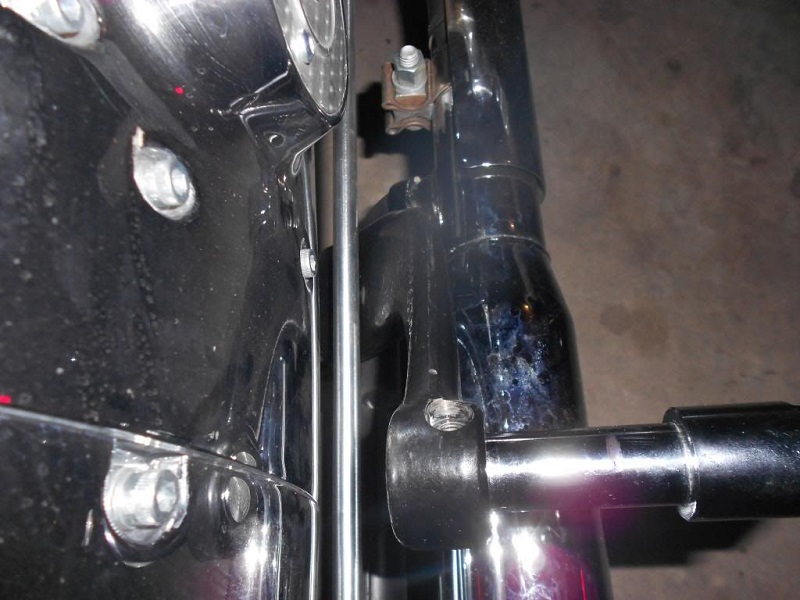
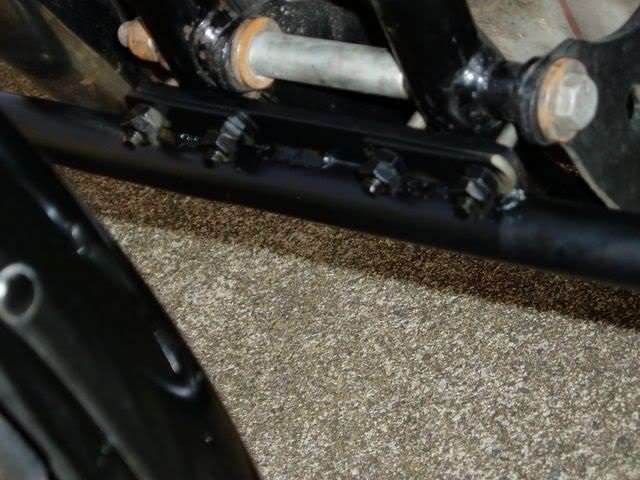
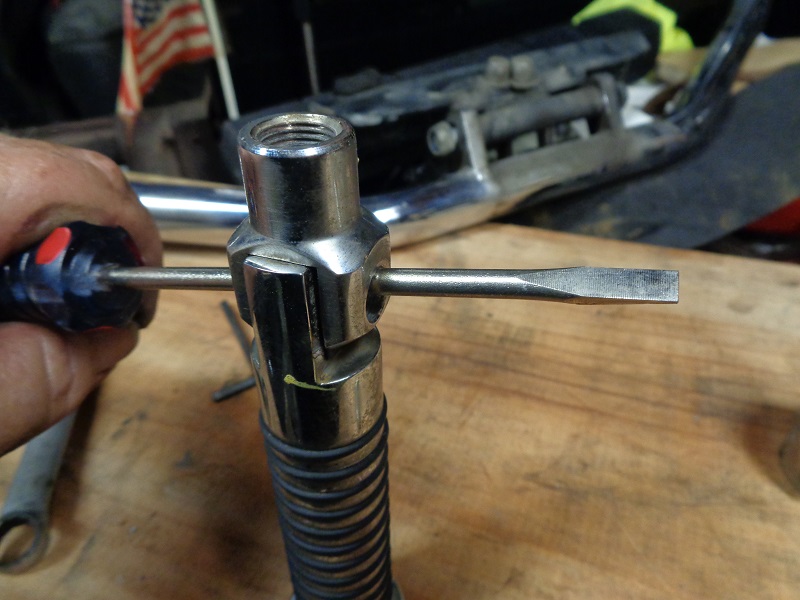
Make sure to use Loctite when attaching the stirrup for the pegs. 11)
The inner screw that holds the stirrup can vibrate loose and hang down.
They can also rotate to fit your riding position.
I have a 32“ inseam and my sporty has forward controls.
If your legs a shorter than mine, you might not be able to use these with forward controls.
You can see from the pictures below the position in relation to the shift and brake lever.
If you rotate them closer they may interfere with shifting and braking.
If you have mid controls, they would work well for your bike. 12)
 |  |  |
Running Forward Controls and Mid pegs
Article by MotoRacerGabe of the XLFORUM 13)
The bike below (2012 XL1200V) came with forward controls and mid pegs were added for more foot positions.
The mid pegs add more leverage when at higher speeds and in cornering.
It also adds for a greater amount of foot positions (from riding on the toes on the mid pegs or having your heels on the forwards.
Normally, it wouldn't be possible to add mid pegs with forward controls due to the brake linkage for the forward controls.
The left side mid peg bolted right up.
The right side wasn't really that hard to make work.
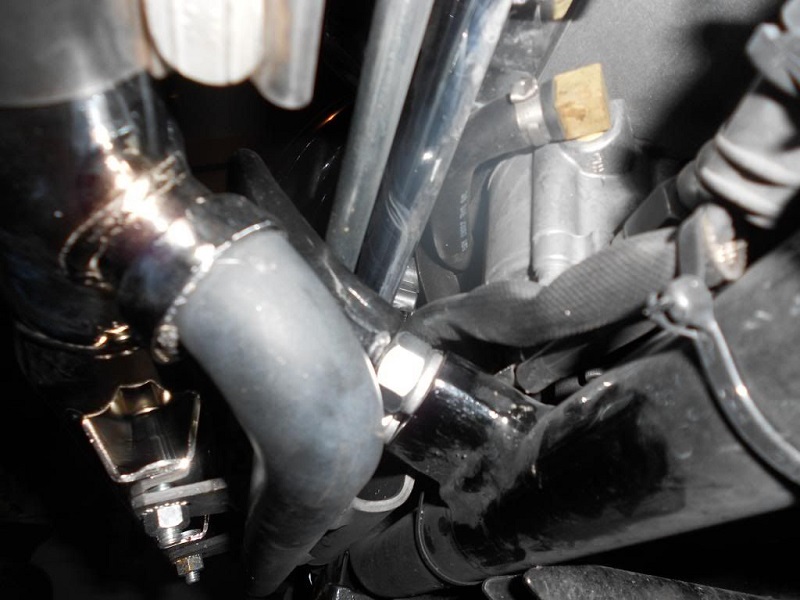
All you have to do is put a space between the mid-mount and where it screws into the frame.
You'll have to measure how much space is needed.
In the pic below, two matching nuts were used as spacers.
However, the distance was still a tad too short to clear the brake linkage completely.
So the linkage was hitting the mount. Then, two thick washers were added to them to give the mount some more space.
You can see in the first pic below where the linkage was rubbing against the mount and took off the black paint.
With an additional washer it didn't not touch.
Highway Bars
| Homemade highway bar. 19) | |
 |  |
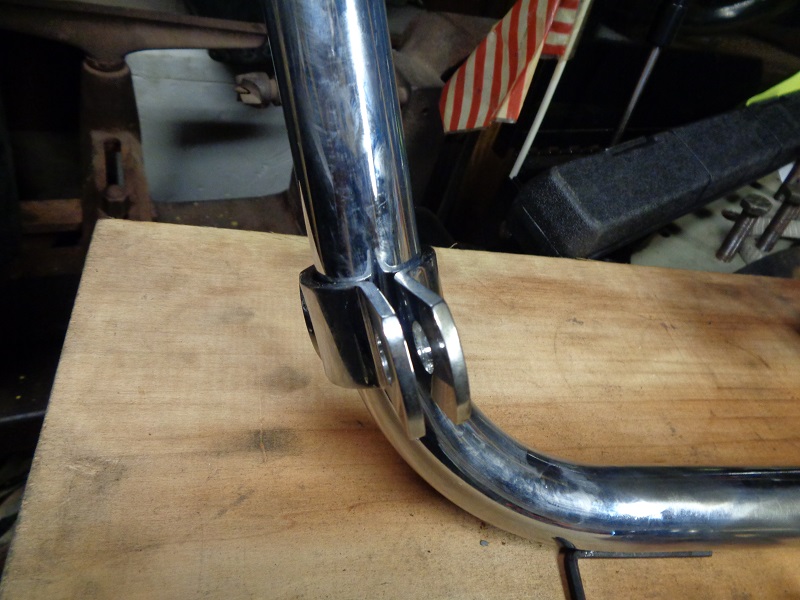
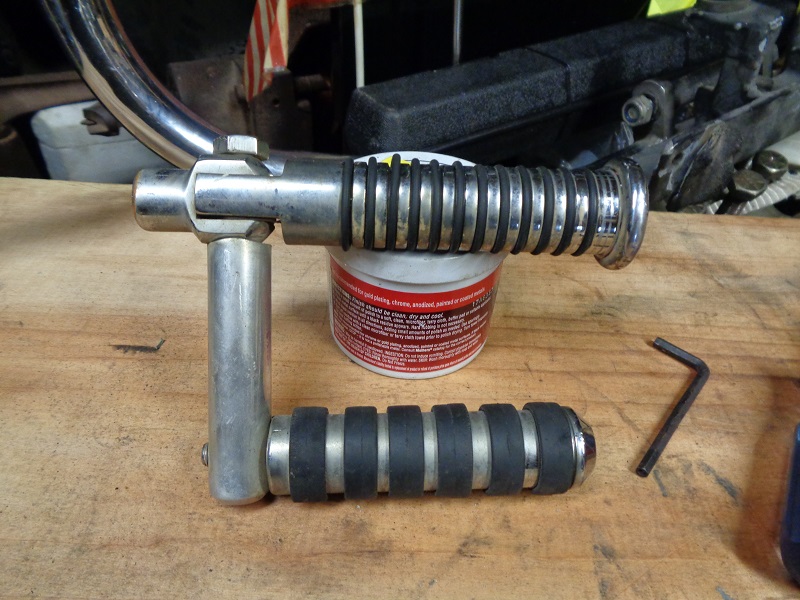
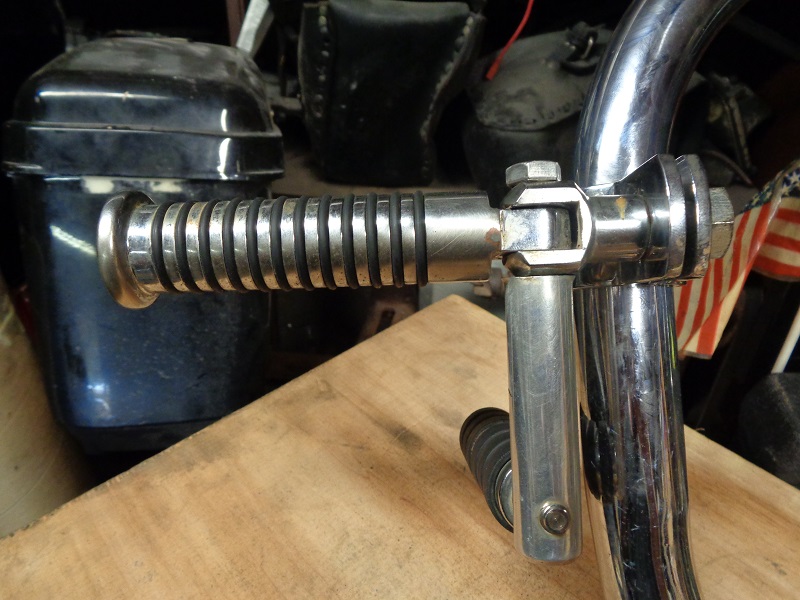
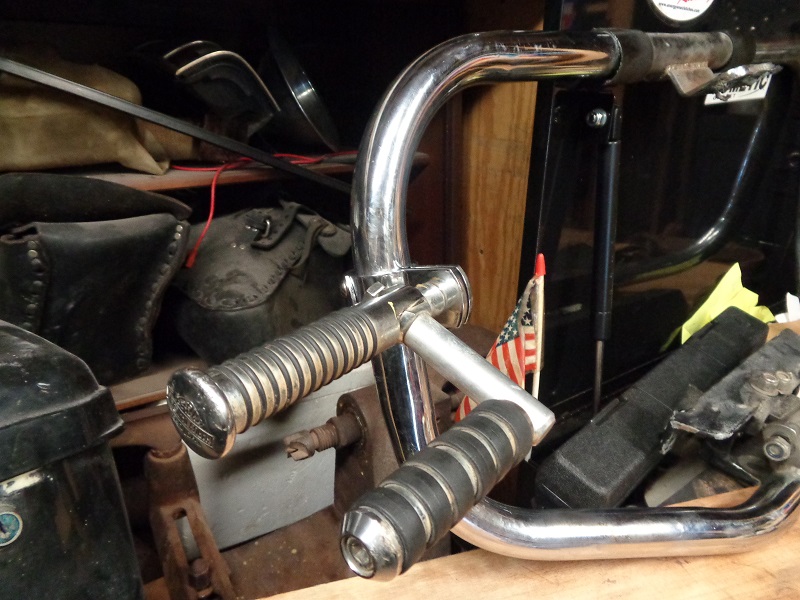
Crash Bar Pegs
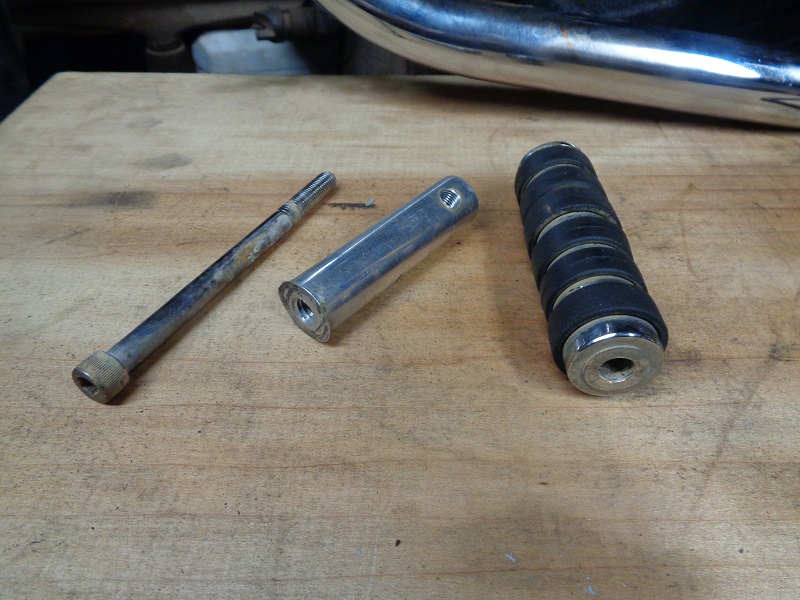
This Engine Guard Peg Mounting Kit (50964-98) was purchased from the dealership for installing pegs on crash bars (engine guard).
Three piece design with tiny Allen head screws.
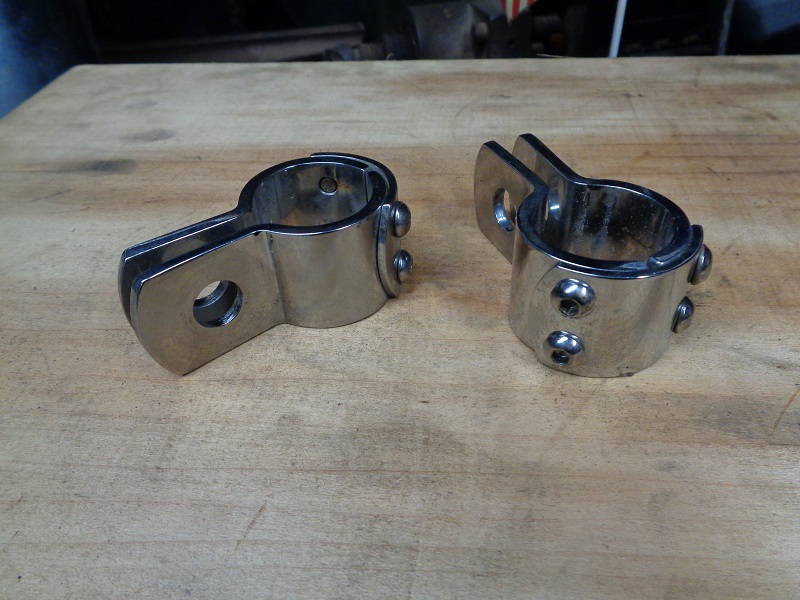
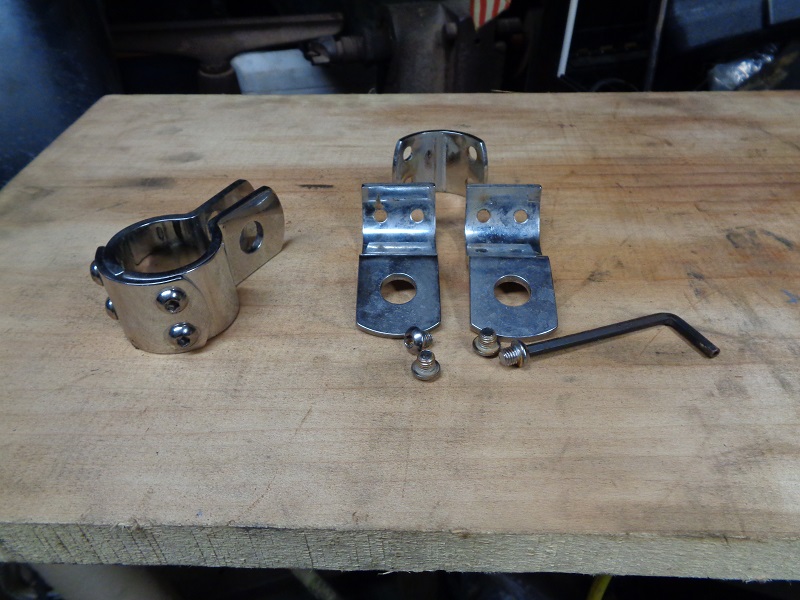
You have to install the center piece onto 1 long piece, slide that onto the bar and then install the second long piece.
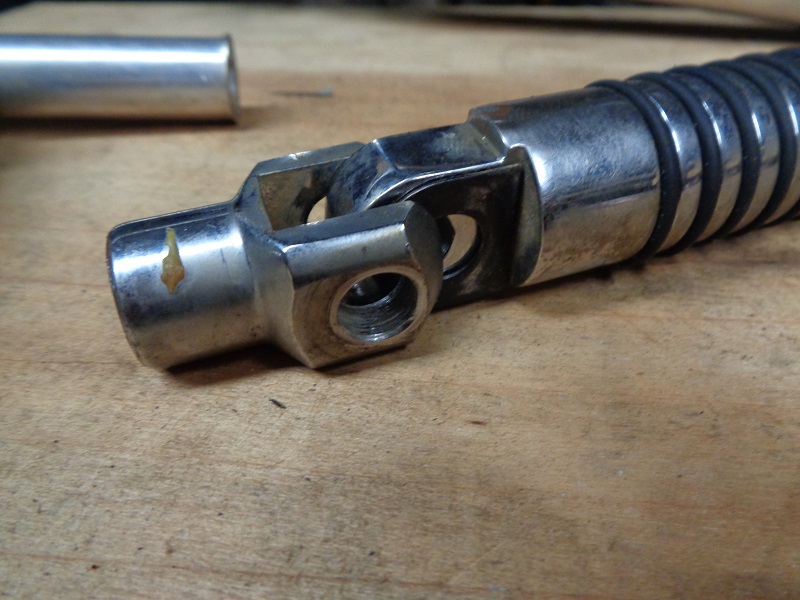
It will still be loose until you mount the peg clevis to it. This pulls both ends together and tightens around the bar.
It can be mounted as shown or swung forward for a longer reach.
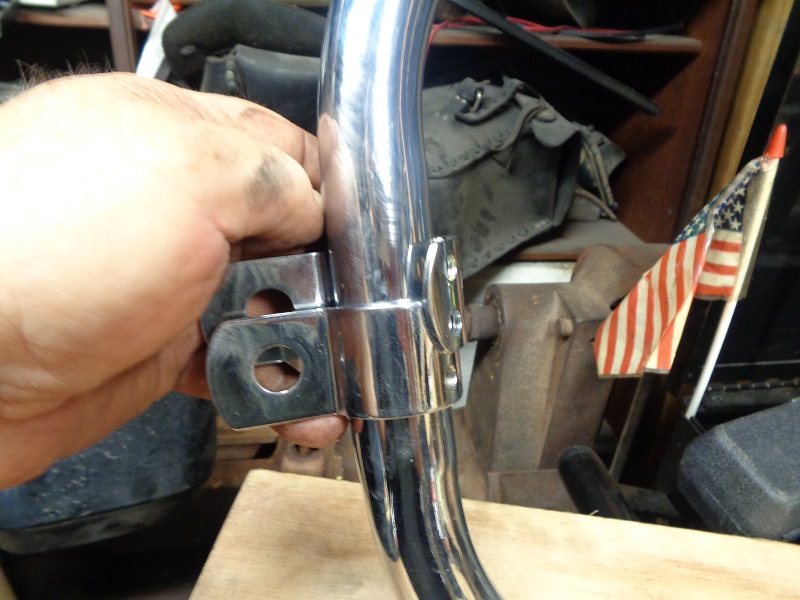
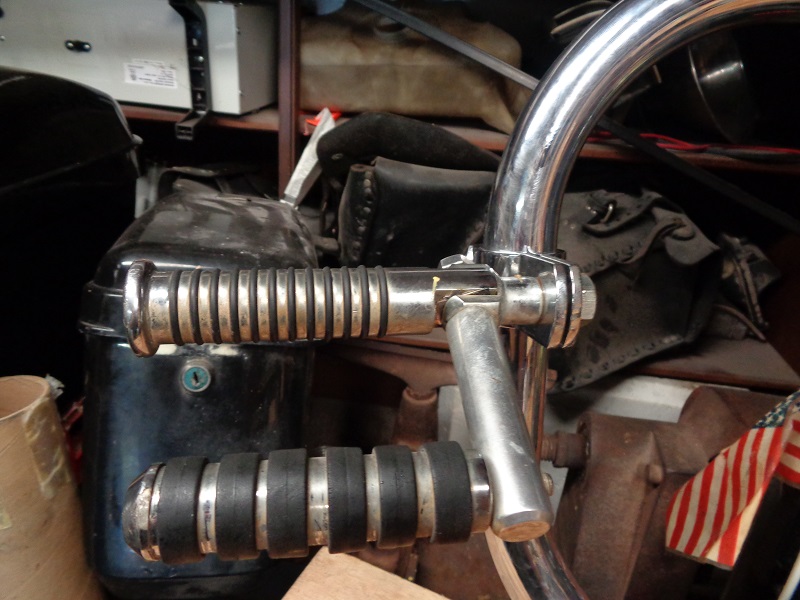
Aftermarket Heel Rest
These were purchased off Ebay but should be pretty simple to put together or make from scratch.

These clevis' came from the highway bar kit above and have internal 1/2” (fine) threads. You may need to buy a couple 1/2“x20 bolts to cut to size.
Install the peg on the clevis as normal and run a 3/8” bolt thru the clevis into the heel rest bracket.
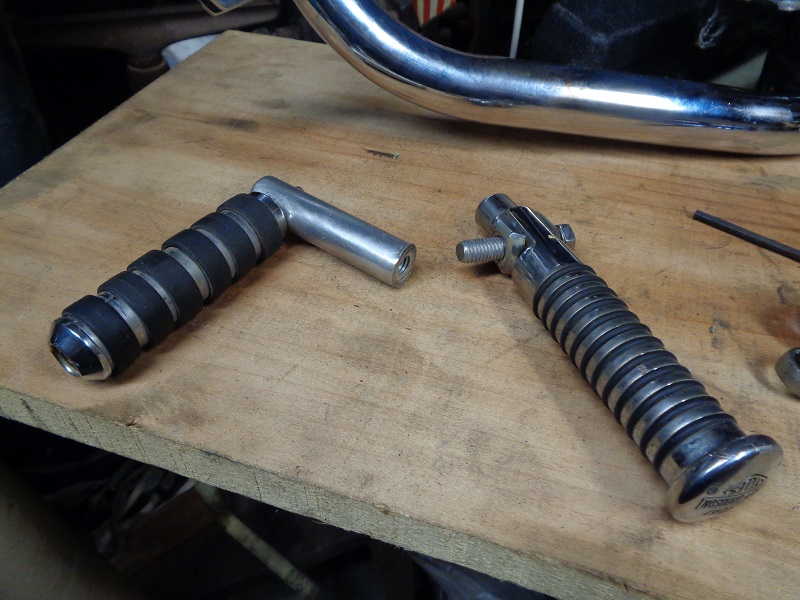
Then just snug all the bolts, position the assembly where you want it and tighten the bolts.
The brackets are very solid when done and the heel rest works good on long rides.
HD Adjustable Highway Peg Supports (L1984-2003)
These “L” shaped support arms mount directly to the center (5th) open hole in the lower front motor mounts.
Click Here to download/view the instruction sheet for installation.