Table of Contents
REF: Tools - 110
Lifts, Jacks and Wheel Chocks
Bike Lifts / Jacks
Jack Stands
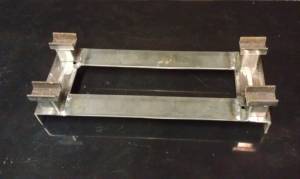
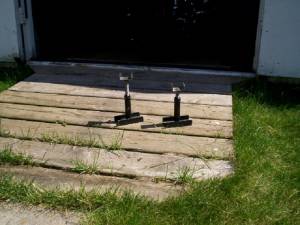
Homemade Jack Stands:
These were made specifically for a bike with a center stand. 1)
With these you can lift the front wheel off the ground when doing tires, wheel bearings, forks, etc.
On a bike without a center stand, you can use the kickstand as a pivot.
These little stands can be placed, strategically, under the frame for stability while working.
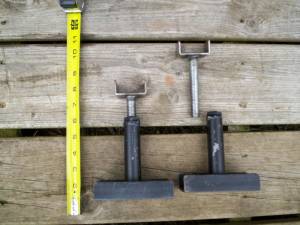
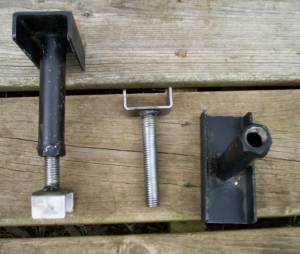
Base: 4.5“ of 1”x2“ C-channel iron.
Shaft welded to center of base: Iron conduit 1” OD approx. 4“ high.
A 15/16” nut is welded to top of shaft.
The nuts were welded to the base for stability of the assembly.
However, you could add a nut (un-welded) on top of the that one for more adjustability.
First, measure your individual clearance to get the overall (collapsed) height that you can use.
The top is made from a threaded rod welded to metal C-channel (saddles).
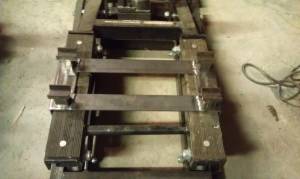
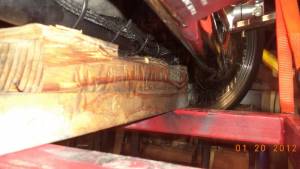
| These were used under the frame while adjusting the clutch | ||
 |  |  |
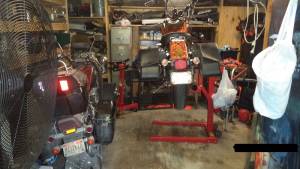
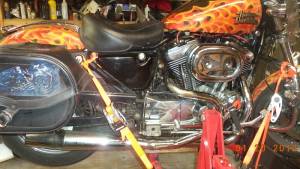
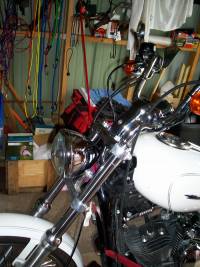
| Keeping the bike upright with the tires scotched, bike level and tied to anchors (lag eyelets), one on each side of the shed. Once level, the jack stands are placed under the frame to take pressure off the tie-downs. |
||
 | 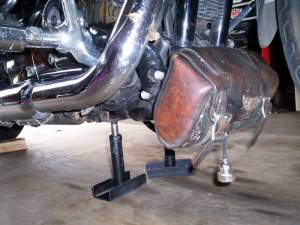 | 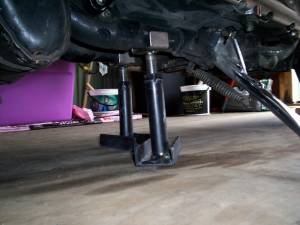 |
| Homemade jack stands. 2) | ||
|---|---|---|
Commercial Auto Jack Stands:
 | 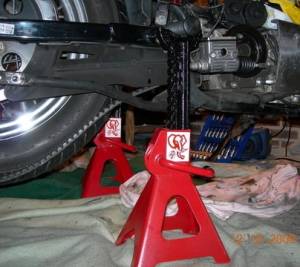 |
| Lift stands 3) | |
|---|---|
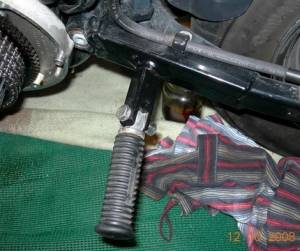
| Take the front or rear footpegs off and bolt them back upside down. Then placed two axle stands under them. |
|
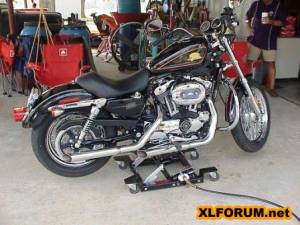
Lifts
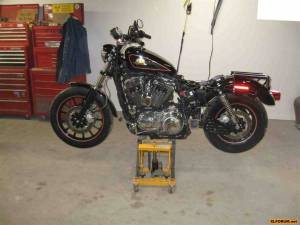 | 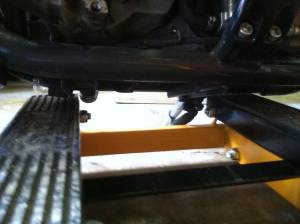 | 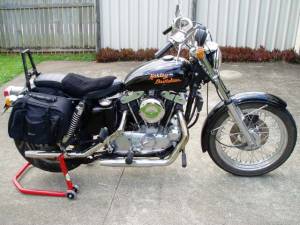 |
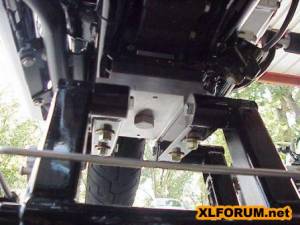
| Small Bike Jack 4) | Small Bike Jack under Bike 5) | The two hooks on this sport bike rear stand are designed to fit over special bobbins bolted to a modern sportbike swingarm and fit just perfect onto the bottom shock / footpeg mounts on the Sportster. 6) |
|---|
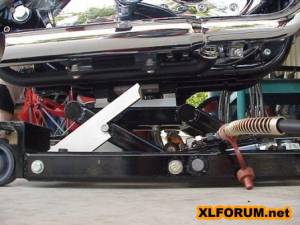 |  |  |
| Bike Jack 7) | ||
|---|---|---|
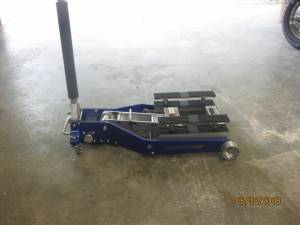 | 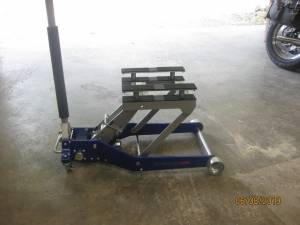 |
| Harbor Freight lift. 8) | |
|---|---|
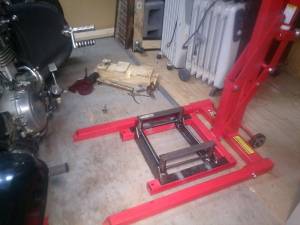
Modified Scissor Jack
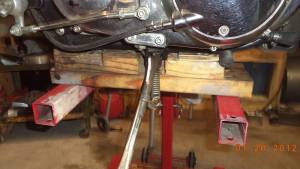
This is actually a car jack meant to lift under the rocker box seam.
The one below was trimmed a little with a piece of box section tubing welded on it and fabricated cradles.
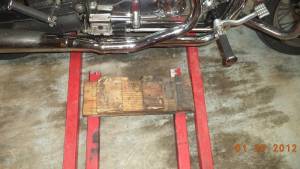
The cradles come off (aside from adjusting) and you can use a wood pad that can sit on the crossbar. 9)
The cross bar isn't crooked, it pivots somewhat relative to the stands' base.
It will lift but not stabilize.
You can modify outriggers to a standard wheel chock to use as tie-downs.
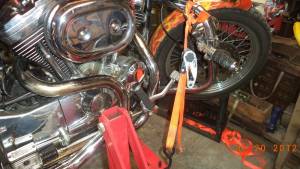
Then roll the bike into it, attach the tie down straps to stabilize the bike and then use the modified scissor jack to lift.
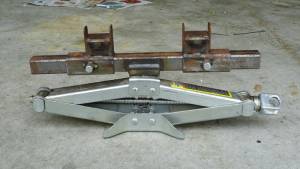 |
| Modified scissor jack lift. 10) |
|---|
Homemade Bike Lift
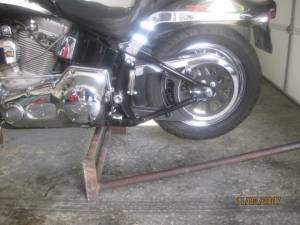 | 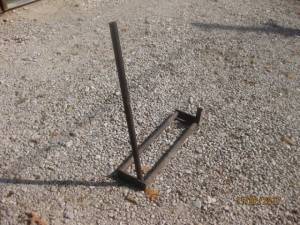 | 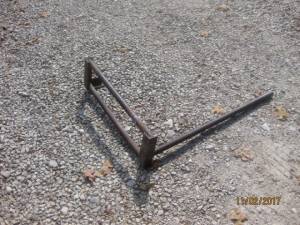 |
| Homemade hand lift made of old steel pipe 11) | ||
|---|---|---|
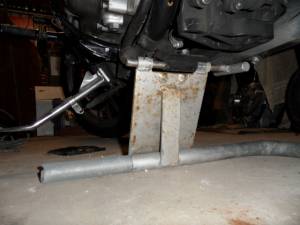 | 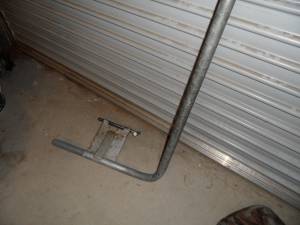 | 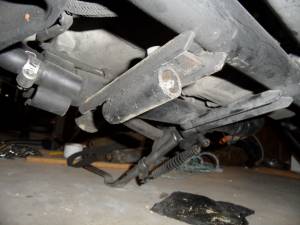 |
| Homemade locking hand lift made one out of scrap and it doesn't need tie-downs. This makes the bike stable enough to sit on, work on and even have both wheels off at the same time. 12) |
||
|---|---|---|
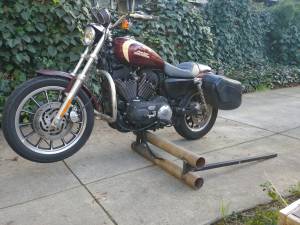 |
| Homemade lift from scrap 13) |
|---|
Lift Riser / Adapter
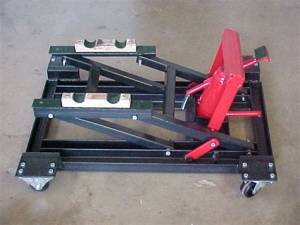 |
| Drill two 1-1/4“ holes in a 2×4. Then cut it in half. Mount one to each side of the lift. 14) |
|---|
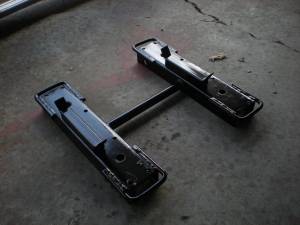 | 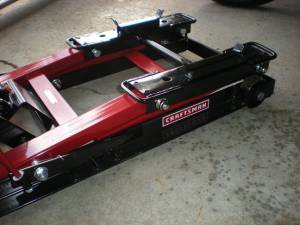 |
| Tie downs: bent 3/8” bar stock, cut to length, 'massaged' with a hammer in a vise to fit the sides of the mount and welded. Ears bent at 45°. The lowered height is 5.5“ to the top of the 1” square stock. 15) |
|
| Built from a combination of these two inspirational 'How To' pages: Sportster Adapter for Craftsman Lift by Crazy Steve and Hold Down Strap Modification for Craftsman Lift by Lew Shaw. |
|
| Craftsman lift modification 16) (The lowered height of the stock lift is reportedly too tall for a stock Hugger without modifications) |
|
|---|---|
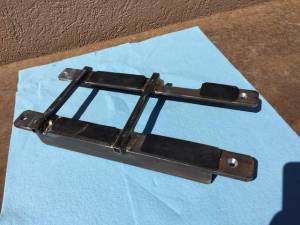 | 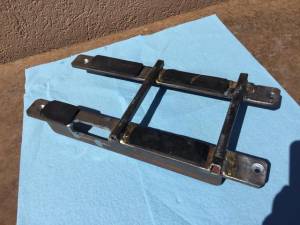 | 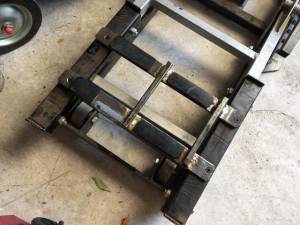 |
| Homemade steel lift adapter. 17) | ||
|---|---|---|
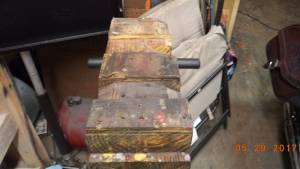 | 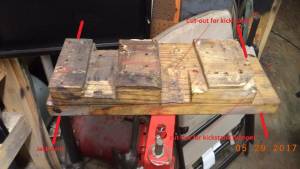 |
| 2×12 Jack Riser for Sporties 20) | |
|---|---|
Wheel Chocks
The Harbor Freight wheel chock can slide forward or backwards when rolling the bike in or out of it on a slick concrete or wooden floor.
This board will help keep the Harbor Freight wheel chock from sliding around
You won't have to screw any of it to the floor and it can all be easily picked up and tucked away when not in use.
- A long narrow scrap piece of plywood with some scrap blocks of wood screwed to it keep the chock from moving around. 21)
- The long plywood is important because by the time the front wheel hits the chock and starts to roll into it, the back tire is on the plywood.
- Then, the bike's weight keeps the wheel chock from sliding forward.
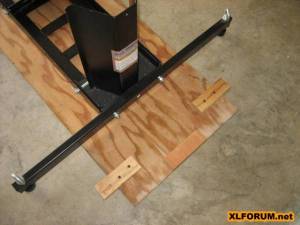 | 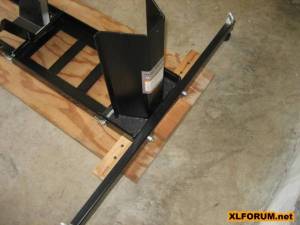 | 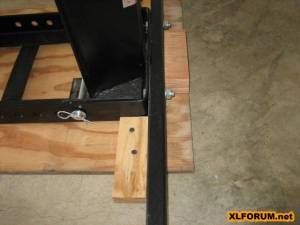 |
| Holding board for the Harbor Freight wheel chock 22) | ||
|---|---|---|
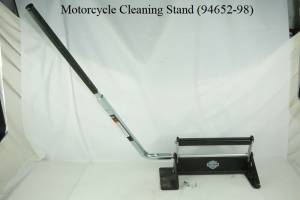
HD Motorcycle Cleaning Lift
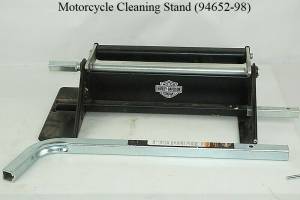
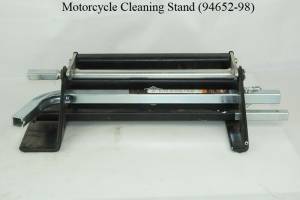
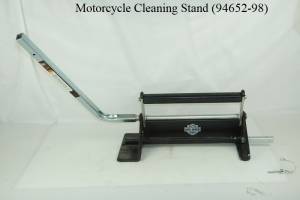
Below is an HD tool with a handle to raise one end or the other.
Click Here to download PDF instruction sheet (J01467).
Lift Tables
Harbor Freight Tables
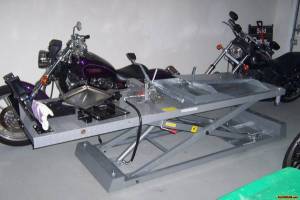
HF lists two item numbers for motorcycle lift tables on their website: 68892 and 69904. 27) 28)
Their current specs lists both part numbers with the same specs.
- Max Lift height 29.5“
- Max load 1000lbs
- Min height 6.9”
- Platform length 86.6“
- Platform width 26.75”
- Height 34“
- Length 101”
- Weight 317 lbs.
- Shipping Weight 340.00 lbs.
68892: 29)
Owner's Manual & Safety Instructions (PDF)
- Max lift: 29.5“
Min height: 7”
Weight: 317lbs.
Shipping weight: 339lbs. - The top of the bottom rails is a flat “L”
- The pump and it's pivot brace are a one piece assembly (see #01a in the manual exploded view)
- Shafts for the pump and release levers are closer to the chock end of the lift
- The parts diagram shows the loading ramp posts having pins and washers (see #04 & #23 in the exploded view)
69904: 30)
Owner's Manual & Safety Instructions (PDF)
- Max lift: 33.0“
Min height: 8.125”
Weight: 270lbs.
Shipping weight: 315lbs. - The top of the bottom rails is an “edge”
- The pump pivots on ears on a fixed square brace (see #25 & #14 in the manual exploded view)
- Shafts for the pump and release levers are closer to the ramp end of the lift
- The parts diagram does not show pins and washers for the loading ramp posts
- The picture on the cover of the manual shows the wrong lift (the picture is of a 68892 lift)
- The HF website pictures shows the wrong lift (the picture is of a 68892 lift)
The website picture is also reversed and incorrectly shows the levers on the right side of the lift
The levers are actually on the left side of the lift
Harbor Freight lift table with Atlas wheel chock mounted to it.
Atlas HI-RISE 1500 Lift Table
The Atlas HI-RISE 1500: 32)
Assembly Instructions
- 11 gauge steel.
- Lifting capacity 1650 lbs
- Max lifting height of 43“.
- Lowered height 8-1/8”.
- Powered by an air/hydraulic power unit.
- Air/hydraulic power system has an extra large hydraulic fluid reservoir for a smooth and steady lift travel to the highest locking position.
You must have an air compressor that produces a minimum of 100 PSI to effectively operate this lift. - Chopper extension increases the diamond plated center section to 100-3/4“.
- Standard drop out rear section to allow for easy removal of the rear wheel assembly.
- Portable design.
- Heavy duty front wheel clamp.
- Adjustable approach ramps.
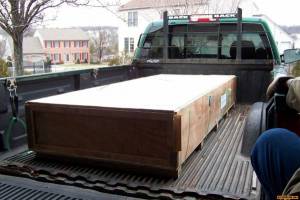
- Shipping Weight 800 Lbs. (including wooden crate).
Weaver W-1500 XLT Lift Table
Specifications: 36)
Operation and Parts Manual
- Lifting Capacity: 1500-lbs.
- Overall Length: 125”
- Overall Width w/Side Extensions: 51“
- Overall Width w/o Side Extensions: 29.5”
- Rear Drop Panel: 17“ x 20”
- Lifting Height: 42.5“
- Lowered Height: 8”
- Table has 6 locking positions
- Air Power Requirement: 100 psi
- Table Length w/Front Extension: 100“
- Table Length w/o Front Extension: 88.5”
- Approach Ramp Length: 25“
- Shipping Weight : 755 lbs.
- Hydraulic Oil - AW32 or AW46
Comments from XLFORUM member decman. 37)
Love the lift but the side extension are a pain to put on and take off.
I love them on when putting the bike on the lift but they get in the way of getting close to the bike when it is up in the air.
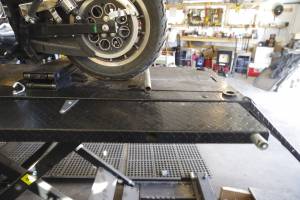
So I came up with this mod. Got some heavy duty hinges and mounted to the sides.
Also cut the long support pipe in half so I can put only one side down if I like.
Weaver lift modded with hinges added to the sides for fold down ability.
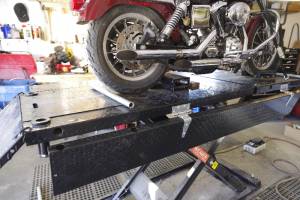 38)
38)  39)
39)
Lift Table Mods
Some people replace the chock that comes with the HF lift table with everything from the cheapest HF wheel chock to a Condor chock. 42)
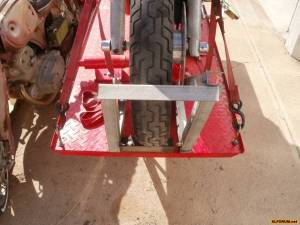
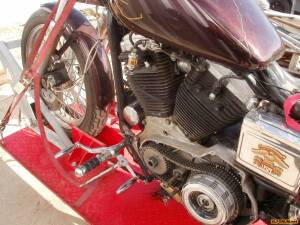
Here is a homemade wheel chock mounted to a HF table.
| Homemade wheel chock. 43) | |
 |  |

