
REF: Wheels, Brakes & Tires - Sub-12C
XR1200 brakes on a 2007 1200R
Article by Screw Loose Dan of the XLFORUM 1)
Pics cropped and/or resized by Hippysmack for formatting.
Note: The XR1200 brakes will NOT work with wire / laced wheels.
That was tried on a 1200N by Sportytrace of the XLForum and the caliper would NOT fit.
Also custom wheels need to be measured first before deciding to use these calipers.
The actual install was rather easy. Really just a matter of unbolting parts and bolting other parts back on.
If you are familiar with doing brakes (either on a bike or car), this will be a breeze.
Plan on having PLENTY of rags on hand and don't let the brake fluid get on anything you care about (like paint).
Parts:
- Prices were current as of the article date (4-25-2010).
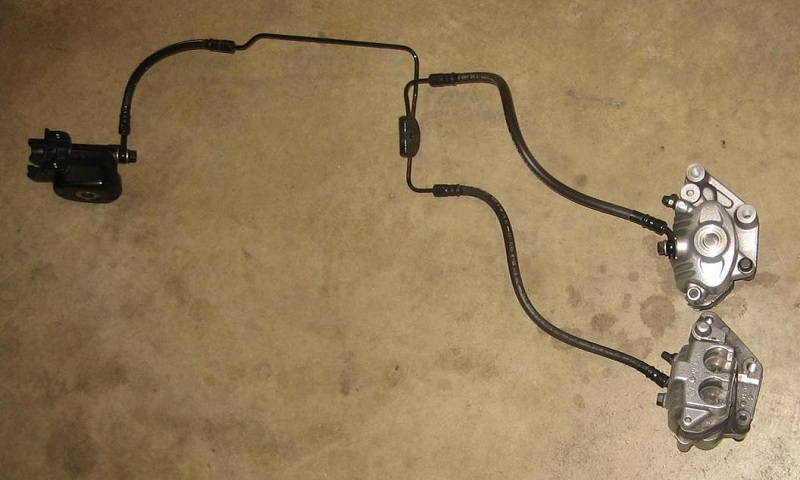
- 42943-08 Caliper, Frt Lft $144
- 42944-08 Caliper, Frt Rt $144
- 42941-08 Master Cylinder Silver lever $73 (42941-10 should be the same but have a black lever as the 2010 XR's come with black levers)
- 41736-04 Caliper Banjo (x2) - Can be reused from old setup $4 each
- 41737-04 Master Cylinder Banjo - Probably can be reused from old setup $5
- 44358-00* Front Rotor, floating (x2) $96 each
- 41743-04 Master Cylinder crush washer (x2) $2 each
- Goodridge copper crush washers 10mm - Calipers $4/box
- Goodridge Ebony brake hose (measure for your handlebar/setup) ~ $55 total
- Goodridge 592-03-M12CH This is one of the few banjo bolt fittings I could find to fit the Master Cylinder. $18
- Drag Spec. Brake Tee (from J&P - here) $15
- Russel 1/8″ 90° male pipe fitting, AN-3 male end (from J&P here…but Goodridge and other make similar) $8
- Rags…and more rags
- Brake cleaner
- The rotors are standard floating rotors for XL. You may choose from any that will fit the XL.
The XR uses the same as the XL (just different patterns).
The ones listed are the Vivid Black Floating rotors for XL's.
You are presumably doing this to improve your brakes, so don't be cheap and use stock rotors…get floating ones.
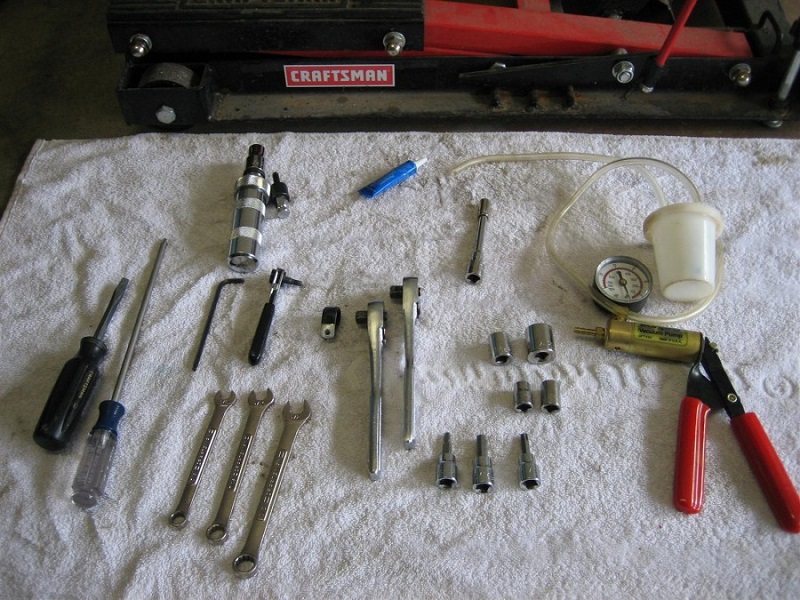
Tools:
- 9/16“, 3/4”, 5/16“, 10mm and 12mm sockets
- T40 Torx socket
- 3/16” and 5/16“ hex drives (could use allen wrenches)
- Ratchets
- 3/8”, 7/16“, 1/2” wrenches
- Screwdrivers
- Loctite
- Vacuum pump (to bleed the brakes)
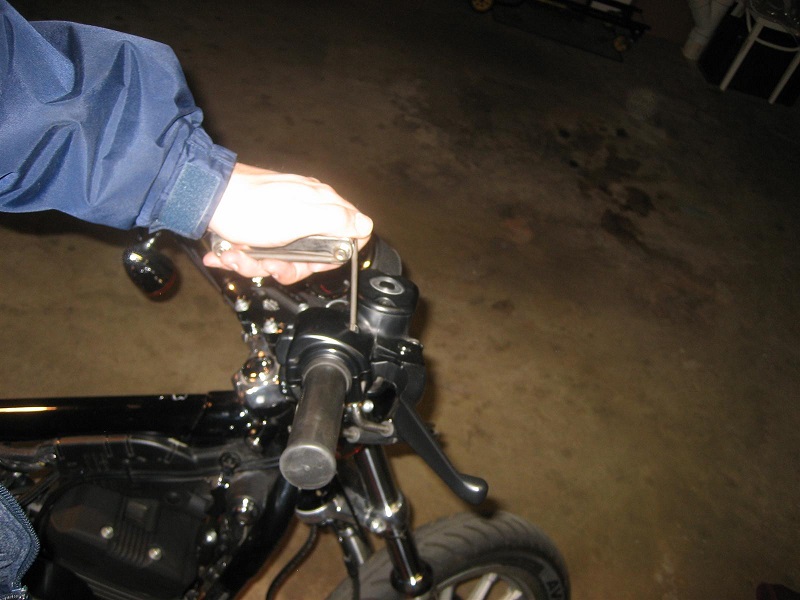
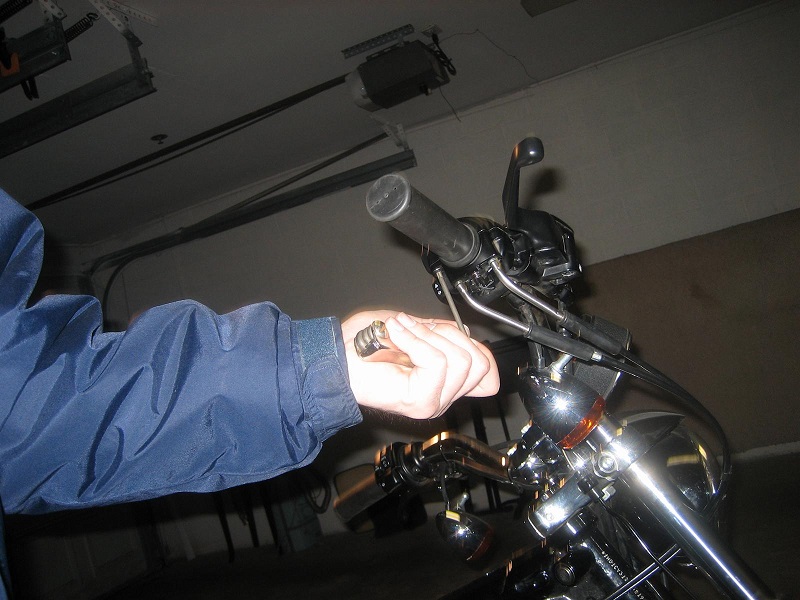
| Removing the master cylinder. Turn signal light (4 mm allen) and mirror (1/2“ hex) were removed first. 4) | |
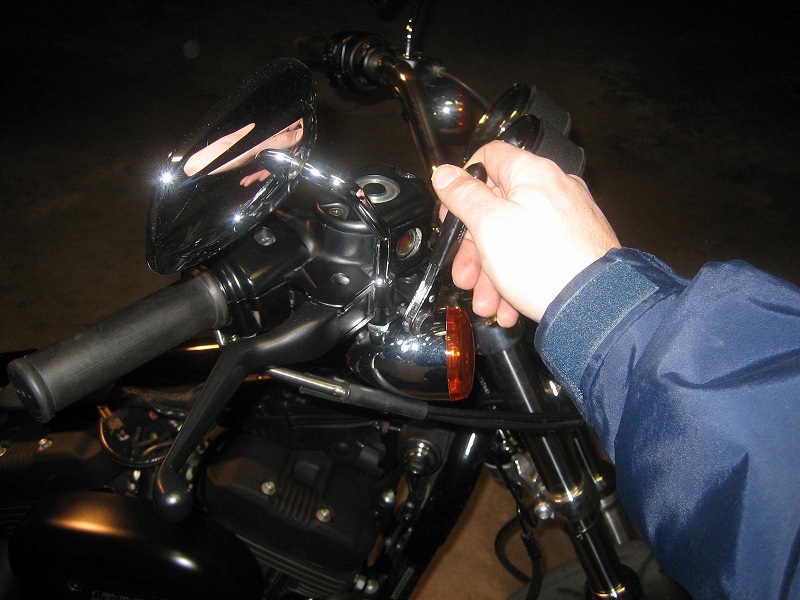 |  |
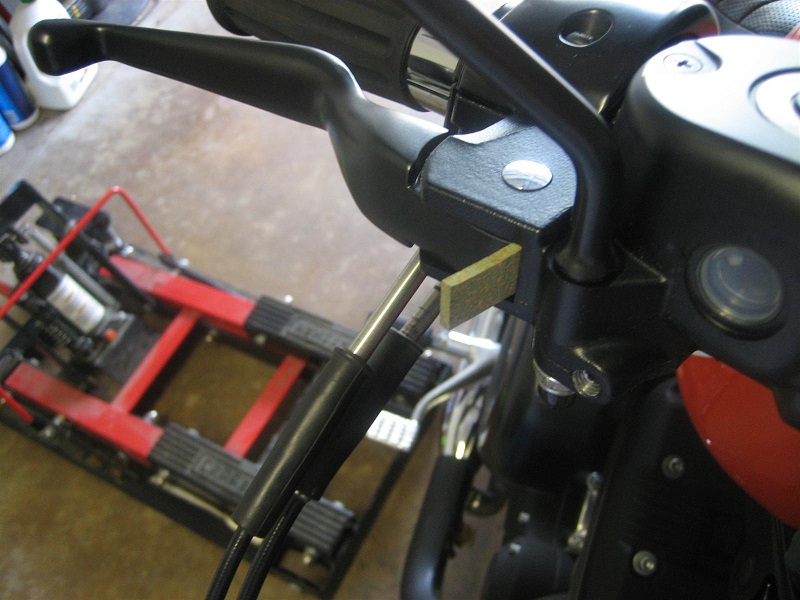
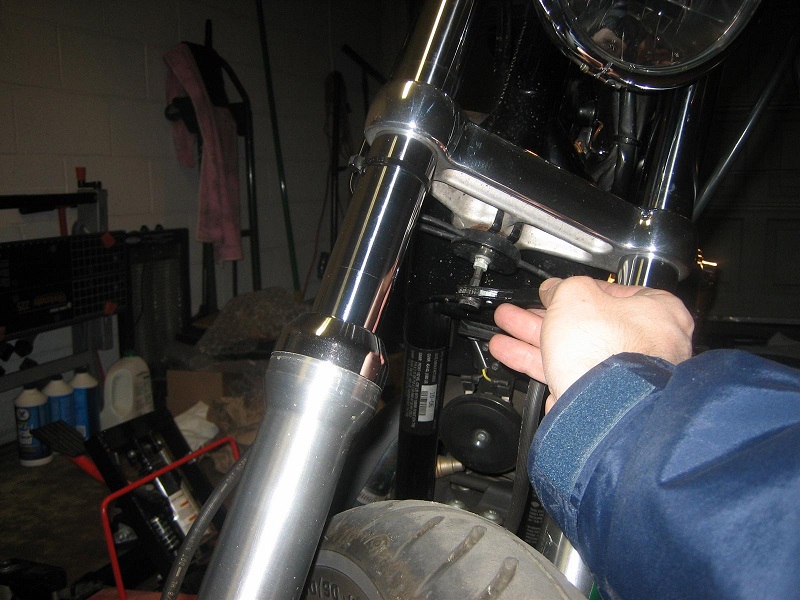
| Add a piece of cardboard or something to slightly “squeeze” the lever to prevent the lever from destroying the brake switch during disassembly. Switch housing loosened (T25 Torx) and master cylinder clamp bolts removed (T27 torx) 5) |
||
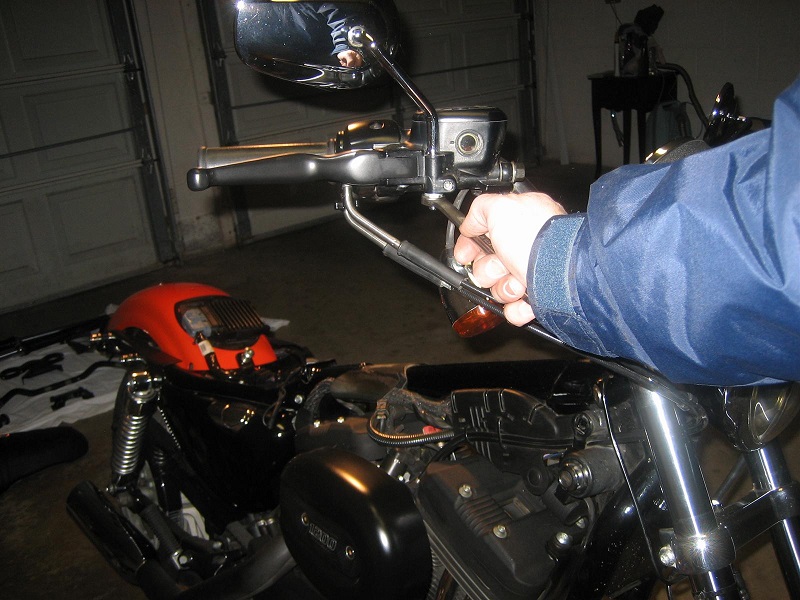
 |  |  |
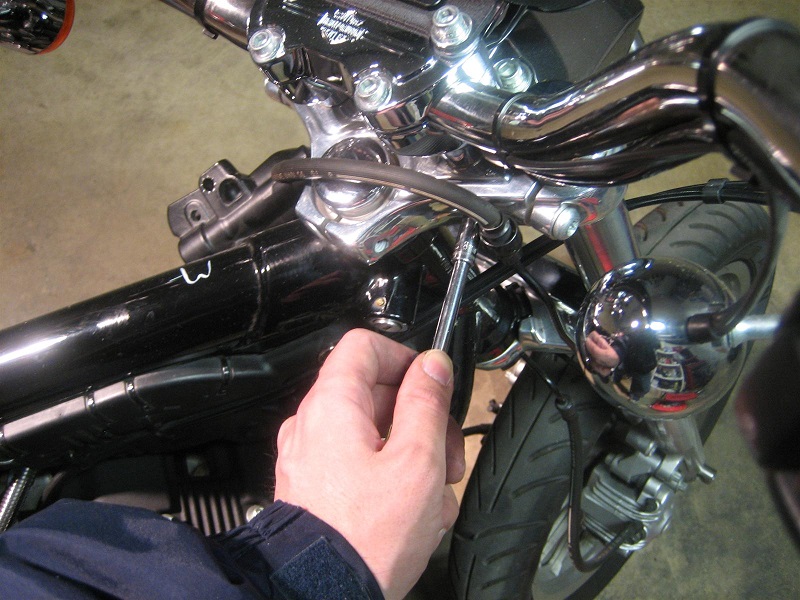
| Brake line clamps removed from triple trees. A short bungee cord to hold the master cylinder out of the way to remove the calipers. 6) | 12 point socket used to remove the caliper bolts. 7) | |
 |  | 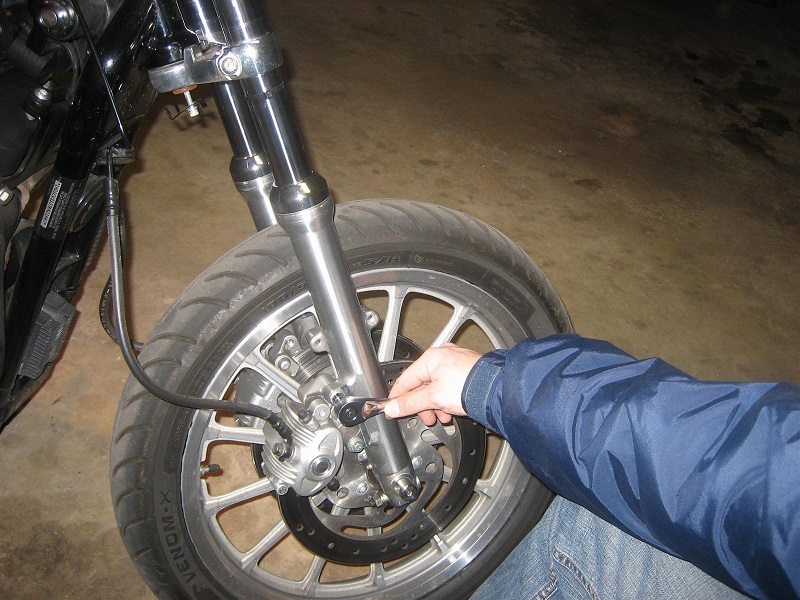 |
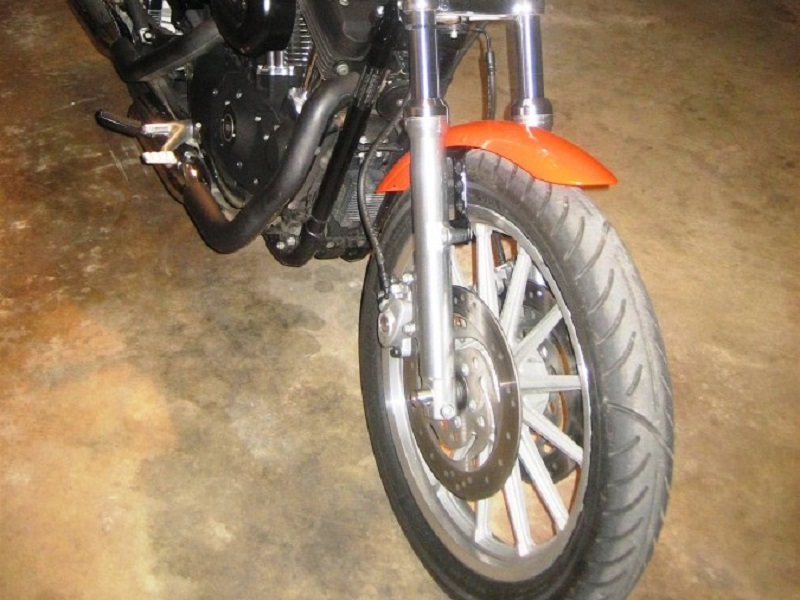
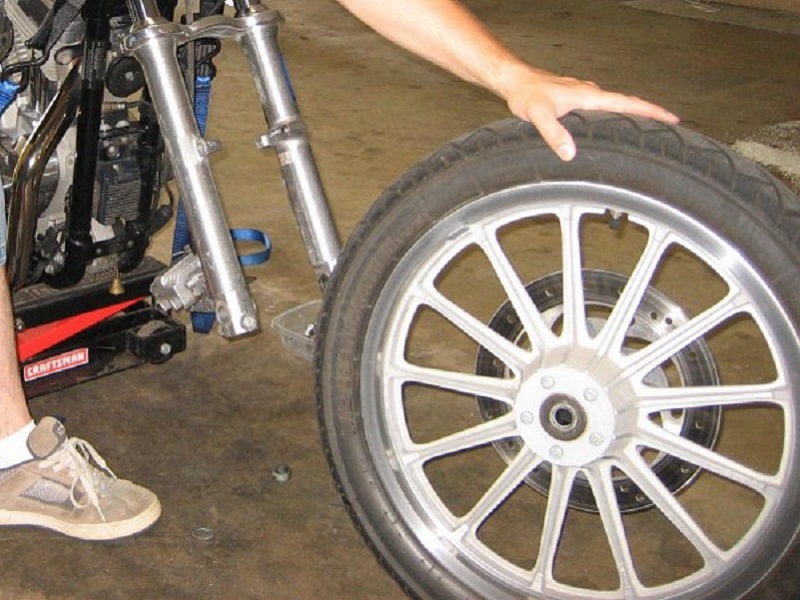
| Remove stock caliper assembly, pull axle out while catching the spacers and remove the tire 8) | ||
 | 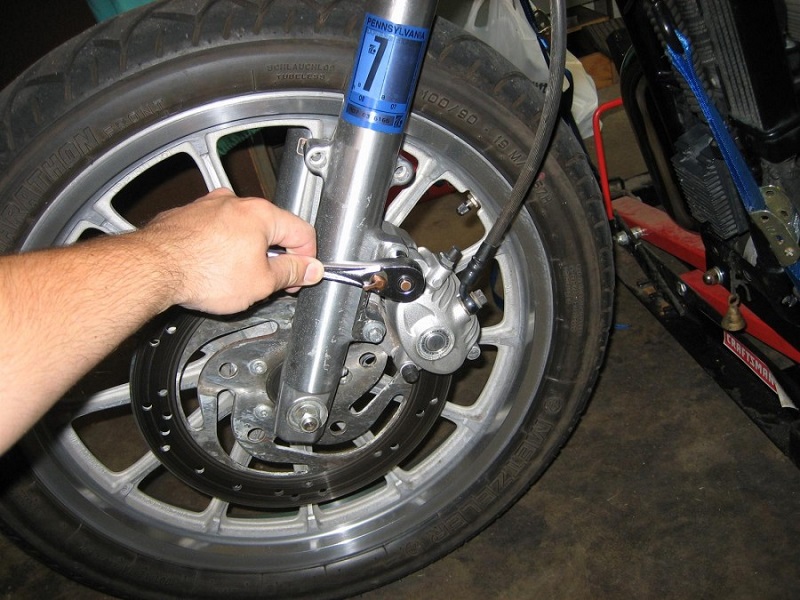 |  |
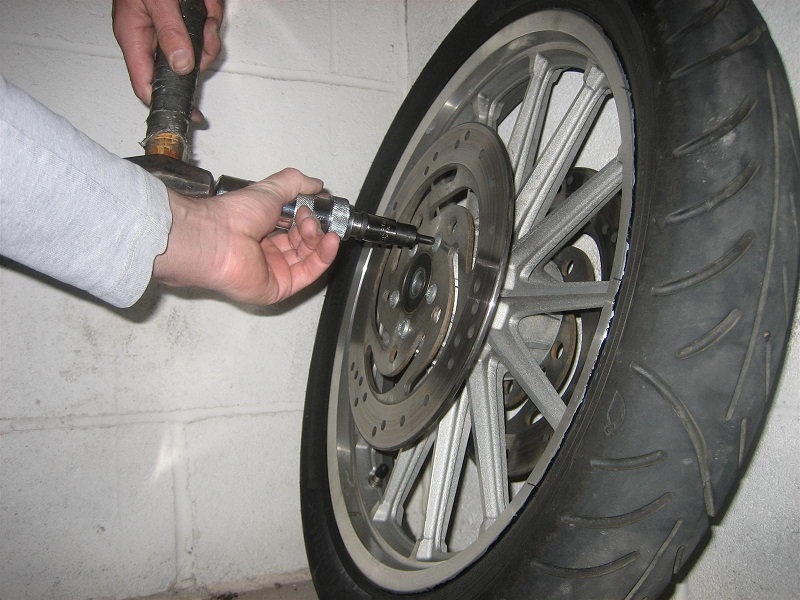
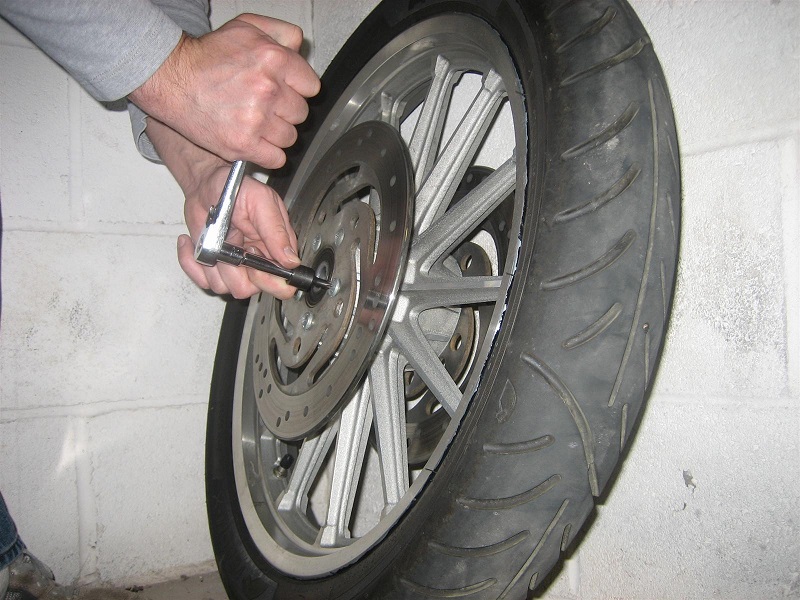
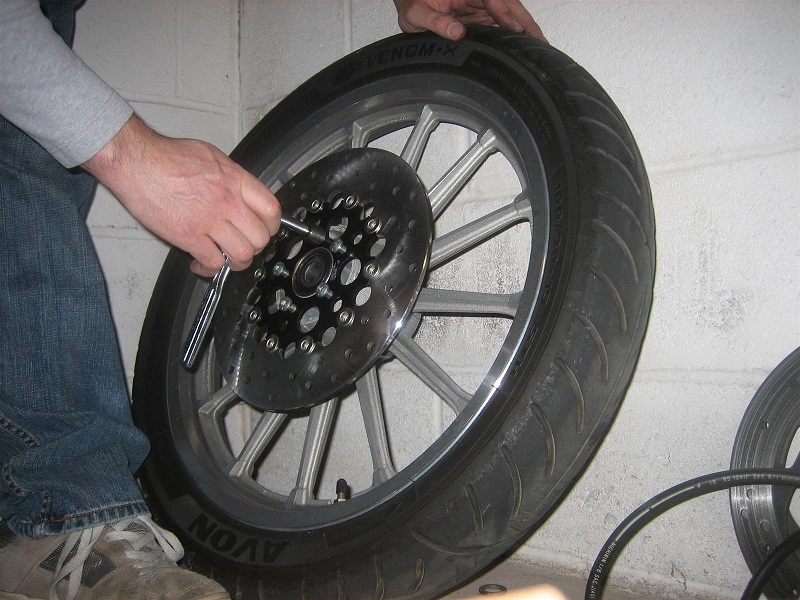
| An impact wrench works for loosening the Torx bolts on the rotor to remove it from the rim. A good sturdy corner of a wall helps to stabilize the wheel while you bang on it. 9) | Installing the new rotors. Start all the bolts by hand then snug them up in a criss-cross pattern. Torque to spec (16-24 ft-lbs). 10) |
|
 |  |  |
Next put the wheel back on the bike. It helps to have the lift height so you don't need to lift the wheel much (if at all) when putting the axle back in.
The small spacer goes on the side with the pinch bolt and the larger spacer goes on the side with the axle nut.
You should make sure there is anti-seize compound on the axle prior to assembly.
From the FSM: On models with dual front brakes, align calipers to brake discs.
- Tighten axle nut to 50-55 ft-lbs (68-75 Nm)
- Loosen axle pinch bolt nuts. (SLD - won't be tight yet!)
- Insert 7/16 in. drill bit into hole in axle as far as it will go.
- Position fork leg against edge of drill bit. Contact point must have the edge of drill bit touching the edge of fork leg.
- Tighten axle pinch screw to 21-27 ft-lbs (28.5-36.6 Nm) and withdraw drill bit.
| New rotors installed and tire back on and tightened up 11) | |
 | 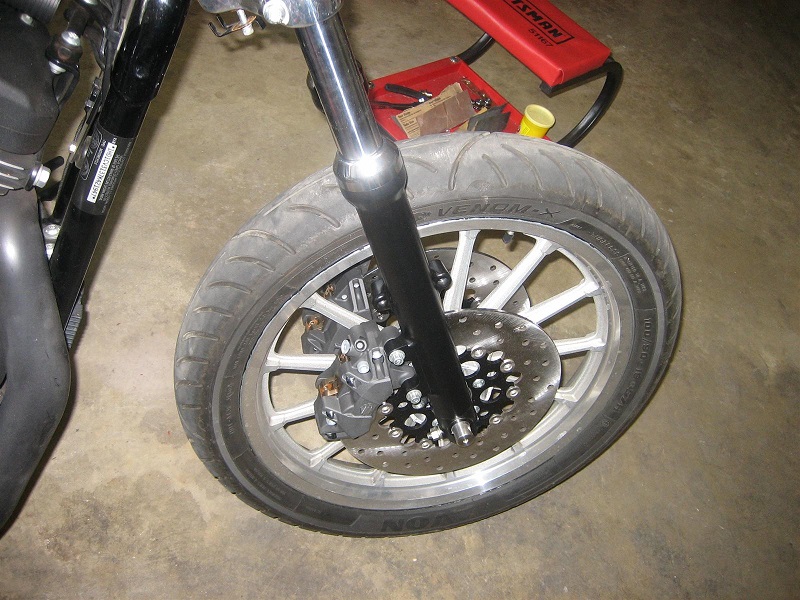 |
Next mount the new master cylinder.
Loosely assemble the clamp around the bar and fit the master cylinder to the switch assembly (make sure you have the cardboard/cork in the lever).
You will want to be very careful about not pinching the wires running to the switch housing.
Before tightening, make sure the throttle assembly is pushed the whole way on the bar.
And make sure the switch housing and master cylinder are tightly fitting together otherwise your brake light might not work.
Once everything is aligned properly tighten everything back up.
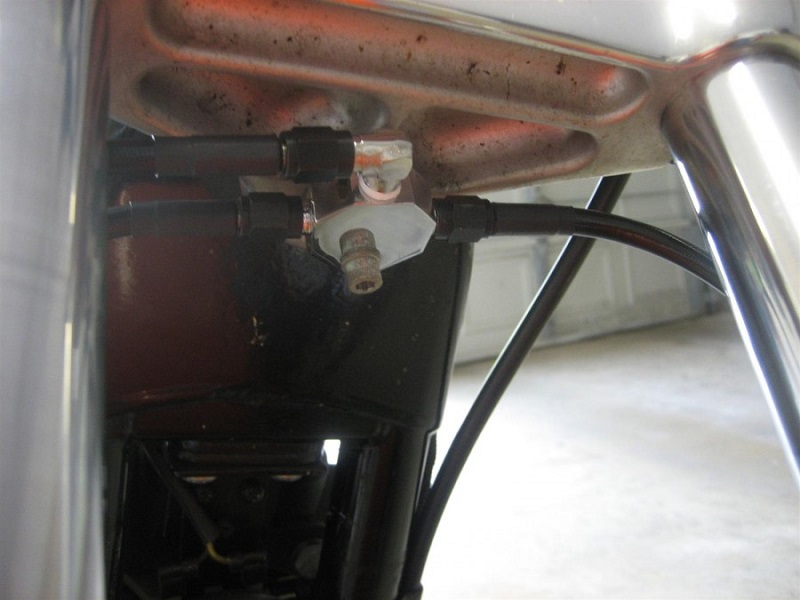
Next run the brake lines.
These are universal brake lines with lengths to fit these particular bars and forks.
Be aware that all 2004+ Sportsters with dual calipers use a 12mm banjo at the master cylinder.
This is a TRUE 12mm and unless marked as such most 12mm brake parts will actually be 7/16” and will not work.
A brake tee fitting was used with a mounting hole that worked out well.
It also requires a 90° male pipe fitting to AN-3 fitting.
Make sure all the brake fittings are “good and tight”. Then fill the brake reservoir with appropriate fluid.
Bleeding brakes can be a bit time consuming. The suction pump in the pic above was used with just a slight bit of suction to the caliper'
(using too much suction just seems to pull air in). Also, tapping on the lines gently seems to free air bubbles.
You may need to bleed the brakes again after the first ride or two to make sure all the air is removed.
(You can also refer to these sections of the Sportsterpedia for recommendations, change intervals and bleeding advice: 12)
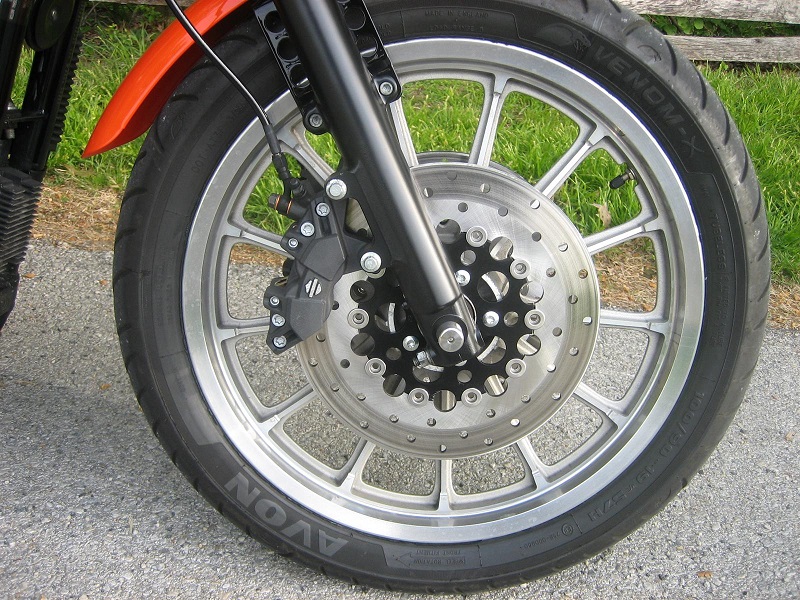
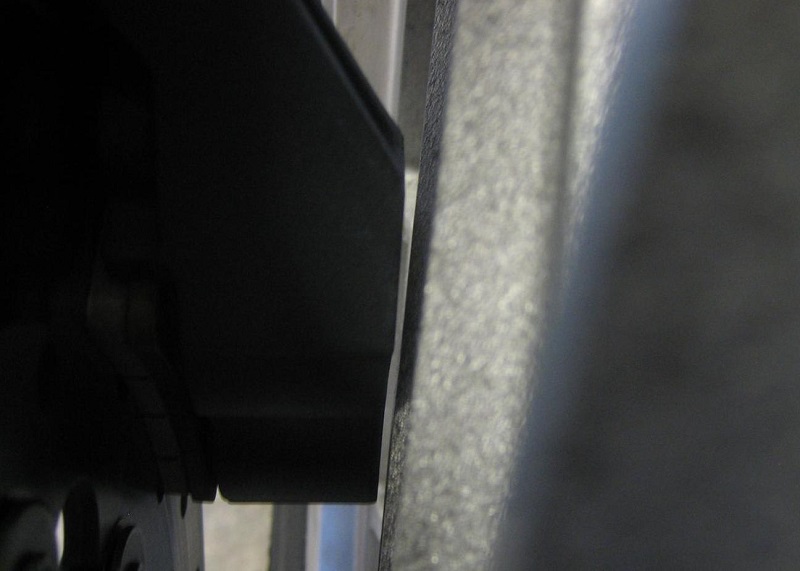
| Brake fitting 13) | Project finished. These brakes JUST barely fit with the stock wheels. “Just” meaning they will likely let you know when the wheel bearings go. 14) |
|
 |  |  |