Table of Contents
This is an old revision of the document!

EVO: Engine Mechanicals
Timing Inspection Hole
Sub-Documents
Cam / Gearcase Cover
Removing the Cam Cover
Note: The cam cover has 11 Allen screws of various lengths. They will need to be replaced back in the same holes from which they were removed. So, their proper location will need to be marked upon removal. You make a drawing of the cam gear case on a piece of cardboard and then put them into the cardboard in the proper orientation as removed from the cover. 1)
- Remove the Rocker Covers and Pushrods:
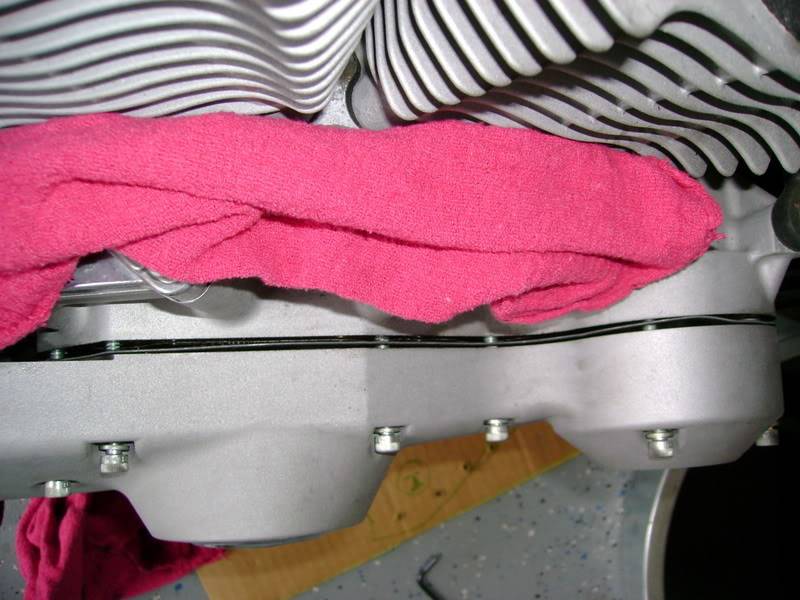
- Place a flat drip pan or oil container under the engine. It will leak oil when the cover is removed.
- Remove the Allen screws holding the cover on and place them on your piece of cardboard.
- Depending on your foot control setup, you may have to remove the foot peg / foot brake pedal support or brake rod to fully remove the cover.
- Pull the case out slightly so that it un-attaches itself from it’s gasket and the engine case.
- Note: The bushing alignment with the camshafts has a VERY close tolerance. That means that the cover will need to come straight out. There will be no side-to-side or up-down play in the cover.
- You may need to lightly tap the sides of the cover with a rubber mallet to break the seal between the case and the cover.
- It's possible that the cams will stay in the engine when removing the cover. However, more often than not, they will come out with the cover in various ways. The alternative to not paying attention to them may end up with the cams hitting the floor and even worse, them hitting something on the way down causing damage to them.
- Nicked journals will destroy the bushings, nicked lobes will destroy lifter rollers and both will create extra heat, destroying the cams and other internal parts.
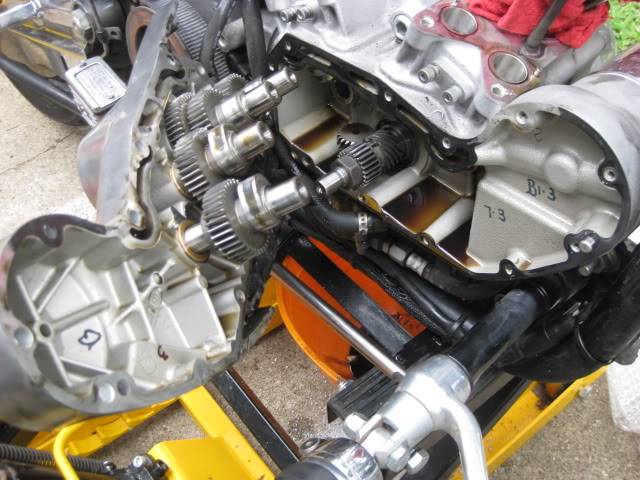
- Once the cover is out far enough to get a small screwdriver in there, continually push the cams back in towards the engine as you slowly edge the cover off starting with #2 cam.
- #1 and #3 cams are behind #2 and will go back when you nudge #2.
- Don't forget about #4 which is independent and can come out on it's own.
- Once the cover bushings are clear of each cam, the case can be slightly rotated out of position.
- Also, you will need to remove a rubber oil line that attaches to the rear area of the case before the case can be completely removed. Since the clamp holding this oil line cannot be reused, you will need to purchase a new hose clamp when the case is re-installed.
- Remove and discard the gasket. Clean the case with brake cleaner.
Installing the Cam Cover
The cover gasket only has a hole for one of the dowel pins so it will slip down if you're trying to place it on the case first.
Put the gasket on the cover and install the screws through the cover and the gasket holes while maneuvering the cover on the case.
Hand start all the screws and leave it loose enough to nudge the gasket, if needed, for a good fit.
This will keep the gasket from sliding down during the process.
Push it carefully the rest of the way on by hand. Do not use the screws to pull the cover flush against the case.