REF: Body Parts - Sub-51B
Custom Travel Rack
Article by Zoharo of the XLforum 1)
It helps to do a few sketches for a project and a great amount of imagining the process to foresee the problems. Generally speaking, the worst scenario for most people is a lack of appropriate tools for a given project. This includes the shortage of equipment to fabricate jigs.
In this case, I was too short on time to build the jigs and have no bender. It's a “barnyard” job with a little math to find the right sized tree.
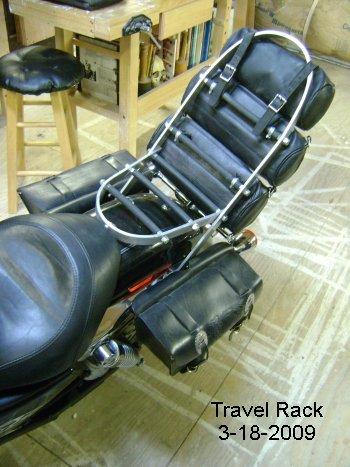
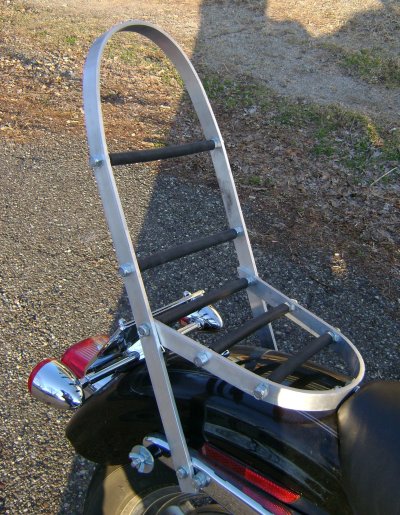
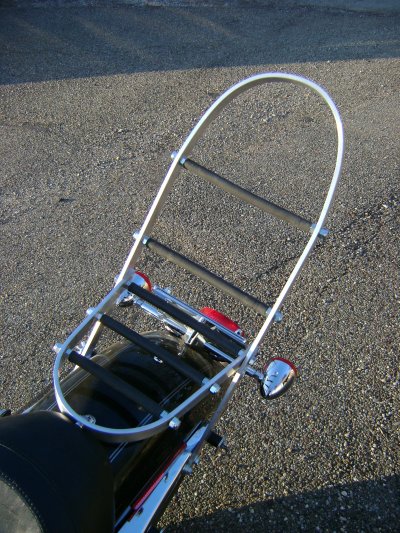
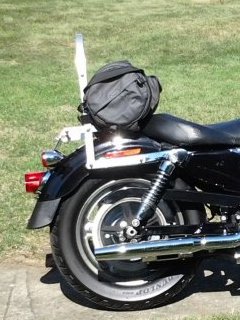
This travel rack/sissy bar built using 1“ x 1/4” aluminum bar stock, 3/8“ all-thread rod, lock nuts, and 5/8” (3/8“ ID) black rubber automotive fuel line.
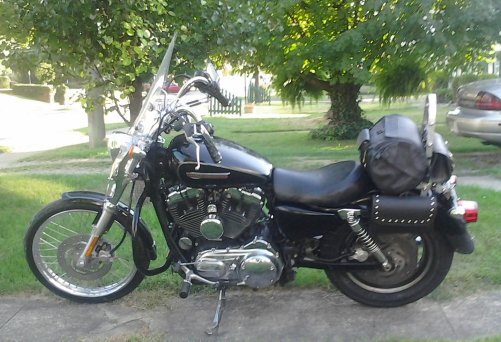
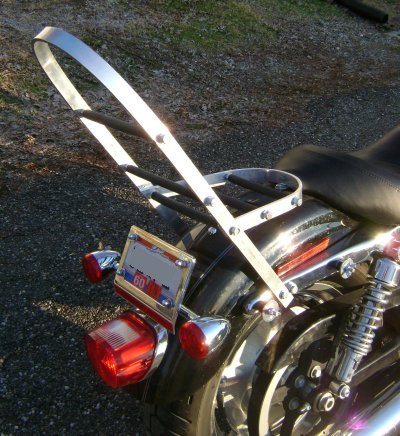
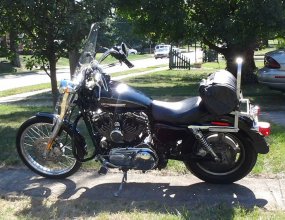
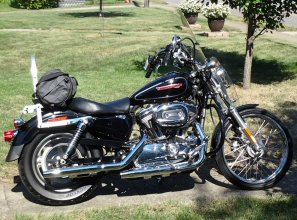
Having already moved the turn signals aft, the addition of the rack and sissy bar was simplified.
- To make the bends, you can finding a clamp large enough, and begin with an 8' piece of stock for leverage. Measure the width of the fender from one side of the intended sissy bar to the other. This will be the diameter of the tree. To make it easier to locate said tree, multiply this diameter times Pi, or 3.14 and it gives the circumference of the tree. The tree will be your “jig” to bend the bar stock.
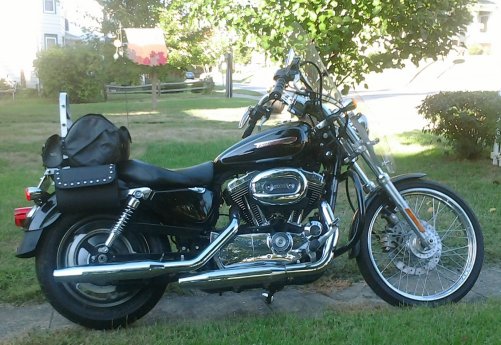
- Due note that a good design has aesthetic appeal (pleasing to the eye). The lines of both the windshield and the sissy bar are parallel with the front forks
- As to materials, I chose aluminum bar stock since many parts on the Sportster are polished aluminum, it's easier to work, and is readily available at Home Depot and Lowes. The rubber fuel line, to cover the 3/8” all-thread, was an easy choice, also, as the bike is black and the ID of 5/8“ fuel line is 3/8”
- The tour bags have been removed to allow a greater visual of construction. Had I wanted to run with-out bags, I would have ground the ends of the sissy bar more round
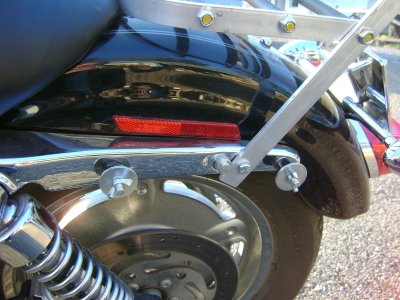
- Note the use of the small “L” bracket to secure the rack to the fender just behind the seat, using the available panhead bolt at said location and one additional through the front of the rack. I modified a piece of angle brace, drilling for the 1/4 x 20, shortening it to one hole in height, and rounding the ends on a grinder
- The sissy bar is secured with a 5/16“ bolt through the existing hole in the fender and fender bracket, having already moved the turn-signals to a rear mount. Note that additional strength is given to the bar by using the second hole as a “stop” bolt with 5 washers acting as a 1/4” spacer. This insures the sissy bar from pivoting backwards and pulling loose the bolt atop the fender
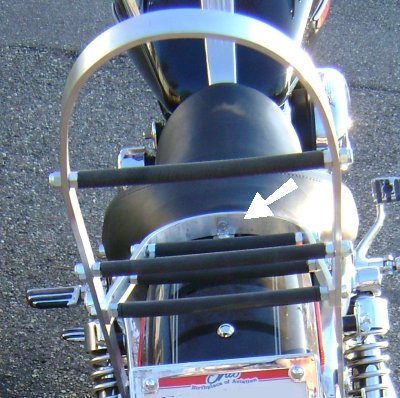
- Note the standard 3/8“ nuts are used inside the sissy bar on the all-thread to assist when tightening the outside 3/8” lock-nuts, and to provide greater strength in tension between the aluminum and the all-thread rods. Use caution when adjusting, as any extreme torque will deform either the rods or the aluminum bar stock, bending each beyond the chosen design curves and lines. The rubber lines are slipped onto the all-thread rod as each is entered from one side of the bar stock, following the placement of the first interior 3/8“ nut
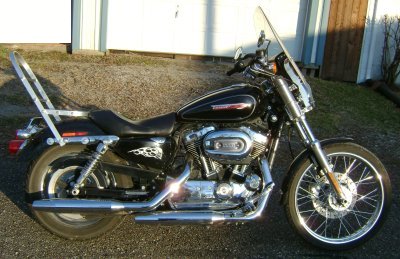
- Updates Pics on changes to the travel rack:
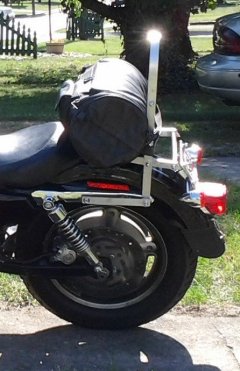
- The saddlebags disguise the stark assembly rails: