Table of Contents
This is an old revision of the document!

REF: Tools - 110
Lifts, Jacks and Wheel Chocks
Bike Lifts / Jacks
Jack Stands
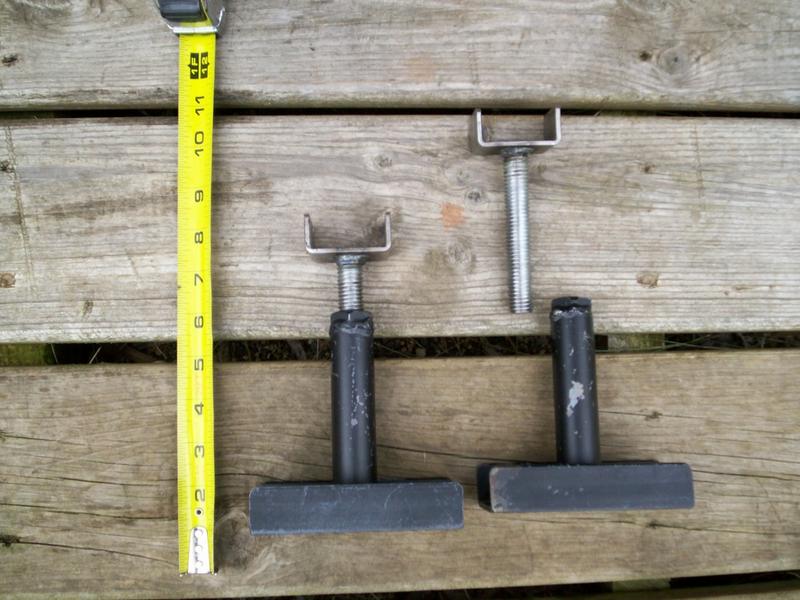
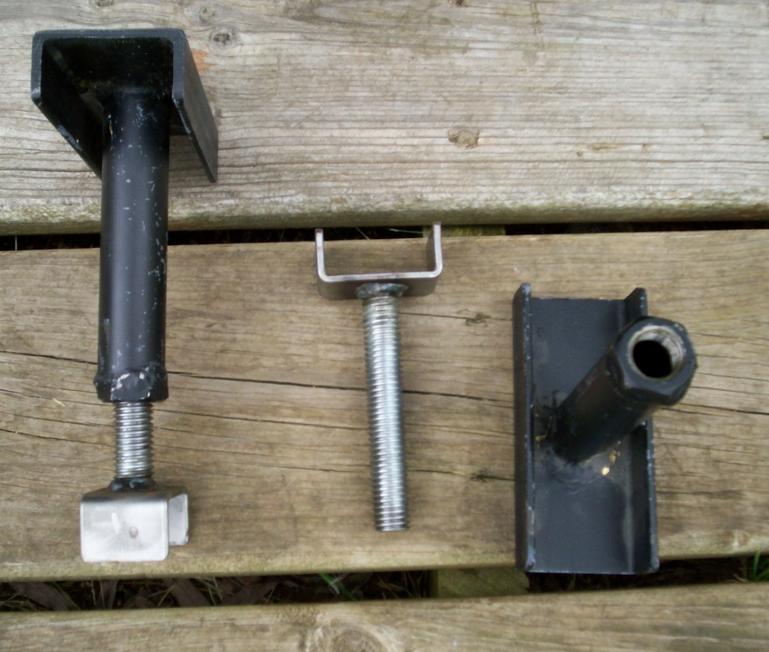
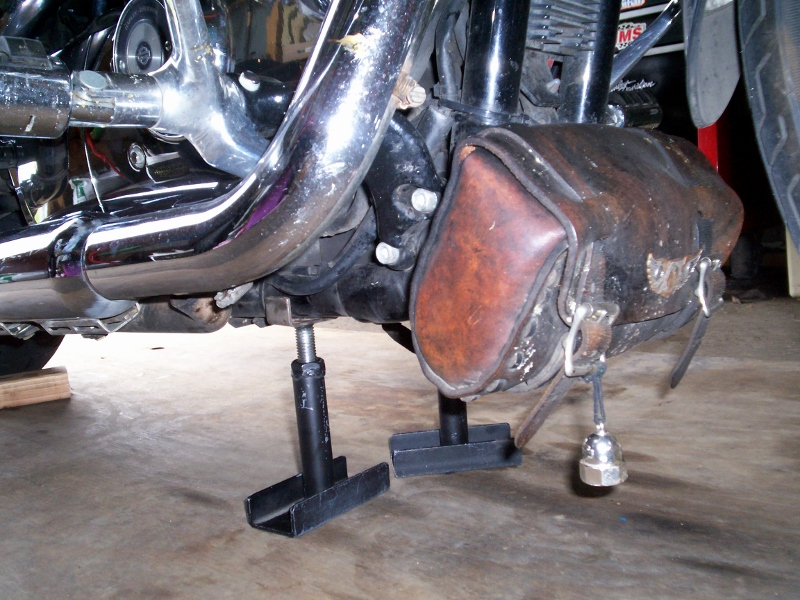
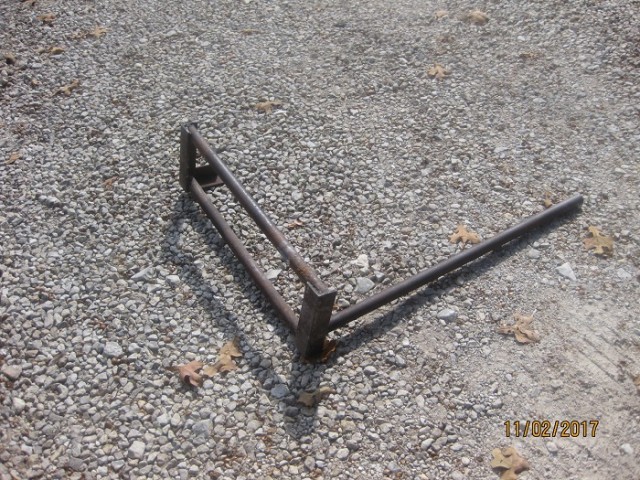
Homemade Jack Stands:
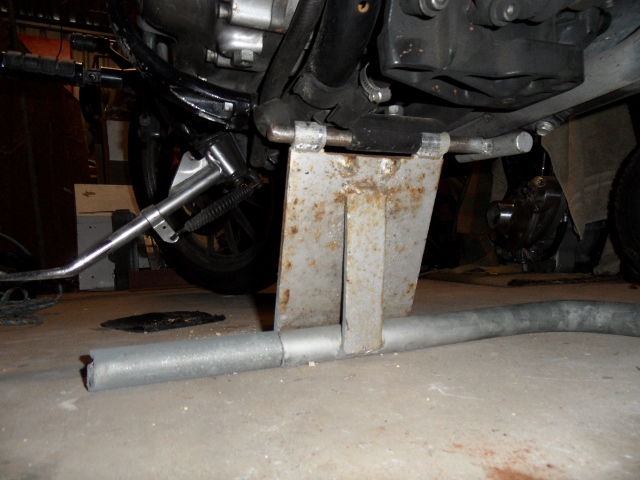
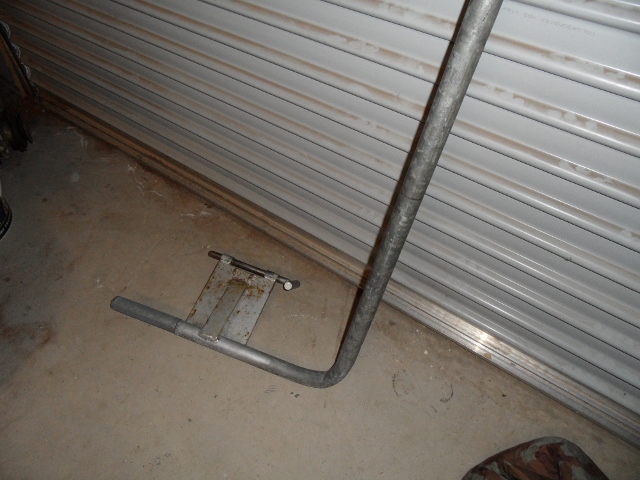
These were made specifically for a bike with a center stand. 1)
With these you can lift the front wheel off the ground when doing tires, wheel bearings, forks, etc.
On a bike without a center stand, you can use the kickstand as a pivot.
These little stands can be placed, strategically, under the frame for stability while working.
Base: 4.5“ of 1”x2“ C-channel iron.
Shaft welded to center of base: Iron conduit 1” OD approx. 4“ high.
A 15/16” nut is welded to top of shaft.
The nuts were welded to the base for stability of the assembly.
However, you could add a nut (un-welded) on top of the that one for more adjustability.
First, measure your individual clearance to get the overall (collapsed) height that you can use.
The top is made from a threaded rod welded to metal C-channel (saddles).
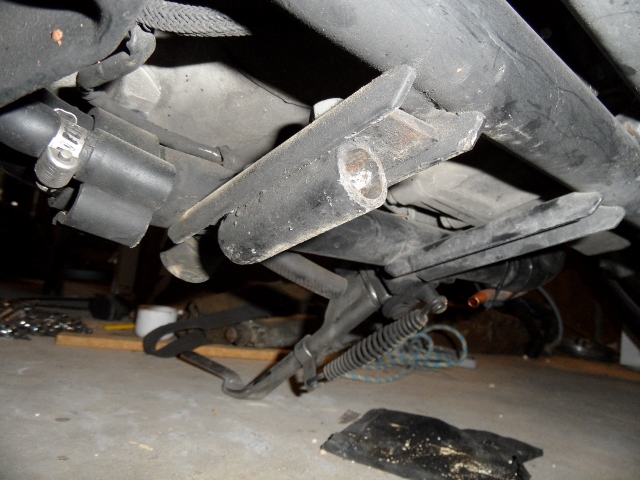
| These were used under the frame while adjusting the clutch | ||
 |  |  |
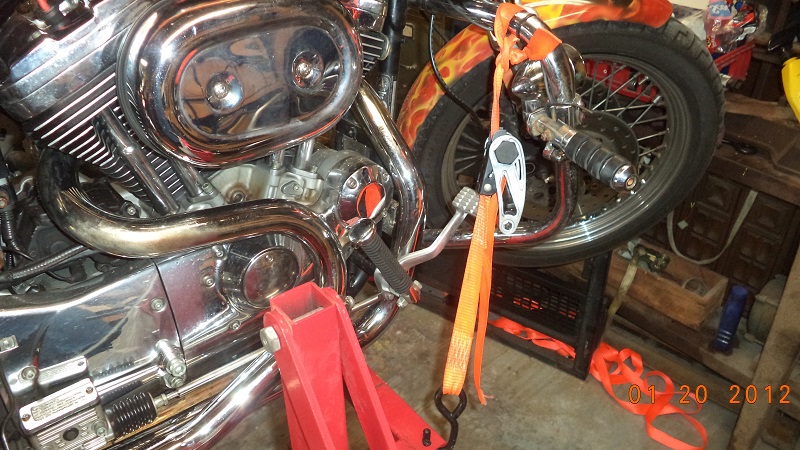
| Keeping the bike upright with the tires scotched, bike level and tied to anchors (lag eyelets), one on each side of the shed. Once level, the jack stands are placed under the frame to take pressure off the tie-downs. |
||
 |  | 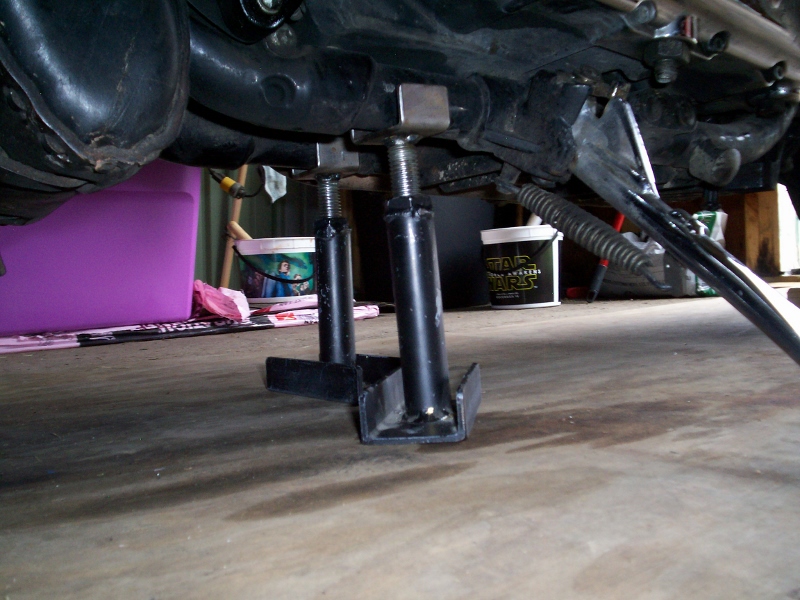 |
| Homemade jack stands. 2) | ||
|---|---|---|
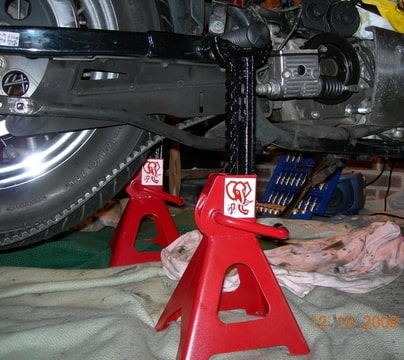
Commercial Auto Jack Stands:
 |  |
| Lift stands 3) | |
|---|---|
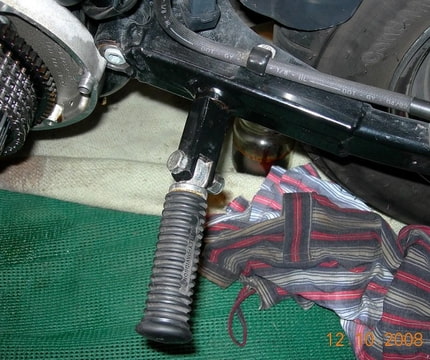
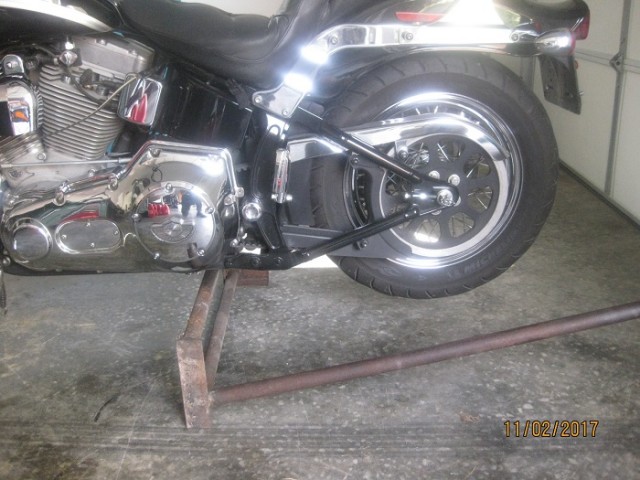
| Take the front or rear footpegs off and bolt them back upside down. Then placed two axle stands under them. |
|
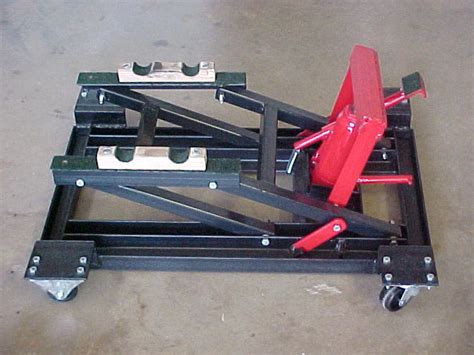
Lifts
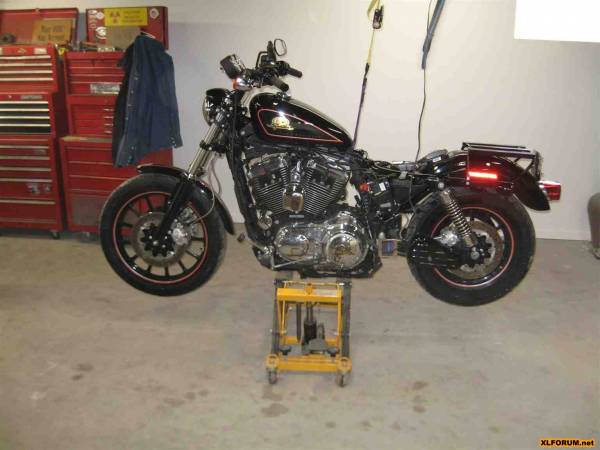 |  |  |
| Small Bike Jack 4) | Small Bike Jack under Bike 5) | The two hooks on this sport bike rear stand are designed to fit over special bobbins bolted to a modern sportbike swingarm and fit just perfect onto the bottom shock / footpeg mounts on the Sportster. 6) |
|---|
 |  |  |
| Bike Jack 7) | ||
|---|---|---|
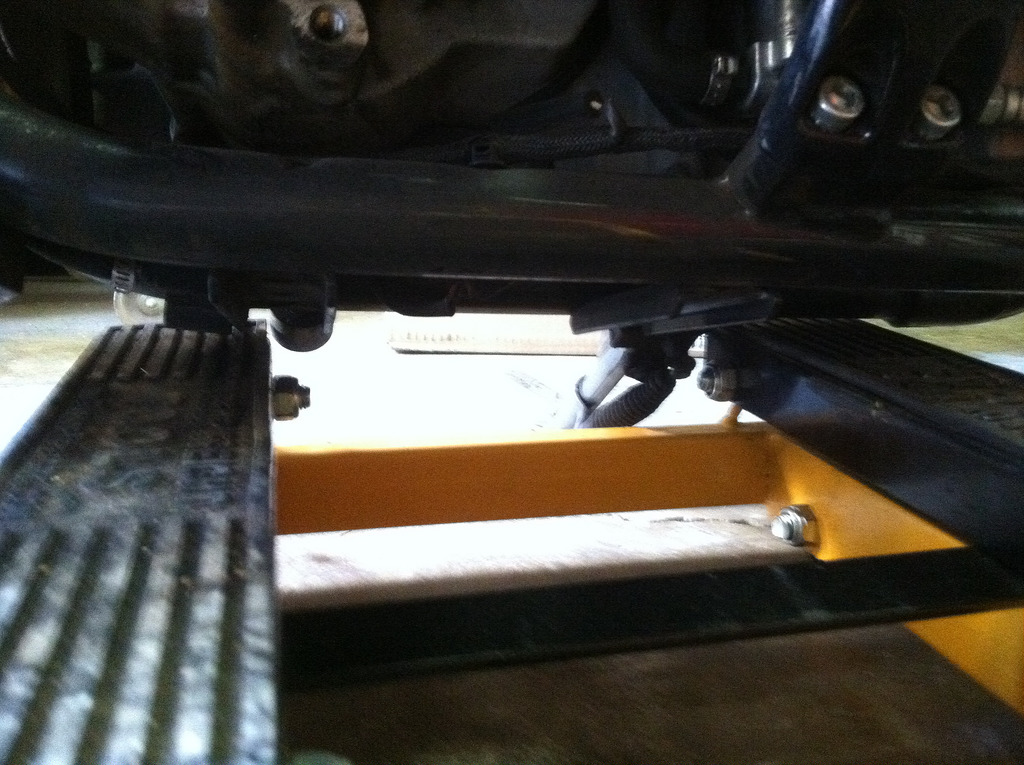
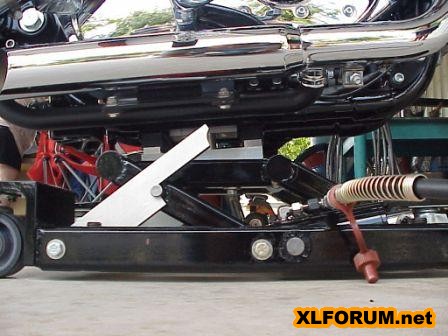
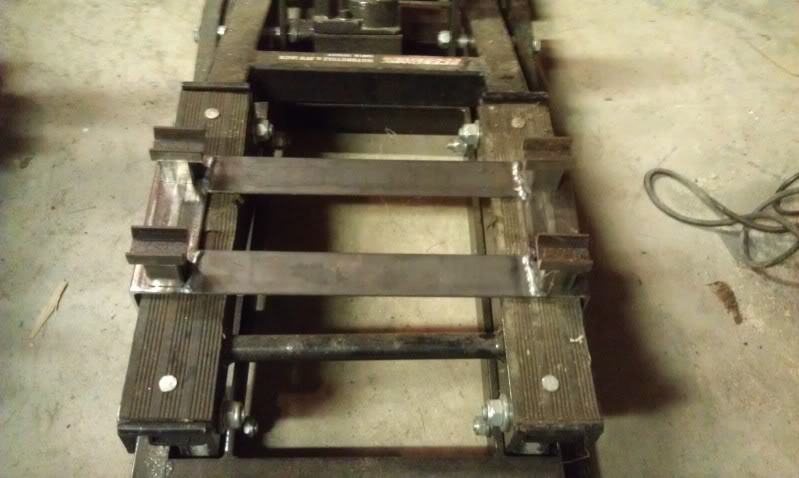
Modified Scissor Jack
The cradles come off (aside from adjusting) and you can use a wood pad that can sit on the crossbar. 8)
The cross bar isn't crooked, it pivots somewhat relative to the stands' base.
It will lift but not stabilize.
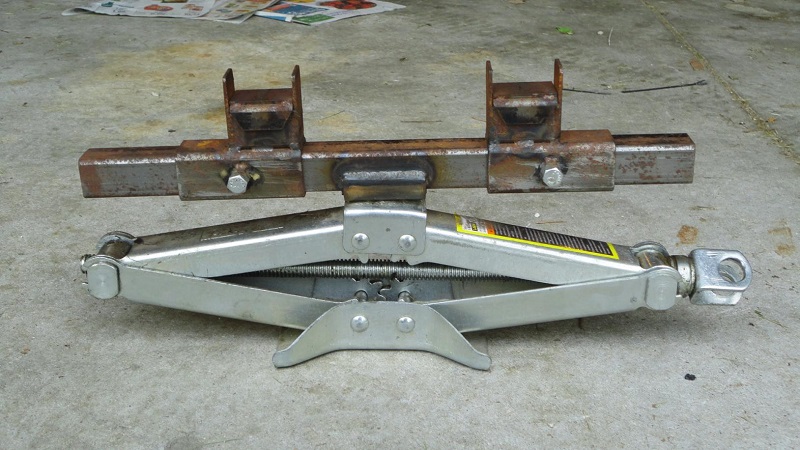 |
| Modified scissor jack lift. 9) |
|---|
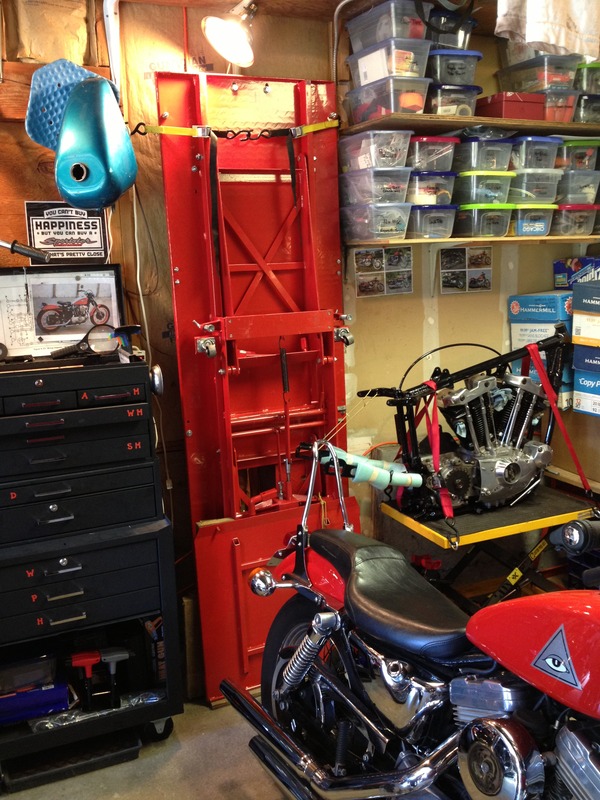
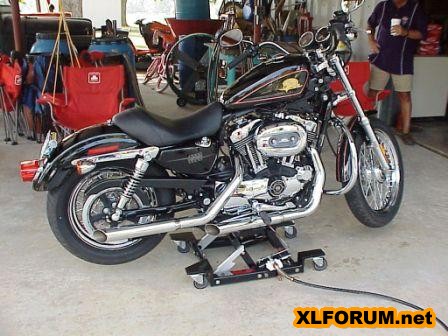
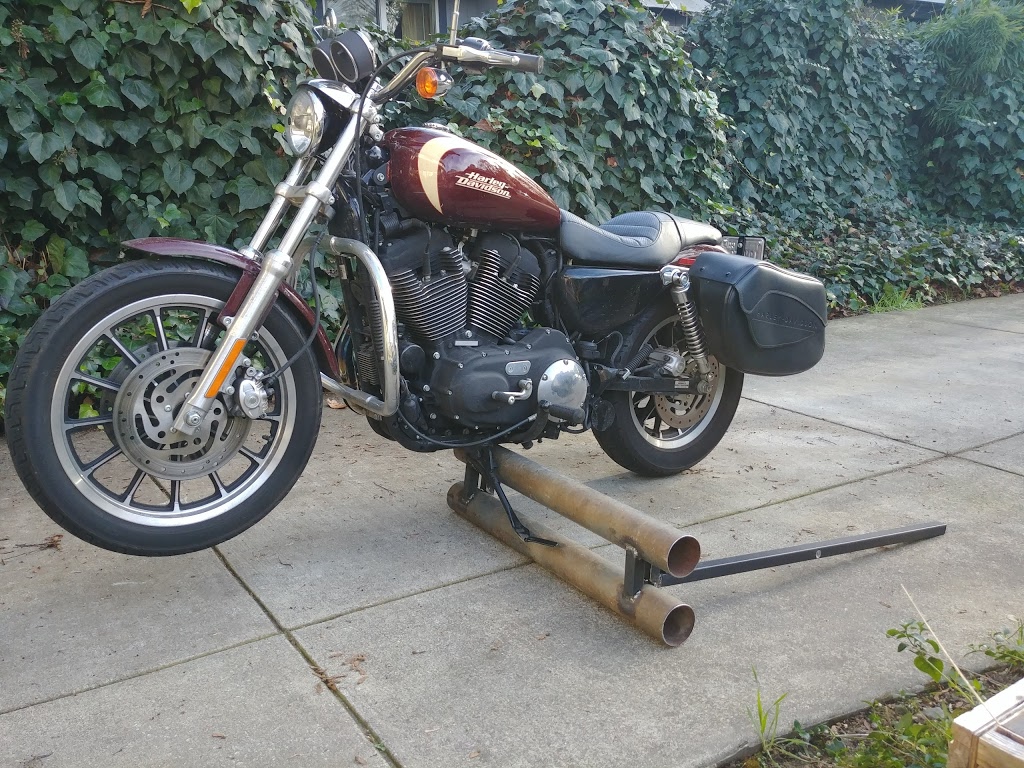
Homemade Bike Lift
 |  |  |
| Homemade hand lift made of old steel pipe 10) | ||
|---|---|---|
 |  |  |
| Homemade locking hand lift made one out of scrap and it doesn't need tie-downs. This makes the bike stable enough to sit on, work on and even have both wheels off at the same time. 11) |
||
|---|---|---|
 |
| Homemade lift from scrap 12) |
|---|
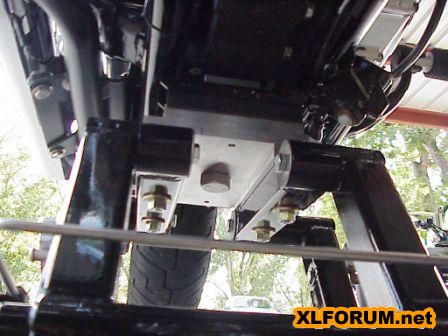
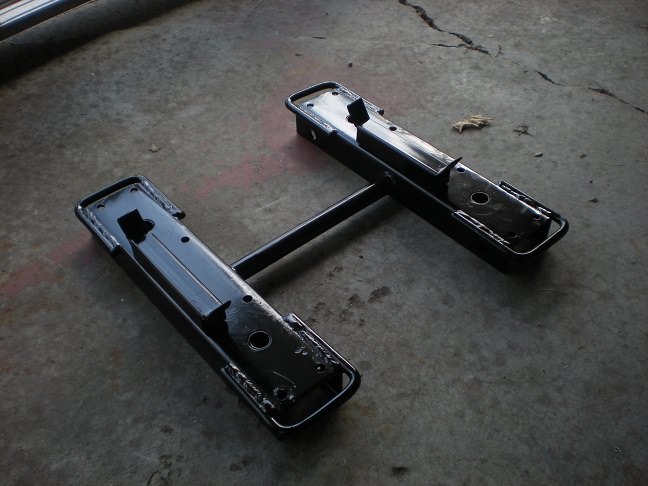
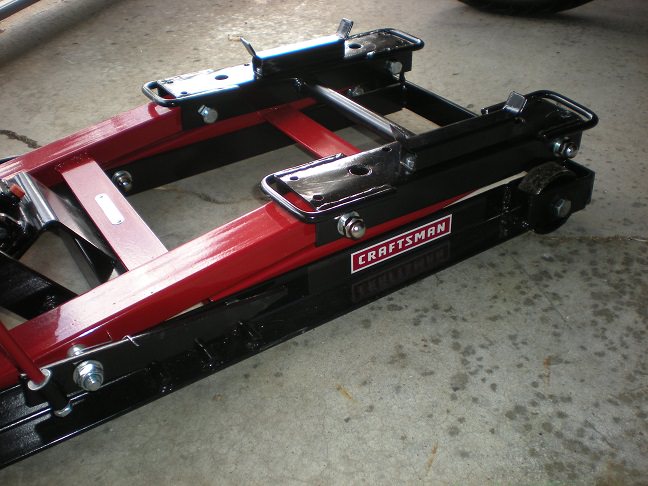
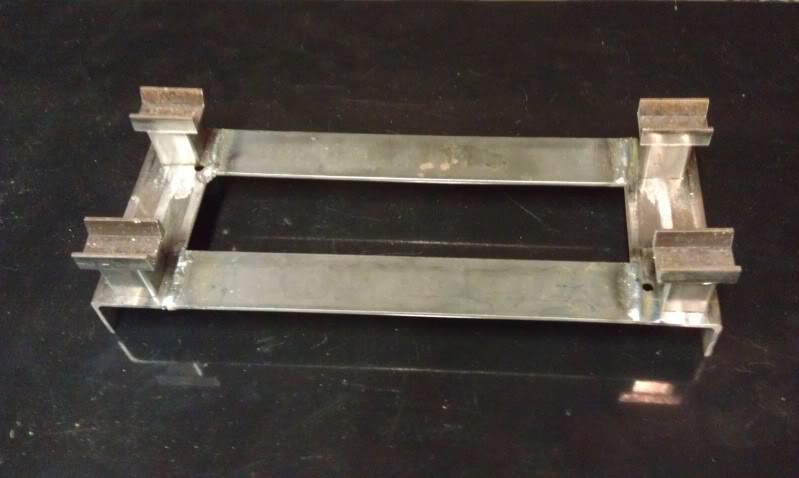
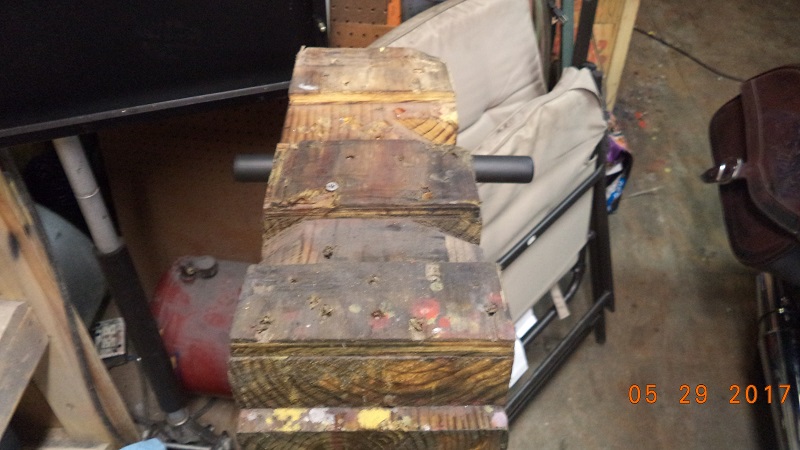
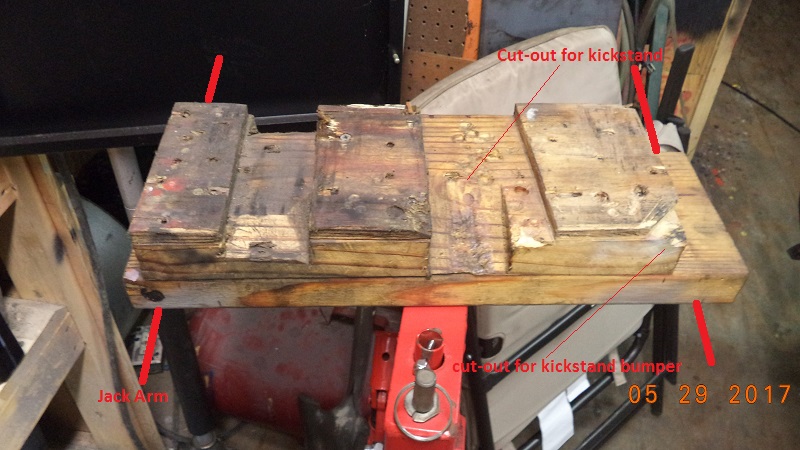
Lift Riser / Adapter
 |
| Drill two 1-1/4“ holes in a 2×4. Then cut it in half. Mount one to each side of the lift. 13) |
|---|
 |  |
| Tie downs: bent 3/8” bar stock, cut to length, 'massaged' with a hammer in a vise to fit the sides of the mount and welded. Ears bent at 45°. The lowered height is 5.5“ to the top of the 1” square stock. 14) |
|
| Built from a combination of these two inspirational 'How To' pages: Sportster Adapter for Craftsman Lift by Crazy Steve and Hold Down Strap Modification for Craftsman Lift by Lew Shaw. |
|
| Craftsman lift modification 15) (The lowered height of the stock lift is reportedly too tall for a stock Hugger without modifications) |
|
|---|---|

 |  |
| 2×12 Jack Riser for Sporties 18) | |
|---|---|
 |  |  |
| Supports entire length of frame | Stays level to arm supports (arm supports do sag a little) | |
|---|---|---|
 |  |  |
| Standard ratchet straps w/ long end cut off & tied to bike | ||
|---|---|---|
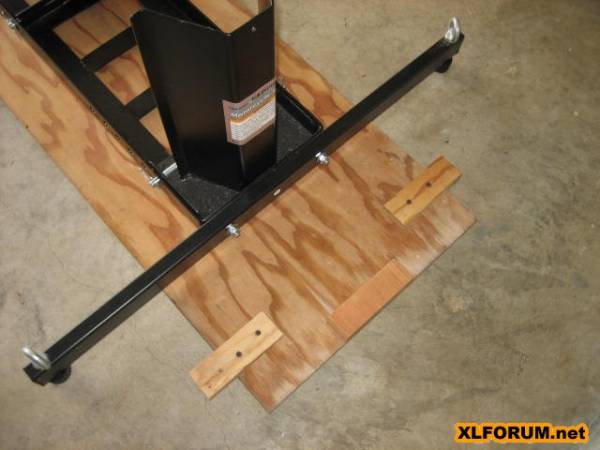
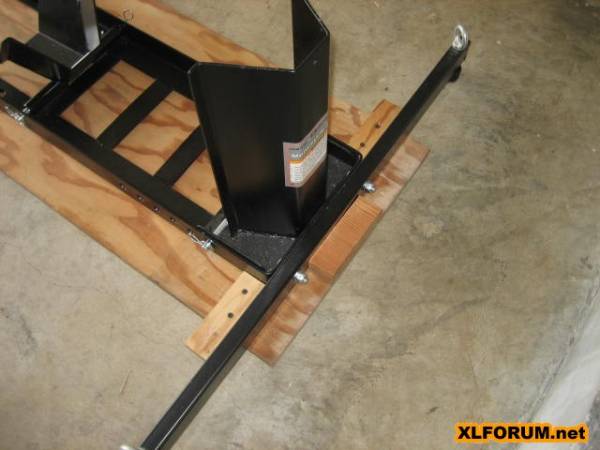
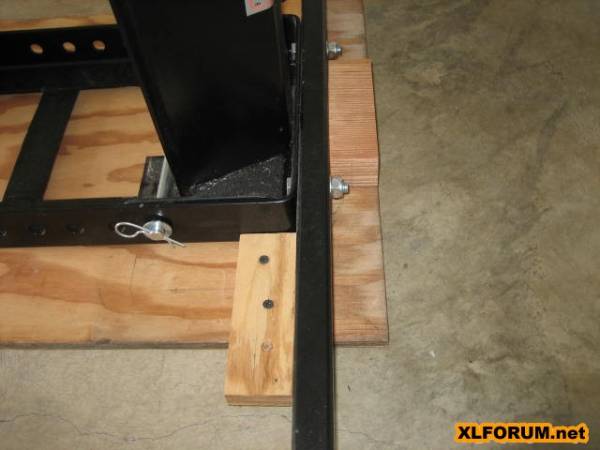
Wheel Chocks
The Harbor Freight wheel chock can slide forward or backwards when rolling the bike in or out of it on a slick concrete or wooden floor.
This board will help keep the Harbor Freight wheel chock from sliding around
You won't have to screw any of it to the floor and it can all be easily picked up and tucked away when not in use.
- A long narrow scrap piece of plywood with some scrap blocks of wood screwed to it keep the chock from moving around. 19)
- The long plywood is important because by the time the front wheel hits the chock and starts to roll into it, the back tire is on the plywood.
- Then, the bike's weight keeps the wheel chock from sliding forward.
 |  |  |
| Holding board for the Harbor Freight wheel chock 20) | ||
|---|---|---|