Table of Contents

REF: Tools - 124
Rocker Box Tools
Ironhead Engine
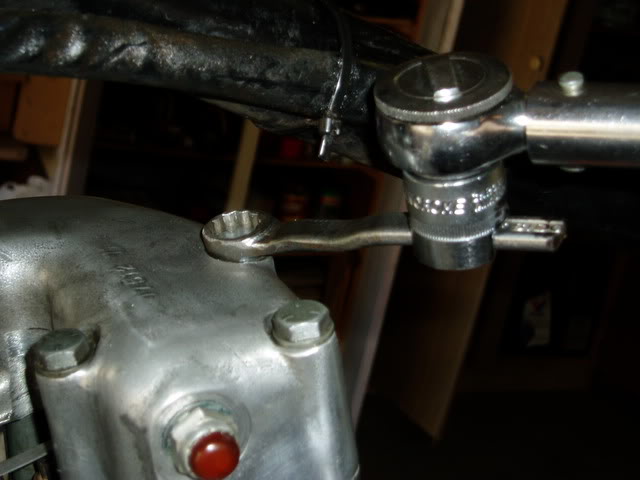
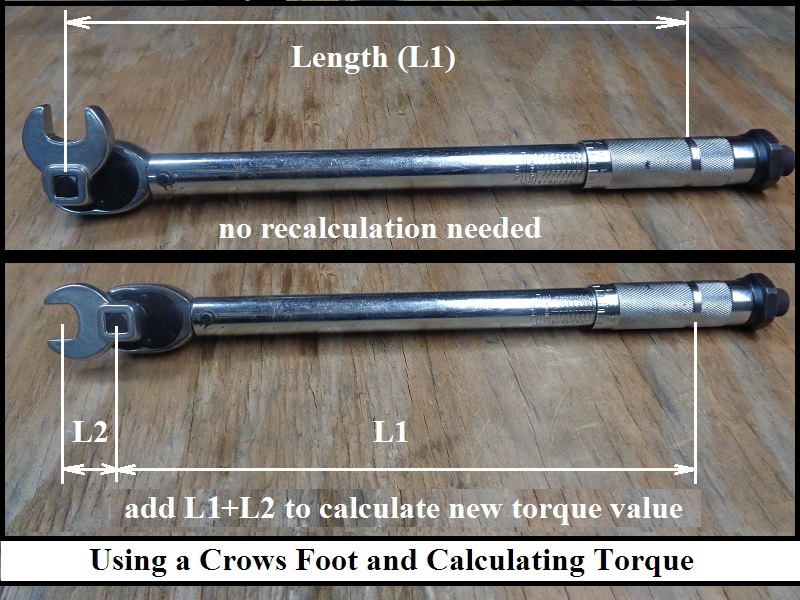
- Keep the extender straight out in front of the wrench.
Don't let it move out of line more than a ratchet click or two, otherwise it can affect the torque reading. 1) - If the extension is not used at a 90° angle from the wrench (as in the pics below), you'll need to recalculate torque before using.
Read more about torque value changes with the use of extensions here.
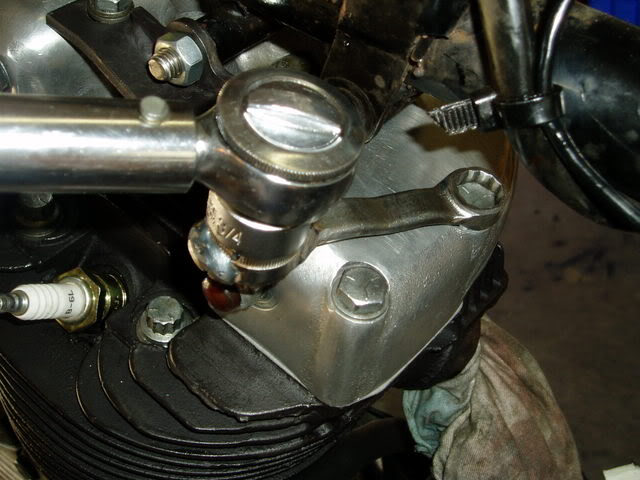
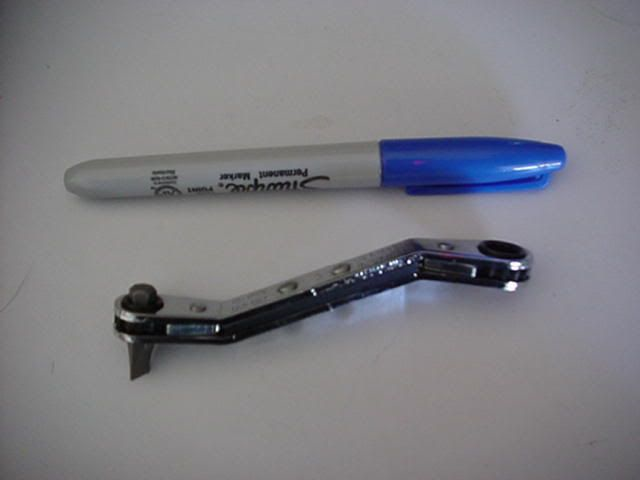
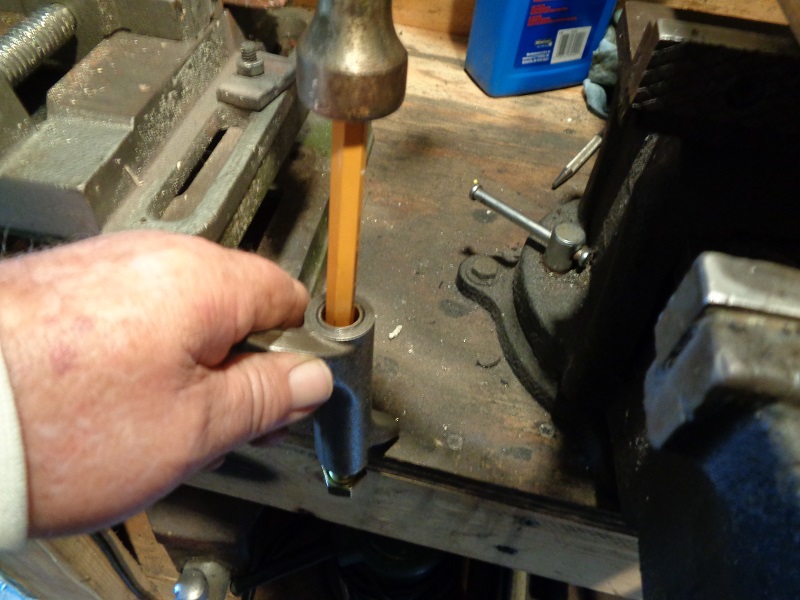
| Torque rocker box bolts to 20 ft lbs. You can use a wrench cut down to 3 inches long and welded to a 3/8 drive socket to get in under the frame and torque those rocker bolts to show 185 inch pounds on a 10 inch torque wrench, to give 240 at the bolt. |
||
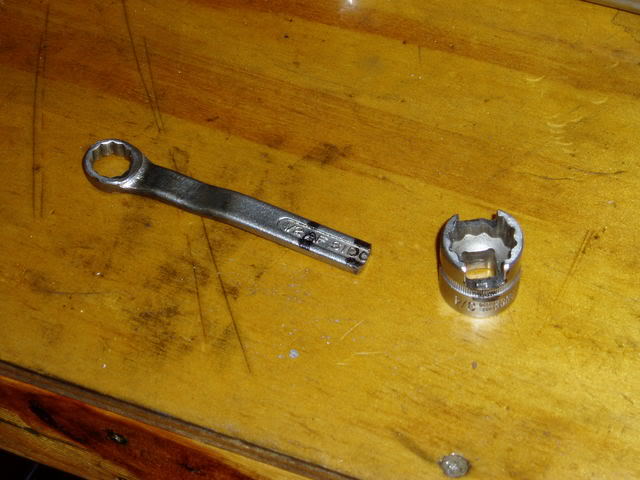 | 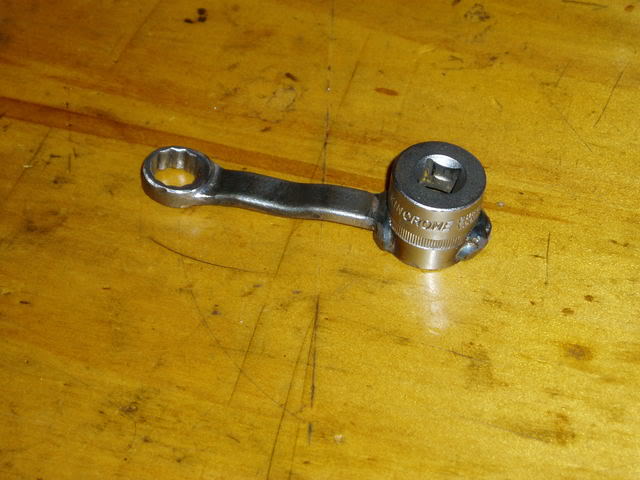 | 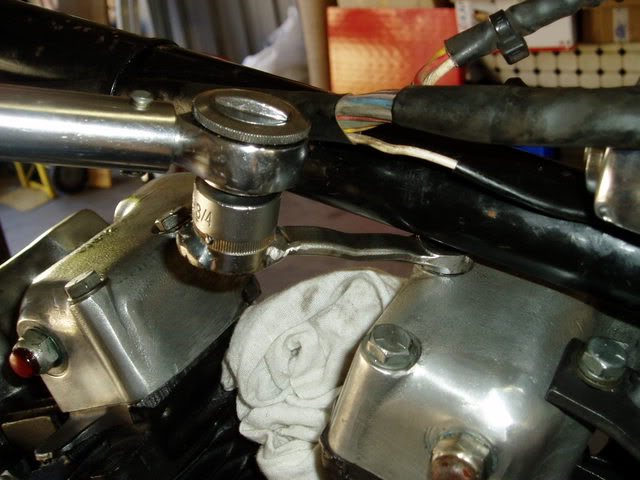 |
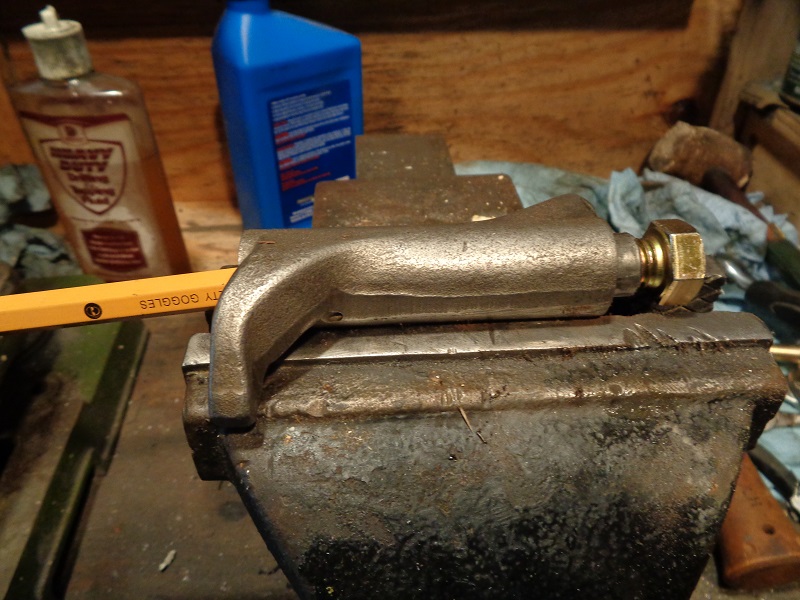
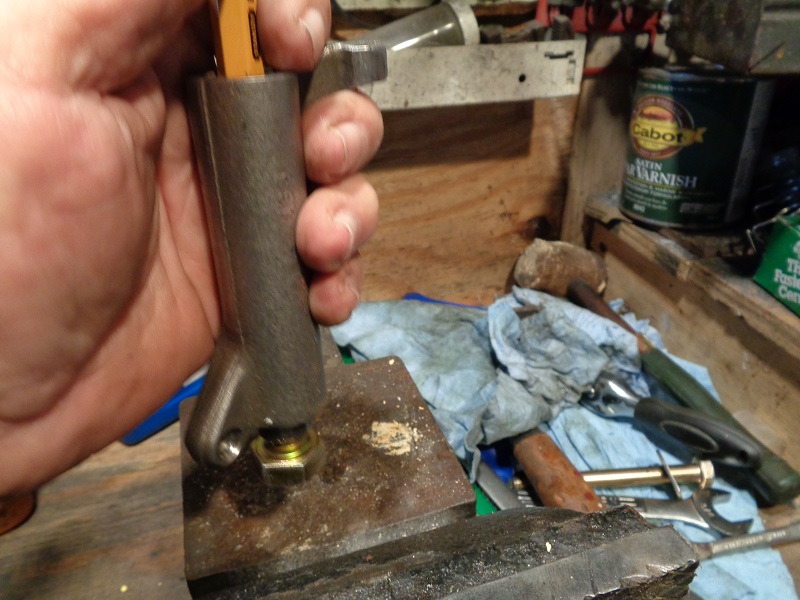
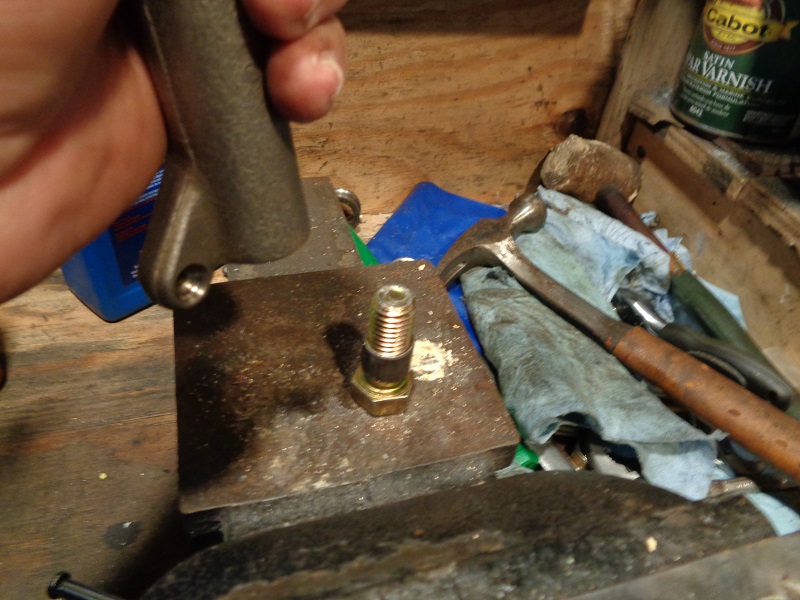
| 1/2“ wrench cut down (box also ground down to fit confined areas) 3/4” socket notched with an angle grinder. 2) | Torque wrench extender welded and ready to use. Extension Length: 3“ from the center of the drive square to the center of the (intended) bolt. 3) | Torquing rear rocker box bolts with torque wrench extender. 4) |
Evo Engine
Cutting down Allen wrenches to make them shorter on the end will allow you to get into tight places easier.
It also helps when the ends get rounded which allows the tool to slip in the socket head.
Using a Dremil tool or a file on the end can get rid of the round and help to keep it from slipping.
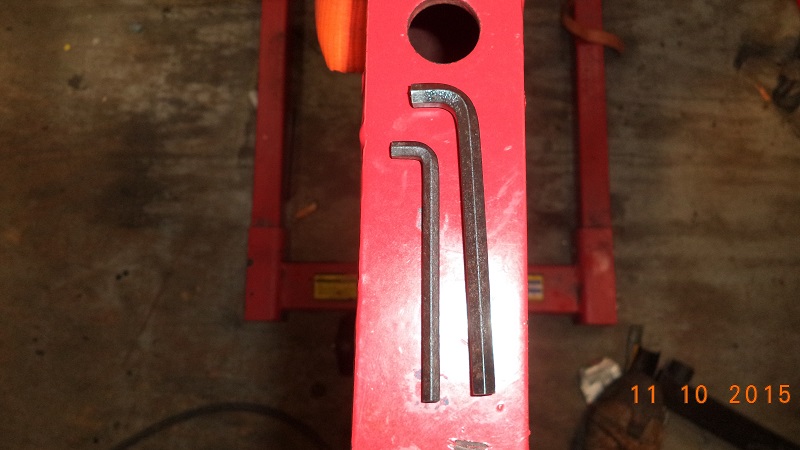 |  |
| Allen wrench end cut shorter with a Dremil cut-off blade 7) | |
|---|---|
You can also use a 1/4” ratcheting wrench with 1/4“ attachments (cheap attachments are easy to replace).
It's easier to get at Allen heads such as the speedo sender and the rear left rocker cover bolts easy to remove/replace.
It's a slimmer profile ratchet that can be useful at times. 8)
This is a 'Snap On Blue Point' brand 1/4” and 5/16“ offset/reversible wrench ($32 delivered).
 |
| Offset wrench for rocker box cover. 9) |
|---|
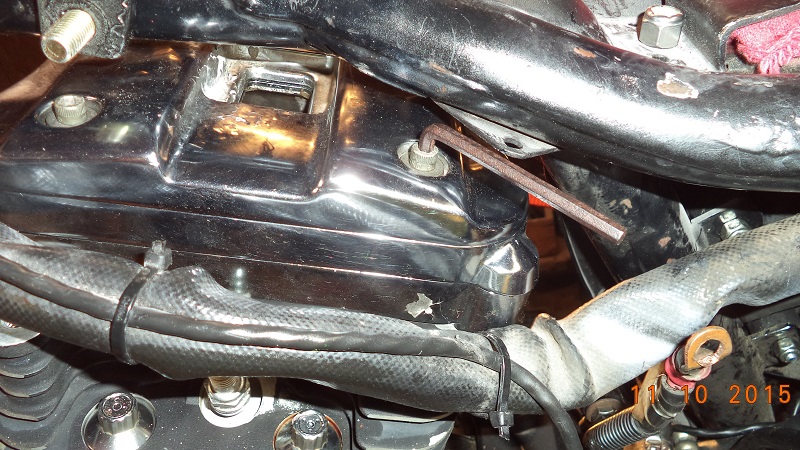
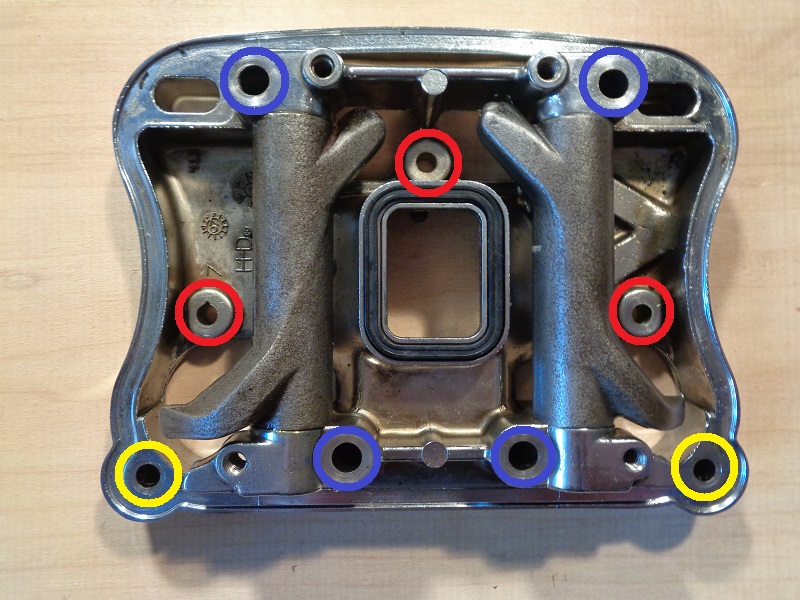
Lower inner rocker box bolts (circled in red in the pic below) leave little room between the frame and the bolts for a wrench.
And sometimes you have to turn the bolt one flat at a time due to little space so it takes longer to remove/install those three bolts.
You can buy (or make) tools with a shorter profile to help out with the space issue.
However, it's best to only install the bolts to “snug”, then use a 1/4” beam type torque wrench to finish bolt installation.
- You can buy a three pack of gear ratchet inserts,(1/4”-3/8”-1/2”).
That turns the appropriate size gear ratchet into a “slimmer profile“ ratchet that can be useful at times. 10) - A company called KATAR makes a wrench specifically for the Evo lower rocker box bolts. Made in the USA.
It's a reversible ratcheting box wrench with a deep well 7/16” socket.
This allows for removal or installation of the lower rocker box hex nut bolts (5/16“ bolts with 7/16” hex heads).
It has a long handle and a short profile making it easier to get to the bolts.
Rocker Arms
See also Rocker Arm Bushing Replacement in the Sportsterpedia.
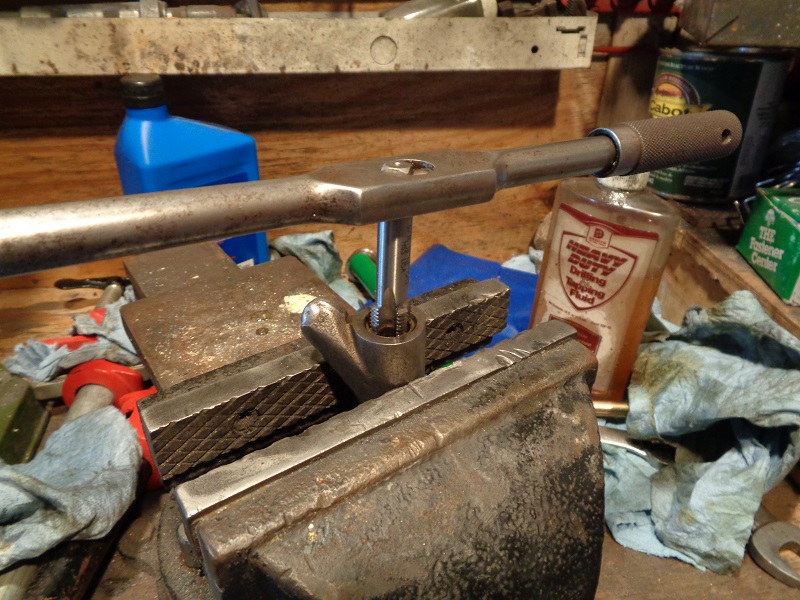
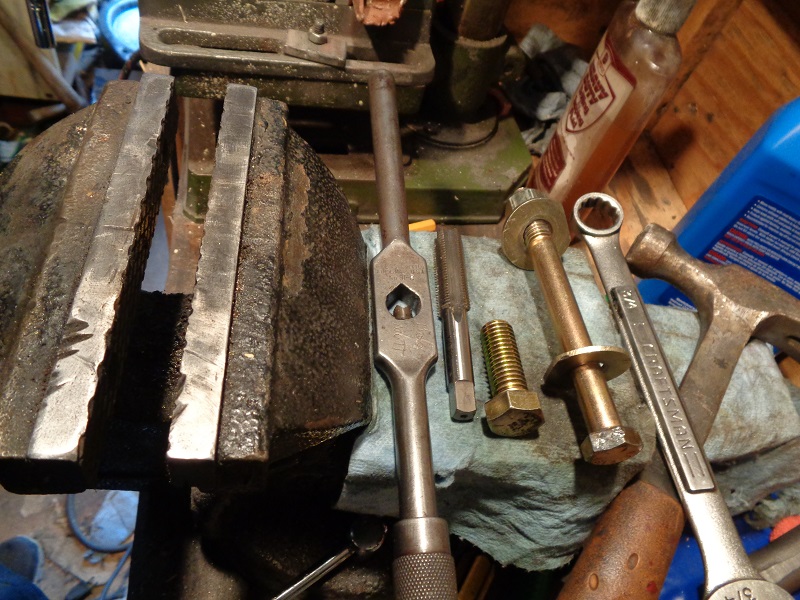
Rocker Arm Bushing Remover
- (1) 9/16“x18 tapered thread tap
- (1) 9/16”x18x1“ grade 8 bolt (3/4” to 1-1/2“ length will work)
- (1) tap wrench to fit the 9/16” tap
- (1) drift or punch
- (1) Hammer

 |  |  |
 |  |  |
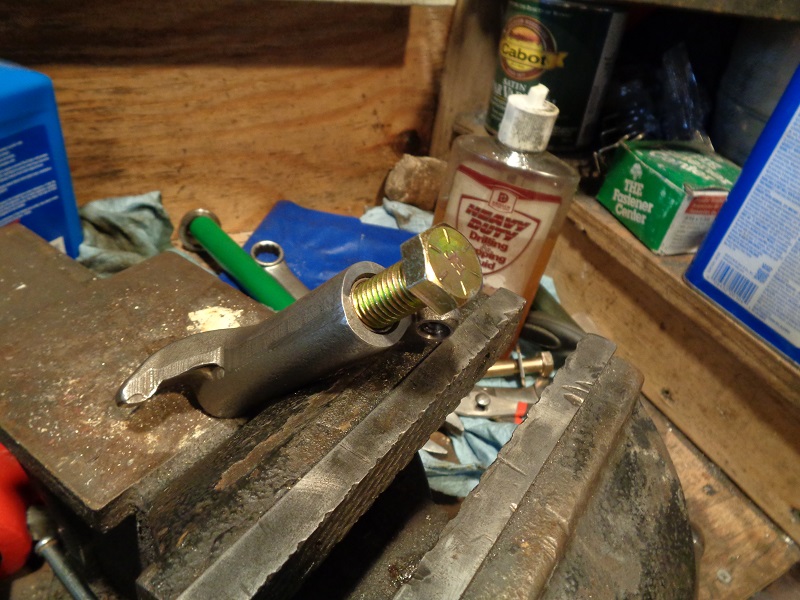
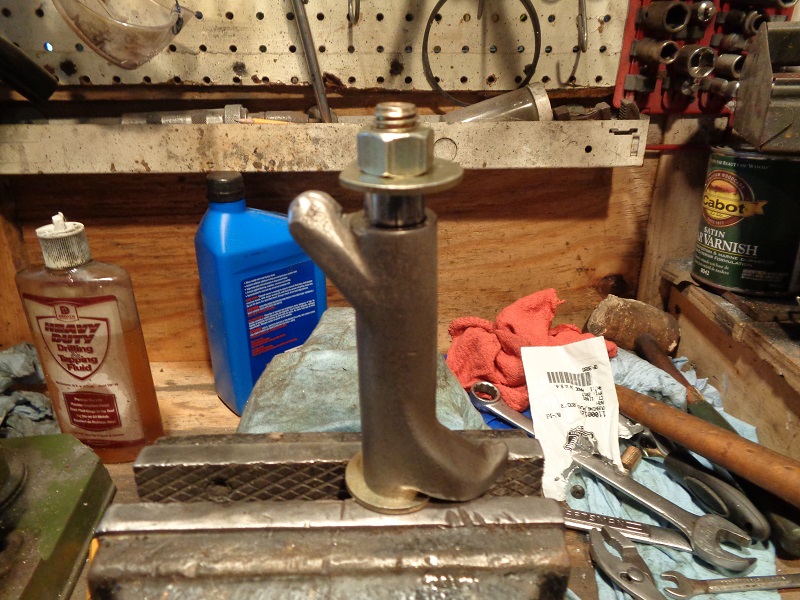
Rocker Arm Bushing Installer
- (1) 1/2“x13x5” grade 8 bolt
- (2) 1/2“ grade 8 washers
- (1) 1/2” grade 8 nut
- (1) 3/4“ box end wrench
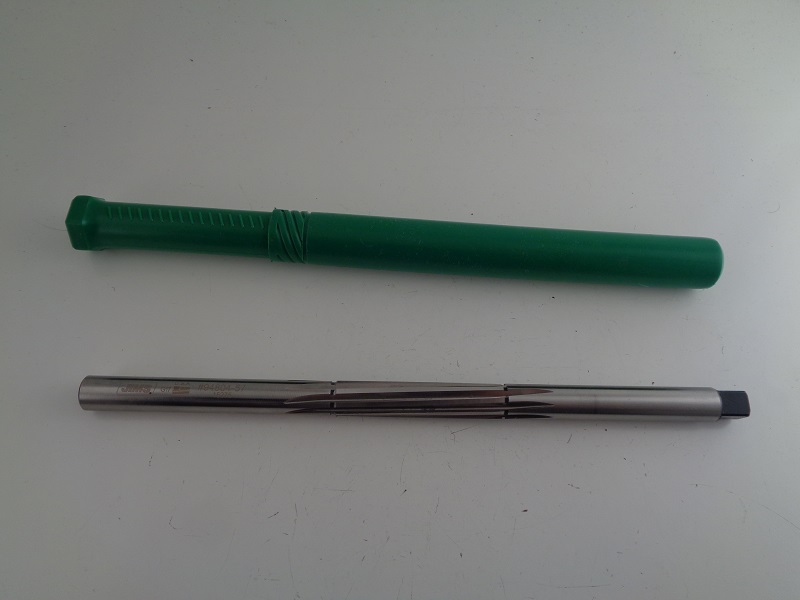
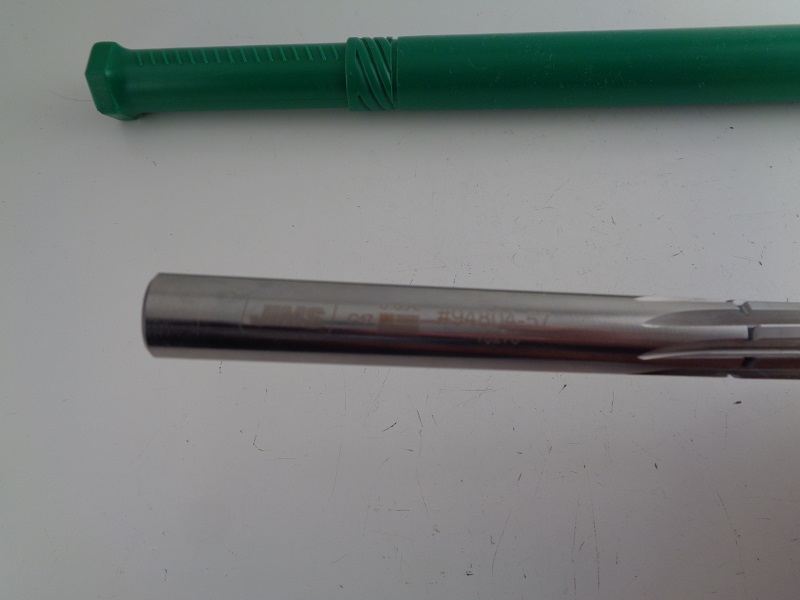
Rocker Arm Bushing Reamer (94804-57)
See also Rocker Arm Bushing Replacement in the Sportsterpedia.
This reamer is specially designed for reaming the rocker arm bushings from 1957 to present.
It is the right length and cut to fit into the old bushing on one end of the rocker arm and ream the new bushing in the other end.
| “Jims” makes this reamer referenced to HD part number (94804-57) 14) | |
 |  |
Lapping Tool for Rocker Arm Bushings
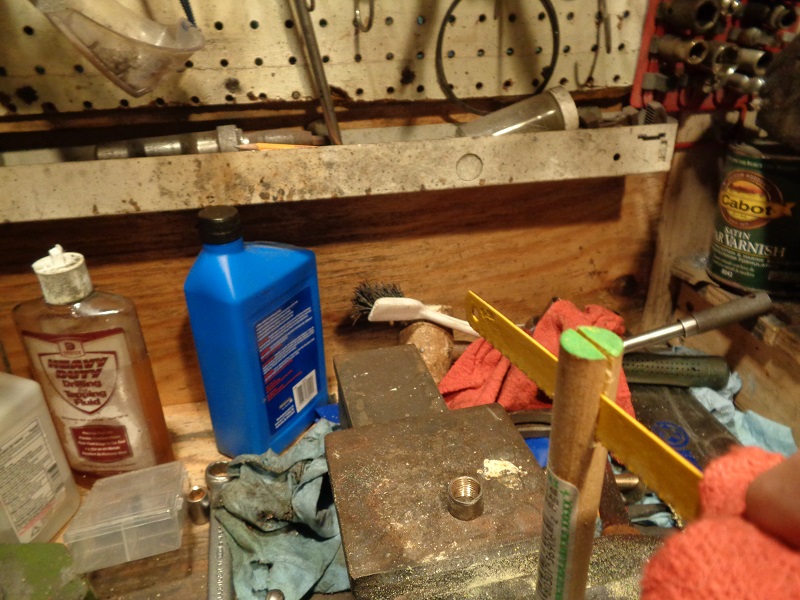
A lapping tool can be made from a 1/2” wooden dowel and a small piece of sandpaper. 15)
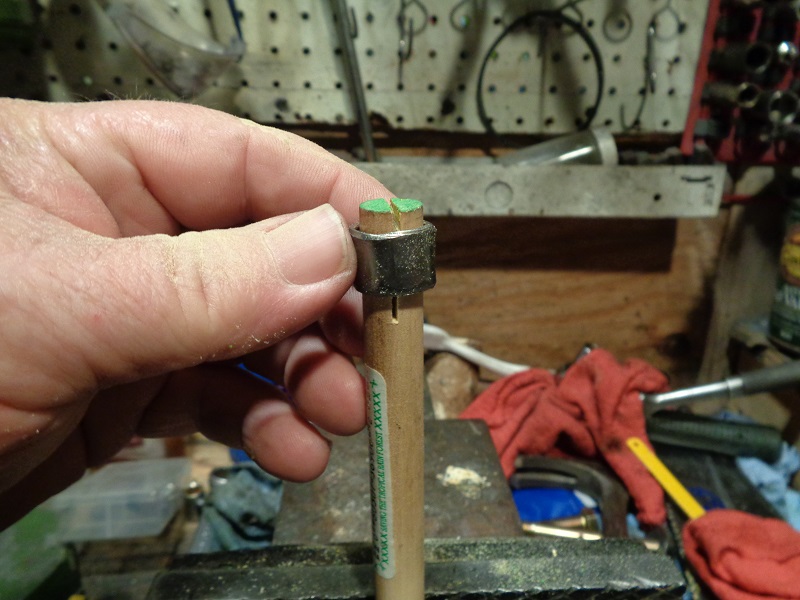
Make the dowel long enough to run the full length of the rocker arm plus enough to get a hand on to turn it (12“ or so).
Use a hacksaw blade cut a slot down the middle of one end to hold the sandpaper.
Make the slot longer than the bushing so you can be sure to have contact on the full length of the bushing.
 |  |
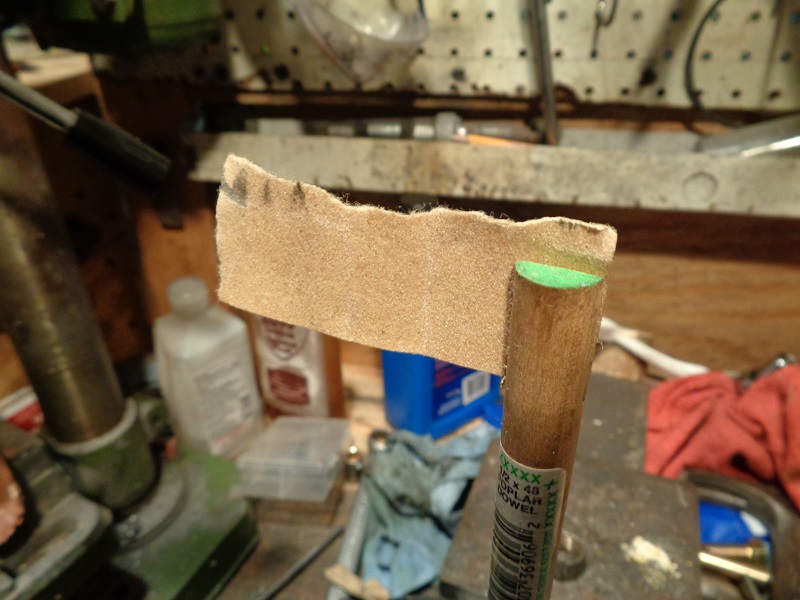
Initially cut a piece of sandpaper to go one full revolution around the dowel. 16)
Too many wraps will not slide into the bushing as it will then be too thick.
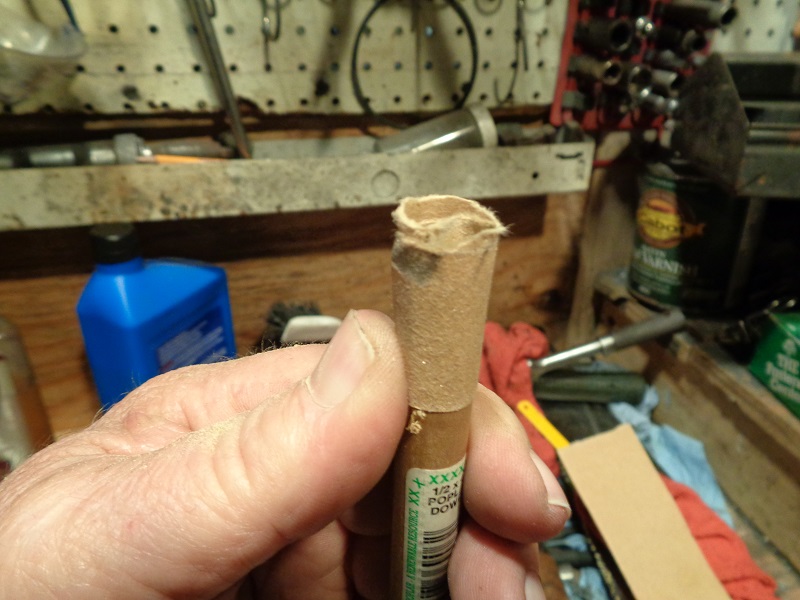
You just need to turn or lap the bushing slowly and evenly.
Grit of sandpaper will be determined by the condition of the bore and clearance desired.
Insert the bare end of the dowel into the bushing to lap and exit the dowel out the non lapped bushing.
This will allow you to basically line lap the intended bushing to help keep center between the two.
 |  |  |