Table of Contents

REF: Body Parts - Sub-30B
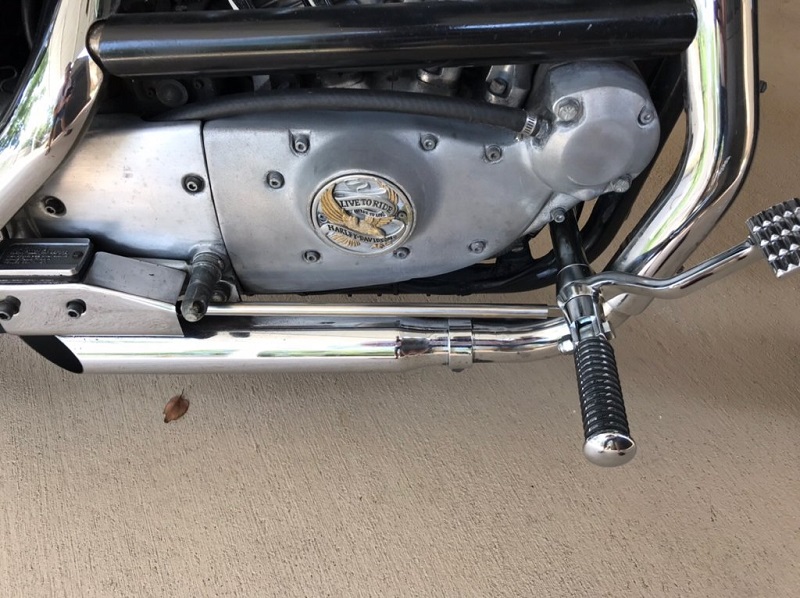
Biker's Choice Forwards (56129)
Fits 86-03 Sportsters. Replaces HD (33891-88)
Not for use with 2-into-1 exhaust systems.
May not work with some types of engine guards.
Come in chrome-plated or black.
- All mounting hardware included. Comes with no footpegs.
Below are pics of these forwards on a 90 883 Hugger. 1)
 |
 |  |
 |  |
Installation
- Notes:
- Save the old nuts for use with the new bolts and use the provided blue Loctite.
(also use blue Loctite on the top case bolt that feeds through to the brake frame support) - You can remove both OEM motor mounts (even the long bolts) at the same time to do the install.
(the rear and front left mounts will hold the engine still) - The top frame brake support has a nut integrated in the frame support like the OEM bracket does.
- The instructions state to put the brake support arm (holds the brake pedal) to the frame support then install.
But, you may not be able to get the top case bolt to line up with the new frame mount that way.
Try to install the brake frame mount loose and then install the brake frame support bar (holds the pedal).
Then tighten it up taking note of the oil lines and making sure they do not get pinched. - It's not necessary to remove the exhaust or exhaust guard.
- If you have old oil lines, replace them first before installing the forwards because it is tight (when all buttoned up).
- Use axle grease to get the shifter arm on.
You may want to spread hole apart some so it'll be easier to slide on the shaft.
(and you won't have to force it on) - This kit comes with two different size rods.
- The long is used on the brake side and the short rod is used on the shifter side.
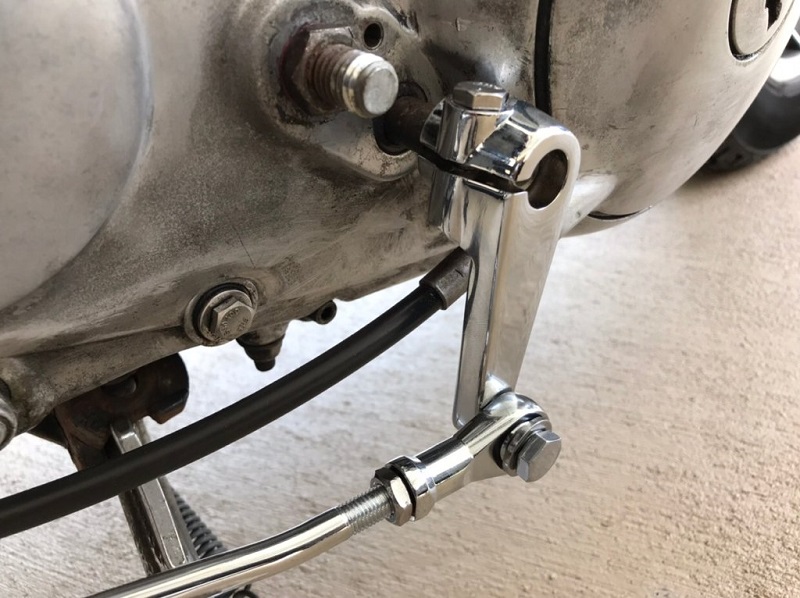
Motor Mounts:
- The left side mount bolts to the outside of the frame.
- The right side mount bolts to the inside of the frame.
- The bottom motor mount bolt needs to be installed using blue Loctite but be sure to leave it loose until all bolts/nuts are installed.
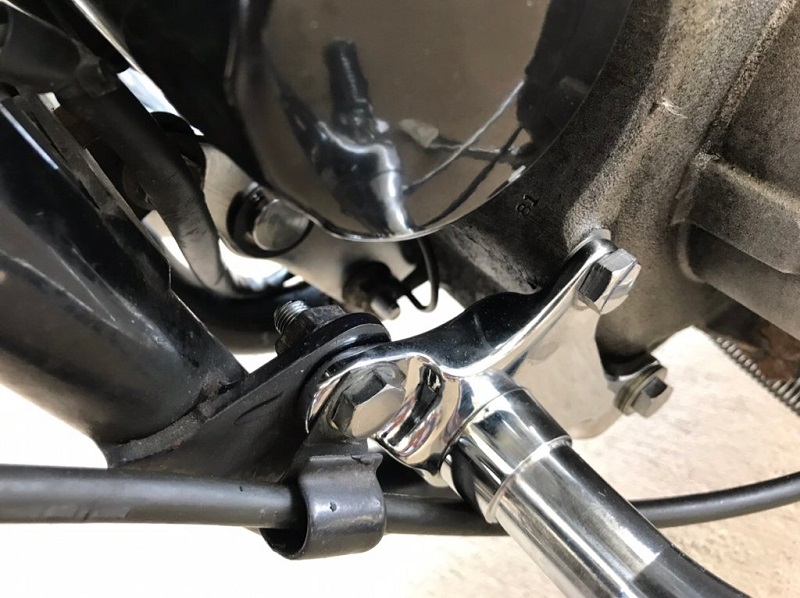
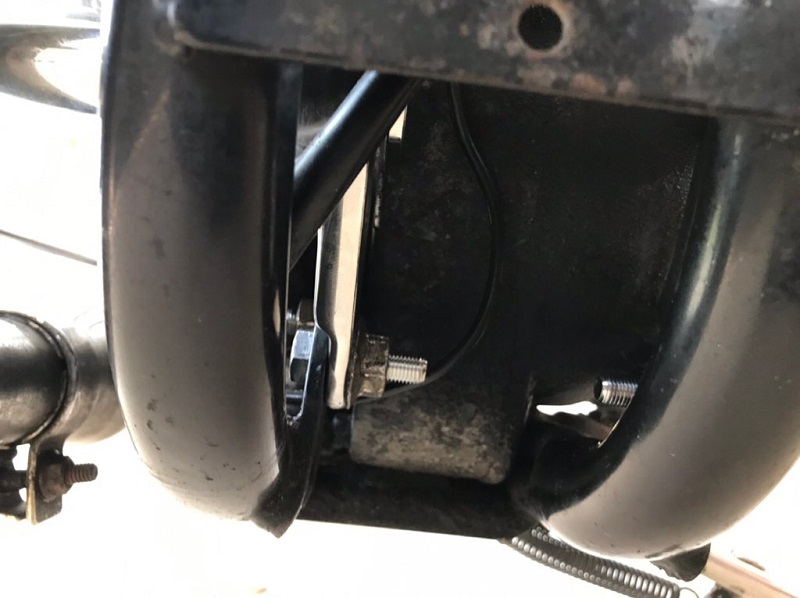
| Left side motor mount. 2) | Right side motor mount installs on the inside of the frame. The upper bolt is behind the case. 3) | |
 |  | 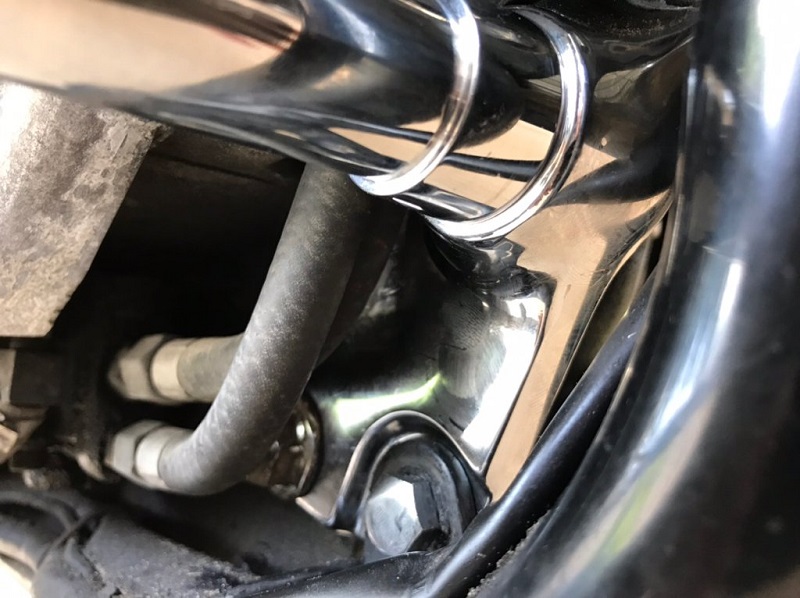 |
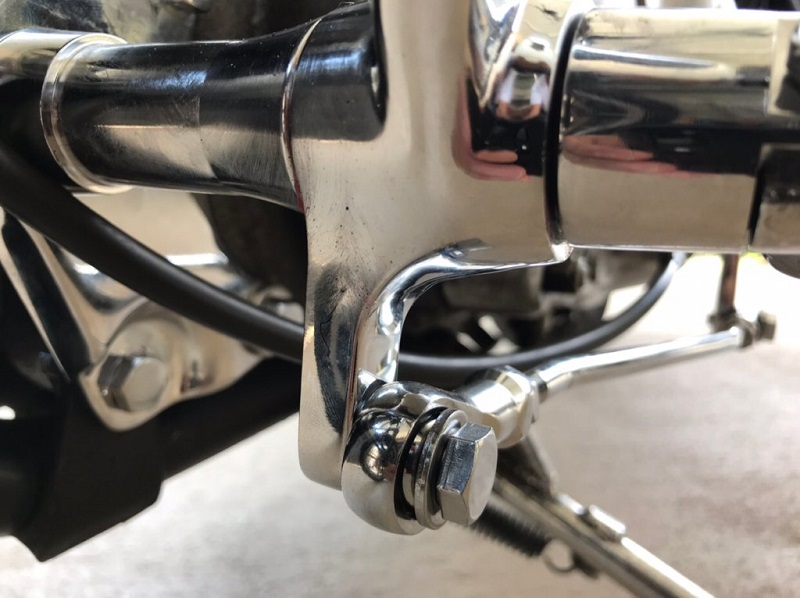
| Right side. 4) | |
 |  |
Footpeg Mounts:
Both (L&R) shafts that hold the pegs are screwed into the motor mounts with a provided “C” clip on the back side as an extra security measure.
| Pegs mount as usual. 5) | |
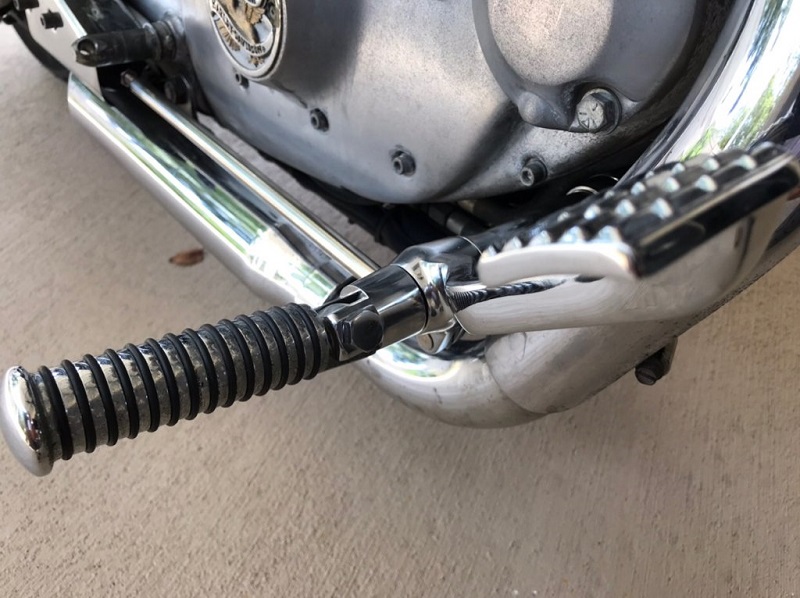 |  |
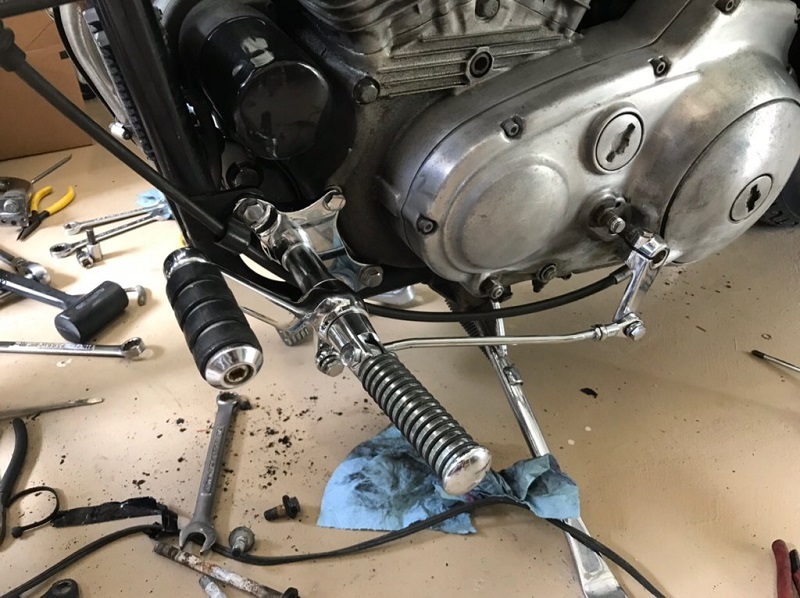
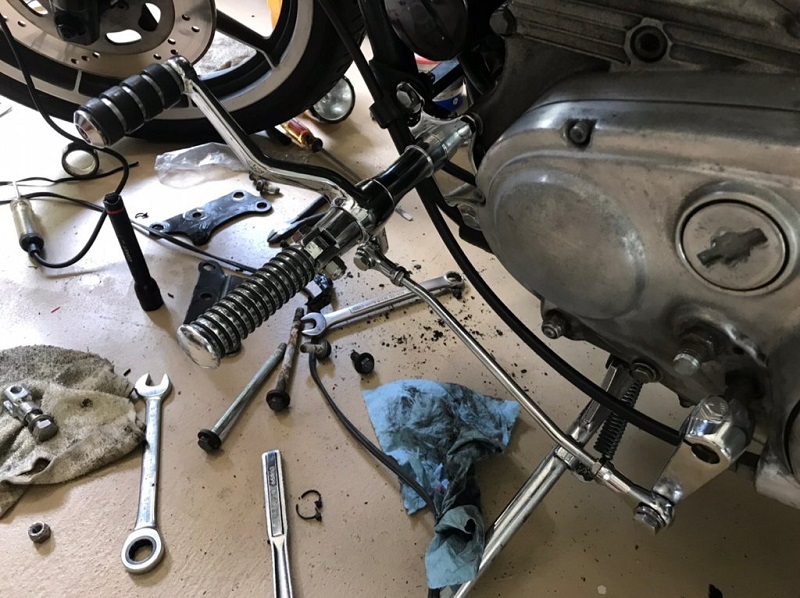
Shifter pedal mounting:
The shifter pedal arm slides onto the main support shaft. You can use axle grease and install it if needed.
Use blue Loctite to secure the shifter foot peg to the shifter arm and align to your liking.
Adjust the shifter peg with the shift rod that goes back to the shifter arm on the case.
Unscrew it at equal distances to get the desired adjustment. Then use the lock / jam nut to secure.
It's not necessary to use blue Loctite on the hem-joint to the shifter arm since a jam/lock nut is provided.
| Hooking up the shifter. 6) | ||
 |  | 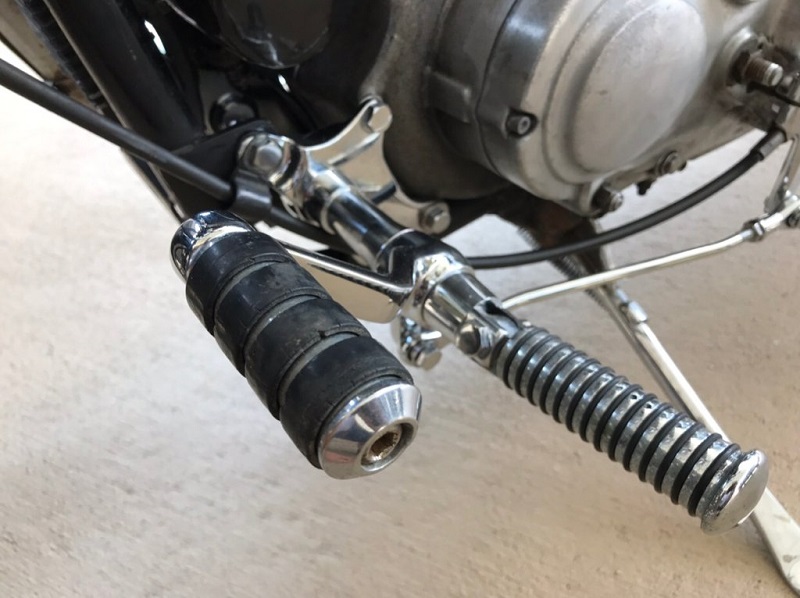 |
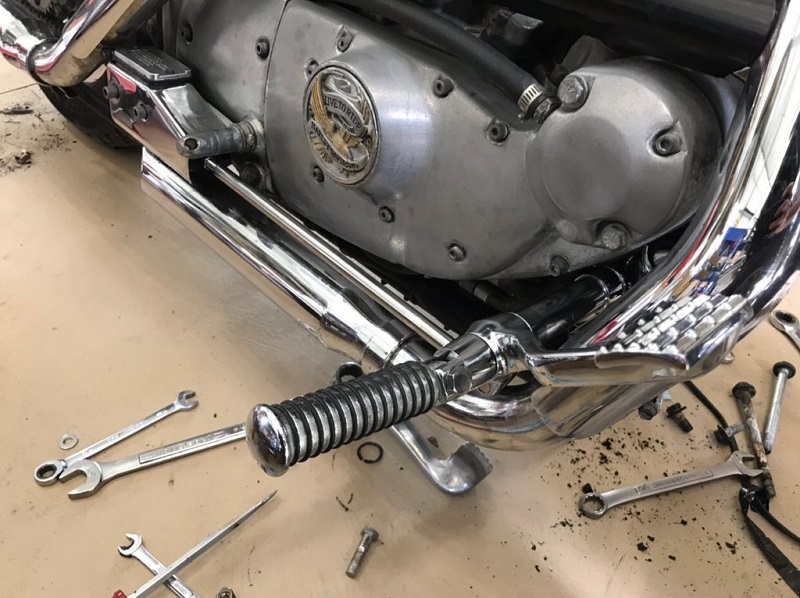
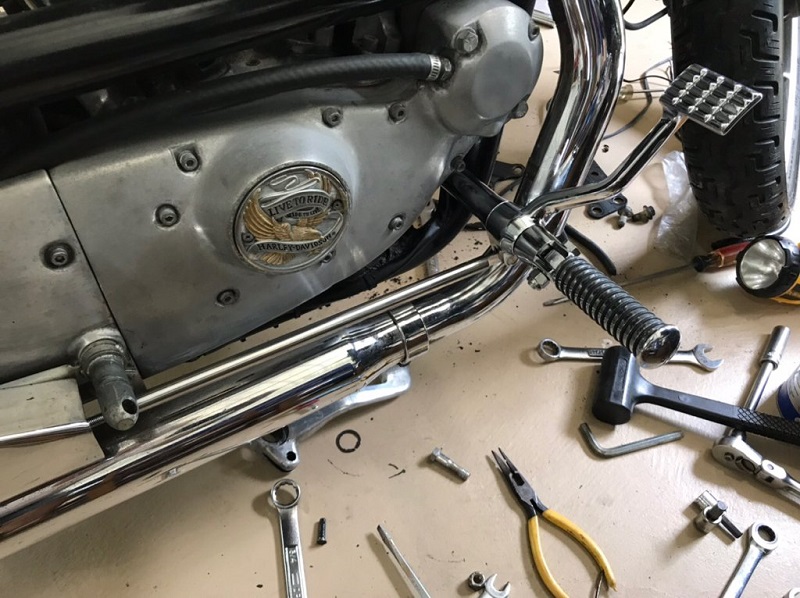
Brake pedal mounting:
The brake pedal arm slides onto the main support shaft. You can use axle grease and install it if needed.
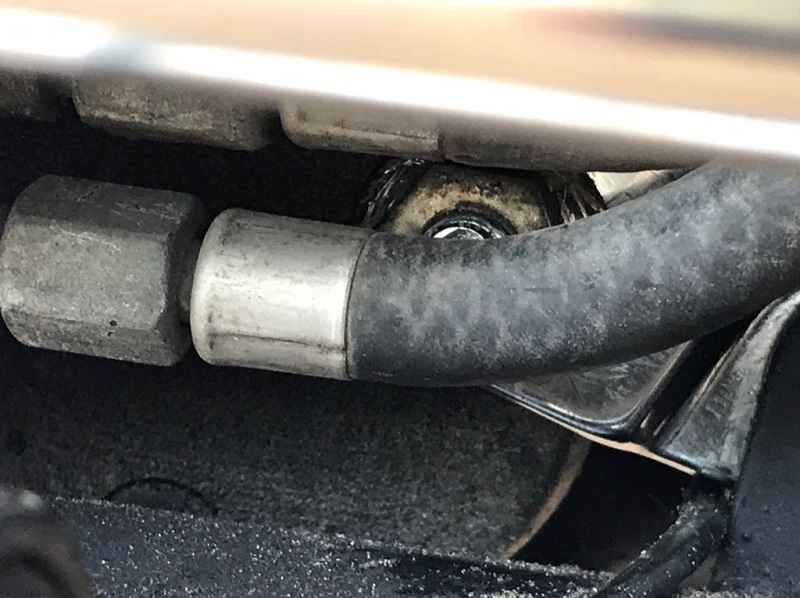
To install the brake rod to the master cylinder,
Two wrenches are needed to unscrew the old OEM rod and install the new longer one.
Screw the rod into the M/C to adjust the length of the rod from the M/C to the brake pedal to your liking.
(however, 45 degrees is suggested)
Then secure the pedal end of the rod in the brake arm with the provided cotter pin.
Note: Make sure to test the brake pedal action over low rpms and readjust the length if needed.
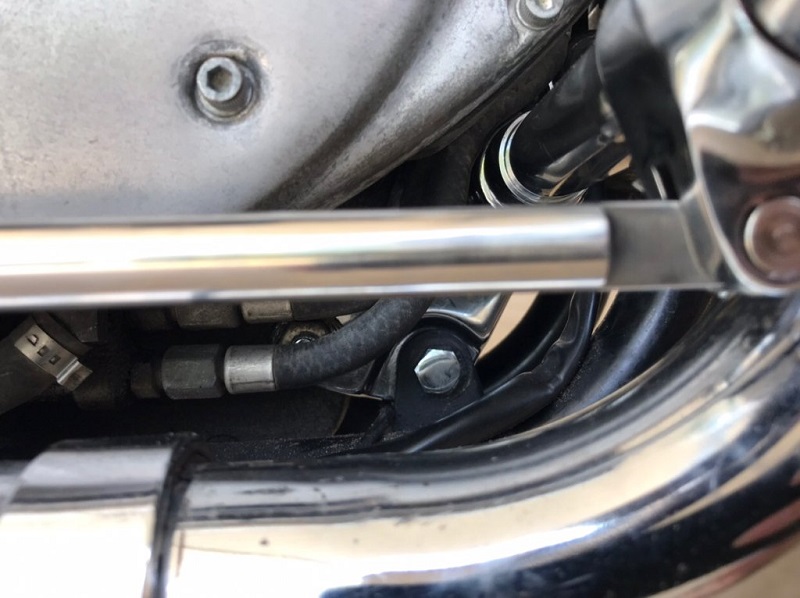
| Hooking up the brake pedal. 7) | ||
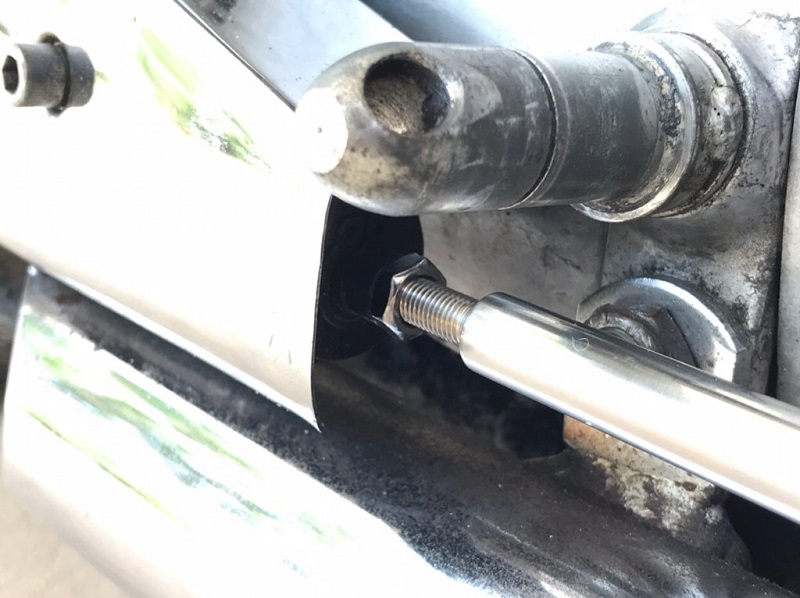 | |  |