REF: Body Parts - Sub-30C
1986 to 2003 forward controls modified to fit a 1980 frame
Article by IronMick of the XLFORUM® 1)
In the event that you cannot find forward controls specifically for your year model, you can find something that you can modify to work.
However, working well can be a challenge.
Below are some mods made to a 1980 XLH.
Shift side should be no problem. Brake side would require some work.
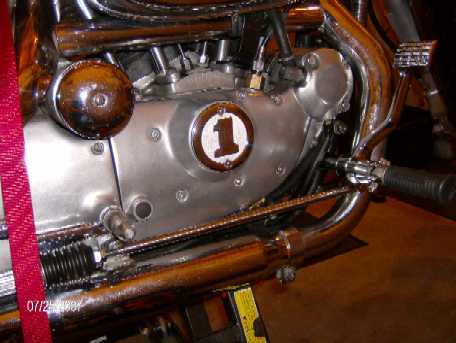
When I looked at an 86 to 03 custom Sportster it occurred to me that I could make the forwards work on my 1980. 2)
It was looking at the brake side that convinced me - the way they fit between the case and the exhaust.
(and the similar rear brake master cylinder)
I found a new set of after market 86-03 HD style forwards (brand unknown) on eBay for about $220.
Examining the parts I saw that I needed to drill 1“ diameter holes in the lower front engine mounts.
After much discussion on XLForum and consulting with my indie mechanic, I decided to do it.
I let the indie drill the holes as my small drill press would not handle a 1” bit.
The 1/8“ steel mount with that large of a bit requires a bigger drill press.
Next was measuring and manufacturing the spacers.
Also tedious requiring precision measuring machine shop work. The measuring was difficult because of the location on the bike.
I did not modify the parts much. Mostly I modified the bike parts so the controls would fit.
Overall it was quite expensive.
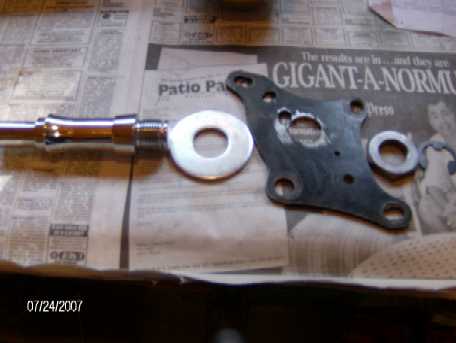
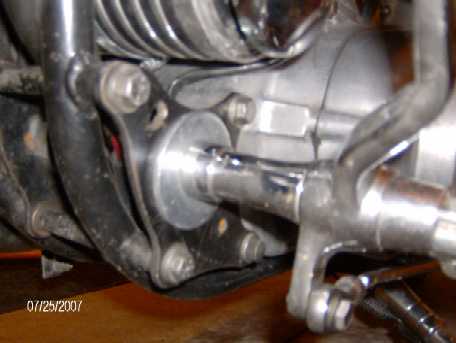
- Right Side Parts: (note spacer between large washer and mount)
- Threads on Part = 1.08”
- Spacer = 0.32“
- Flat washer = 0.17”
- Engine mounting plate = 0.17“
- Nut = 0.42”
- E-clip
- Left Side Parts: (no spacer needed)
- Thread Length on part = 0.69“
- Flat washer 0.17”
- Engine Mounting plate 0.17“
- Nut 0.35”
- E-clip
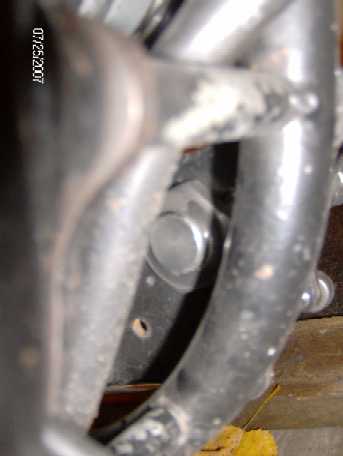
| Motor mounts and parts. 5) | |
 |  |
Template for lower front motor mount hole to be drilled:
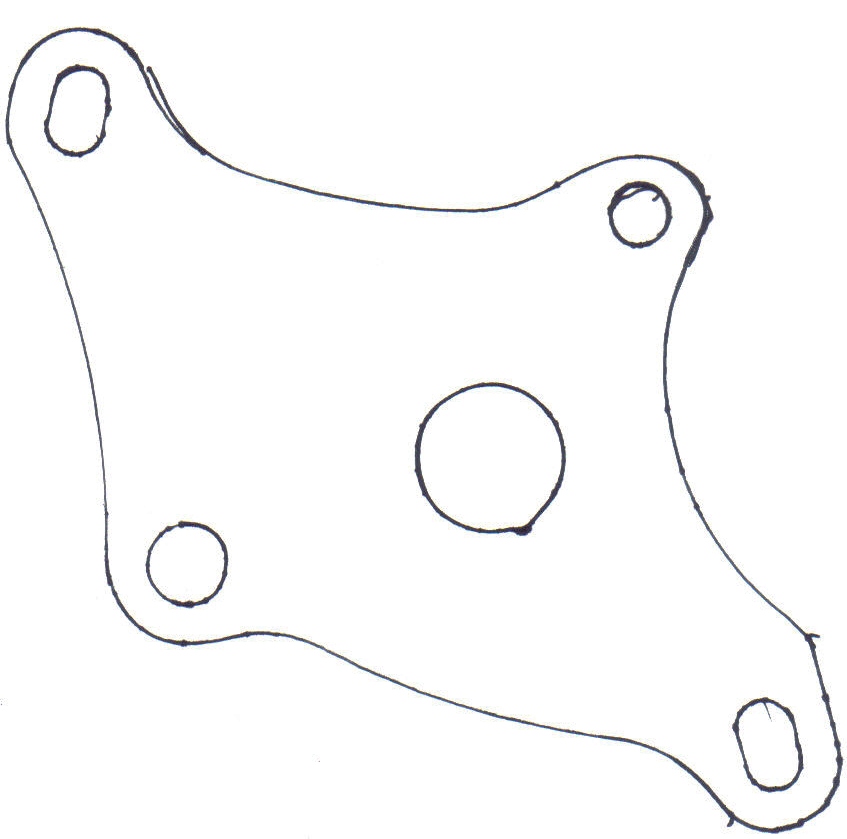 6)
6)
To restore the strength lost by drilling the hole, the largest 1“ ID steel washer that would not be too large OD was used.
This same thickness as the engine mounts themselves and installed directly against the engine mounts on the outside.
The most difficult part was the measuring. I had to determine the exact center for the hole on the right side.
This way the brake rod would be level both horizontally and vertically, and the mounting hardware would fit evenly between the case and exhaust.
Then the left side was drilled exactly the same as the right. And I had to measure for a spacer for the right side.
This all required a couple or a few hours lying on the shop floor looking up at the bike, getting a stiff neck, and measuring, measuring, measuring.
The right side required a spacer which had to fit on over the threads.
So I had it cut from a nut.
Then I also had a nut trimmed so that it would use up all of the threads on the mounting hardware, and allow a close fit of the E-clip.
More precision measuring.
The drilled hole in the motor mount offset will clear the fit with the exhaust.
Measuring for that hole took the most time.
It's an awkward place to measure.
You have to take into account the odd shape of the front of the right side case and gearcase cover, as well as the exhaust pipe.
After the right side was measured, the left side was made exactly the same.
However, all front exhaust pipes do not have the same bends.
These are OEM pipes with the crossover.
It might be a good idea to fabricate a mount from thick cardboard, cut the hole, and check to see if it is good.
The left side was easier as it did not need any spacers.
But, as on the right side, a 1” ID nut had to be trimmed so that it would use up all of the threads on the mounting hardware.
And it would allow a close fit of the E-clip. More precision measuring.
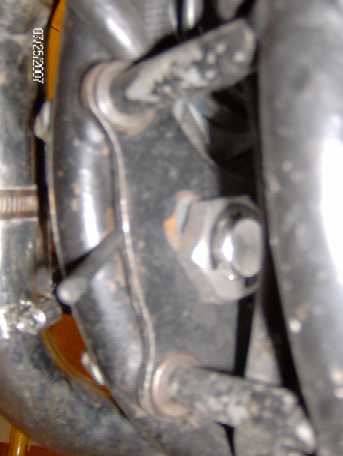
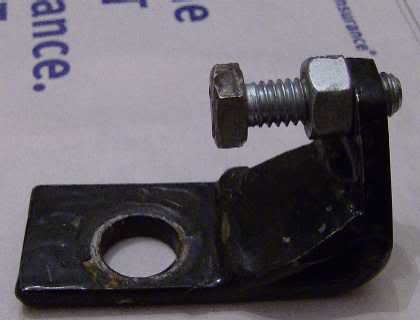
| Left side nut and E-clip. 9) | |
 |  |
The trimming of the nuts and the making of the spacer were done at a local machine shop - cost about $60.00.
The shift lever that came with the kit was not usable here.
So, some length was trimmed and the hole drilled from a 1998 Sportster lever.
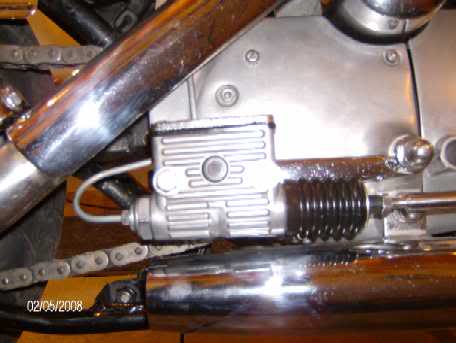
The 1980 rear brake master cylinder does not have a mechanism to hold the brake rod in.
So the brake rod just falls out.
With mid-controls this is prevented by the brake stop.
To solve this a hose clamp was attach to a 3/4“ length of 1/2” copper pipe to the front exhaust pipe as a band-aid.
The big hole in the brake stop below goes over the footpeg stud and the adjustable screw sets the foot pedal height.
There is no part number for the brake stop as HD never made them as a separate part.
They were a welded-on part of the muffler.
You can / could order them from the Cycle Shack website.
| Rear Brake Stop for mid-controls. 10) | |
 | 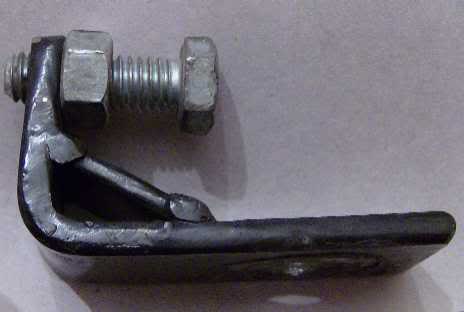 |
A better idea might be to use a later model rear brake master cylinder.
It has a different design which holds the brake rod in with a snap ring (circlip).
It also is easier to repair as it uses a one-piece kit. There have been lots of these on eBay in the past.
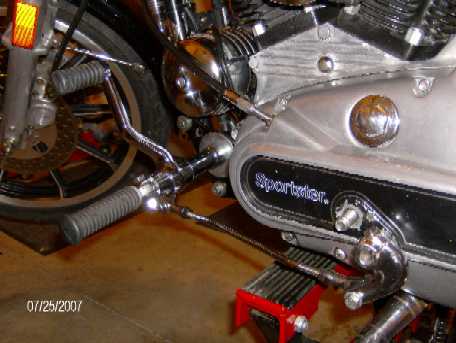
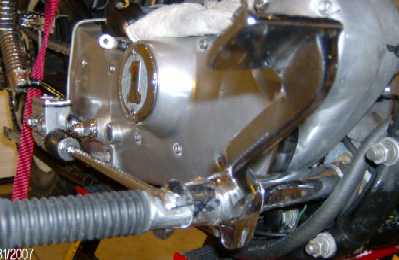
With 86 to 03 forwards, the master cylinder stays in the stock location on the sprocket cover. 11)
The M/C pic below was taken before realizing that the fluted connection would not work.
Later a brake line was fabricated with a banjo fitting for this. 12)